Every iPhone photo you have ever shared has probably been through this conversion. The camera writes HEIC, the person or website you are sending it to cannot open HEIC, so something somewhere turns it into a JPG. It works, the picture looks the same, and nobody asks what happened in between.
What happened in between is a full decode and a completely fresh lossy encode. That is worth understanding, because it determines what you can still do with the file afterwards, what you have permanently lost, and whether you should keep the original.
The two formats are not the same kind of thing
JPEG is a single, self-contained image format from 1992. It stores one picture, encoded with a discrete cosine transform over a fixed grid of 8x8 pixel blocks, and almost nothing else. No transparency, no second image, no more than 8 bits per colour channel.
HEIC is not really an image format at all. It is a file in the HEIF container (standardised as ISO/IEC 23008-12) whose image data happens to be coded with HEVC, the video codec also known as H.265. That distinction explains most of the differences that follow. A container can hold several images, a depth map, an alpha mask and a thumbnail side by side, and it can label one of them as the one to display. A 1992 single-image format cannot.
Where HEIC’s size advantage comes from
The usual claim is that HEIC is “about half the size of JPEG at the same quality”. The reason is not one clever trick but three structural differences.
Prediction before compression. JPEG compresses every 8x8 block essentially on its own. HEVC intra coding first predicts each block from the already-decoded pixels above and to the left of it, using a directional guess (the specification defines 33 angular directions plus planar and DC modes), and only then compresses the difference between the prediction and reality. On a photograph, which is mostly smooth gradients and continuous edges, that difference is much smaller than the original block. Fewer bits to describe.
Variable block sizes. A flat expanse of sky does not need to be chopped into hundreds of 8x8 tiles that each carry their own overhead. HEVC can code a large uniform area as one big block and reserve small blocks for the busy parts of the frame.
Better entropy coding. The final step, packing the quantised numbers into bits, uses context-adaptive arithmetic coding in HEVC against JPEG’s much older Huffman tables. That alone is worth a meaningful percentage.
None of this makes HEIC lossless. It is still a lossy format that throws away high-frequency detail and chroma resolution. It just spends its bits more cleverly.
What the conversion actually costs you
A second lossy pass
This is the one that matters most and gets discussed least. Converting is not a translation, it is a re-photograph. The decoder reconstructs pixels from the HEIC, including all the smoothing and ringing the HEVC encoder introduced, and hands that reconstruction to a JPEG encoder, which then quantises it again according to its own quality setting.
The JPEG cannot be better than the HEIC it came from, and it is measurably worse than the same scene encoded to JPEG directly from the camera sensor. In practice, at a high quality setting on a normal photograph, the difference is invisible without pixel-peeping. Where it shows up is on the next edit. Each further lossy save compounds the error, which is why a photo that has been converted, cropped, re-saved and sent through a messaging app three times ends up looking soft and blocky.
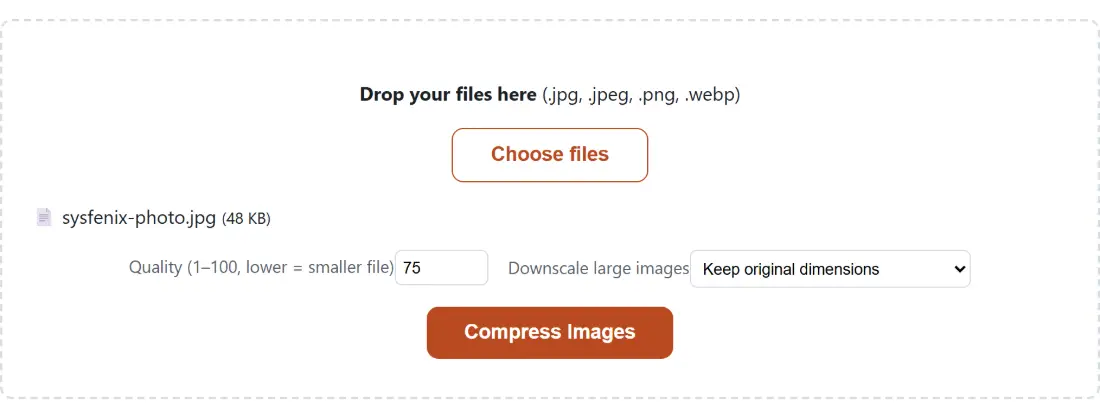
Practical rule: keep the HEIC original, and treat every JPG you produce from it as a disposable export. If you need to shrink one afterwards, do it once with an explicit setting using an image compressor rather than repeatedly saving through an editor.
Bit depth and HDR
HEIF can carry more than 8 bits per channel, and Apple’s HDR photos additionally store a gain map as an auxiliary image in the same file. Baseline JPEG carries 8 bits per channel and has no notion of auxiliary images.
So a 10-bit HDR HEIC converted to a plain JPEG loses two things: the extra precision in every channel, and the gain map that told a capable display how to brighten the highlights. The result is not broken, it is the tone-mapped version, which is exactly what the photo looked like on a non-HDR screen anyway. But you cannot get the HDR rendition back from it.
Transparency and extra images
JPEG has no alpha channel. If the HEIC carries transparency, converting to JPG composites it against a background and bakes the result in. If you need to keep it, convert HEIC to PNG instead: PNG is lossless and has real alpha, at the cost of a considerably larger file for photographic content.
The same applies to anything else the container was holding. Depth maps used for portrait-mode blur, burst frames, Live Photo stills: a JPG keeps exactly one image and discards the rest.
Metadata, and one specific behaviour worth knowing
HEIF stores EXIF in a metadata box, and different converters treat it very differently. Some copy it verbatim, some rewrite it, some drop it.
This site’s HEIC to JPG converter drops it entirely, and not as a privacy feature but as a direct consequence of how it is built: it decodes the HEIC to a raw pixel buffer and re-encodes that buffer through an HTML canvas, and a canvas has no concept of EXIF. Camera make and model, lens, exposure, capture timestamp and GPS coordinates are simply not written to the output.
Whether that is good or bad depends on you. It is convenient if you are posting a photo publicly and had not thought about the fact that phones write your exact coordinates into holiday pictures. It is annoying if you rely on capture dates to sort a library. Either way, you can check what a given file actually contains with an EXIF viewer, and if you are working from a source that does preserve metadata, strip it deliberately with a metadata remover rather than hoping a conversion did it for you.
What does not change
Resolution and aspect ratio are untouched. A 4032x3024 HEIC becomes a 4032x3024 JPG. Converting is not resizing, and any tool that quietly downscales while converting is doing something it should be telling you about.
Choosing a quality setting like you mean it
JPEG quality is not a percentage of anything real. It scales a quantisation table, and the relationship between the number and the visible damage is non-linear: the top of the range costs a lot of bytes for very little visible gain, and the bottom falls apart quickly.
The three presets on the converter here map to concrete encoder values of 0.95, 0.85 and 0.70. That spread is deliberate:
- 0.95 for anything you might edit, print or archive. Large files, no visible artifacts introduced by this step.
- 0.85 for sending and uploading, which is where most conversions end up. On a photograph this is genuinely hard to distinguish from the original at normal viewing size.
- 0.70 only when the file size is the actual problem. Expect visible mush in fine texture and around high-contrast edges.
One warning about the low end: the artifacts you get depend heavily on what is in the picture. Photographs of faces and landscapes degrade gracefully. Screenshots, diagrams and anything containing text degrade horribly at the same setting, because JPEG’s frequency-based encoding is fundamentally the wrong tool for hard edges. If your HEIC is a screenshot of a document, convert it to PNG.
So should you convert at all?
Convert when you need compatibility, and only then. HEIC is a poor choice for files you are handing to someone else or to a system you do not control: plenty of software, print services, older phones and web upload forms still cannot read it, and a file nobody can open has no quality at all.
Keep the HEIC when the file is yours and you might work on it later. It is smaller and it holds more.
And if you find yourself converting the same photo repeatedly, convert once at a high quality and reuse that JPG, rather than going back to the HEIC each time with different settings. The generation loss is small every single time, and it never goes back down.