What the quality number actually throws away
JPEG and WebP save space by deciding which parts of a picture your eye is least likely to miss, then storing those parts more coarsely. Smooth gradients get simplified, fine texture inside a block of similar colour gets averaged, and the colour channels are recorded less precisely than the brightness channel, because human vision is far sharper about light and dark than about hue.
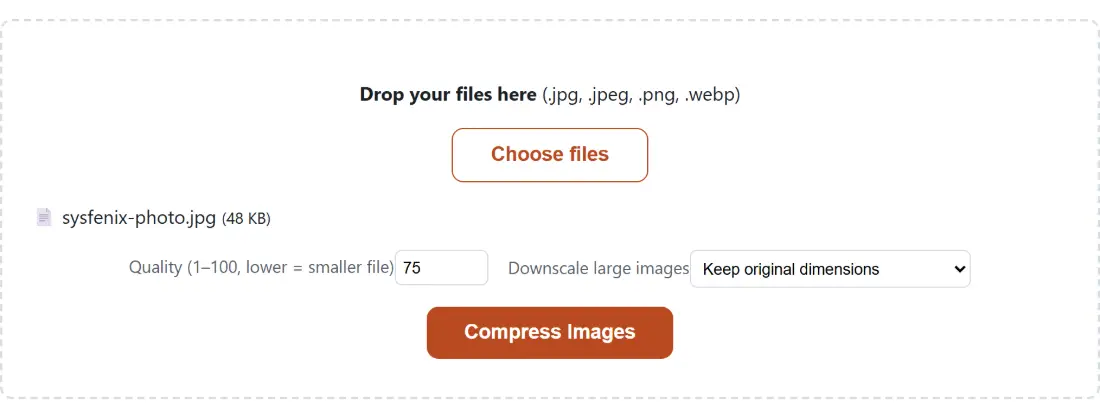
The Quality (1–100, lower = smaller file) box sets how far the encoder is allowed to go. It is worth being precise about what that number is: it is a target handed to the encoder, not a percentage shaved off your current file. Setting 75 on a photo that was already exported at roughly quality 70 will barely change anything, while setting 75 on a camera original saved at 95 usually produces a dramatic drop. Two files that both say “quality 75” can be wildly different sizes, because the number describes the encoder’s tolerance, not the outcome.
Quality is also the one control that PNG ignores. PNG is lossless by definition, and this tool passes no quality value at all when it re-encodes a PNG, so the number in that box changes nothing for that format. The lever that works on PNG is the second option.
Picking a number for where the picture is going
Somewhere between 70 and 80 is the range where most photographs stop losing anything you can see at normal viewing distance, which is why the default sits at 75. Below about 55, JPEG starts showing its hand: soft blocky edges around high-contrast lines, a faint ringing halo around text, and banding across a clear sky.
Push down into the 50s and 60s anyway when the destination cares more about bytes than pixels, such as a chat app, a forum avatar or an email thread that already has six attachments. Go up to 85 or 90 when the photo will be looked at closely, printed, or edited again afterwards. There is no cost to trying two settings and comparing the results, since each run happens on your own machine and finishes in about the time it takes to read this sentence.
Downscaling, the lever a PNG does respond to
The Downscale large images select does something entirely different from the quality box: it reduces how many pixels exist at all. Pick one of the limits and the tool measures the longest side of each image, and if that side is over the limit it scales both edges by the same factor, so proportions are never disturbed. A 4032x3024 phone photo capped at 1920 comes out 1920x1440. Anything already smaller than the limit is left alone.
This matters because file size tracks pixel count closely, and most images are far larger than the place they are headed. A website that displays a photo 800 pixels wide gains nothing from a 4000 pixel original except a slower page. For screenshots and diagrams saved as PNG, the downscale is effectively the only saving available here, and it is a real one.
Compressing a batch
- Drop your JPG, PNG or WebP files into the box above, or use Choose files. Files accumulate across drops, so you can add a second folder before starting.
- Type a Quality (1–100, lower = smaller file) value if you want something other than 75.
- Pick a Downscale large images limit when your images are bigger than the destination needs, or leave it on Keep original dimensions.
- Click Compress Images and watch the progress bar, which advances one step per finished file.
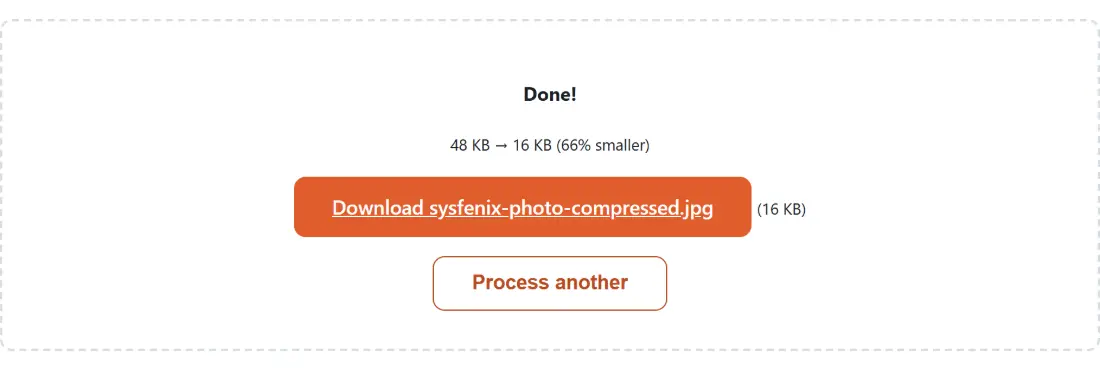
- Download each result. The shell prints the combined before and after sizes with the percentage saved.
The rule that stops a file getting bigger
Re-encoding an image that is already tightly compressed can produce a larger file than you started with, which is a genuinely annoying way for a compressor to behave. This one checks: if the new file is not smaller than the original and no downscale was applied, it returns your original bytes instead of the re-encode. An explicit downscale is always honoured, even in the unusual case where it does not save space, because you asked for those dimensions on purpose.
So without a downscale the worst case is that nothing happens, and you can tell because the before and after figures are identical.
Three compressors, and which one you want
This page is the quality-first option: you choose a setting, the tool tells you what size that produced. If instead you have been handed a hard limit, like a portal that refuses anything over 100 KB, Compress Image to Exact Size works backwards from the byte count and finds the setting for you. And when the pixels must survive untouched, Optimize PNG rewrites a PNG’s internal encoding with oxipng and changes not a single colour value.
Changing format is often the bigger win than any of the three. JPG to WebP typically beats JPEG at the same visual quality, and every option is listed on the image tools hub or discussed in the image converter and editing tools guide.