“Re-encoding loses quality” is one of those statements that is true often enough to repeat and vague enough to be useless. It leads people to avoid edits that cost nothing, and to casually make edits that cost a lot.
The distinction that actually matters is not what the edit is called. It is whether the compressed frames inside the file have to be decoded and re-compressed, or whether they can be carried across untouched.
What is inside a video file
A video file is a container (MP4, MKV, WebM, MOV) holding one or more encoded streams plus an index that says which packet belongs at which timestamp. The container is metadata and packaging. The stream is where all the data is.
Inside the video stream, the frames are not stored as pictures. They are stored as three kinds of thing:
- I-frames (keyframes) are coded on their own and can be decoded without reference to anything else.
- P-frames are coded as differences from an earlier frame.
- B-frames are coded as differences from frames both before and after them.
A group starting with a keyframe and running until the next one is a GOP. Typical encoder settings place a keyframe every one to ten seconds. Everything between them exists only as a chain of differences, which is why you cannot pull a single frame out of the middle of a GOP without decoding the frames before it.
This structure is the reason two superficially similar operations have completely different costs.
The two lossy steps, and why they compound
Every lossy video codec, whether H.264, VP9 or AV1, does roughly this to each block of pixels:
- Predict the block from neighbouring pixels or from another frame.
- Transform the prediction error into frequency coefficients.
- Quantise those coefficients, which means dividing them and throwing away the remainder.
- Entropy-code what is left.
Step 3 is the only lossy step, and it is irreversible. Everything else is exact arithmetic.
Now consider what happens when you re-encode. The decoder reconstructs approximate pixels from the already-quantised coefficients. The new encoder receives those pixels as if they were the truth. It has no way of knowing that a faint ringing halo around a hard edge is an artifact rather than real detail, so it dutifully spends bits describing the halo, and then quantises the whole thing again with its own rounding.
That is generation loss, and it is why a clip that has been through three messaging apps looks like it was filmed through a net curtain. Each app re-encoded, usually at a modest quality target, on top of the previous app’s output.
Edits that are genuinely free
An edit is free when the compressed packets can be copied across unchanged. In FFmpeg terms this is -c copy, stream copy, sometimes called remuxing.
Changing container without changing codec. Moving H.264 video and AAC audio from a MOV into an MP4 rewrites the packaging and touches none of the frames. The output is a different file with identical picture data.
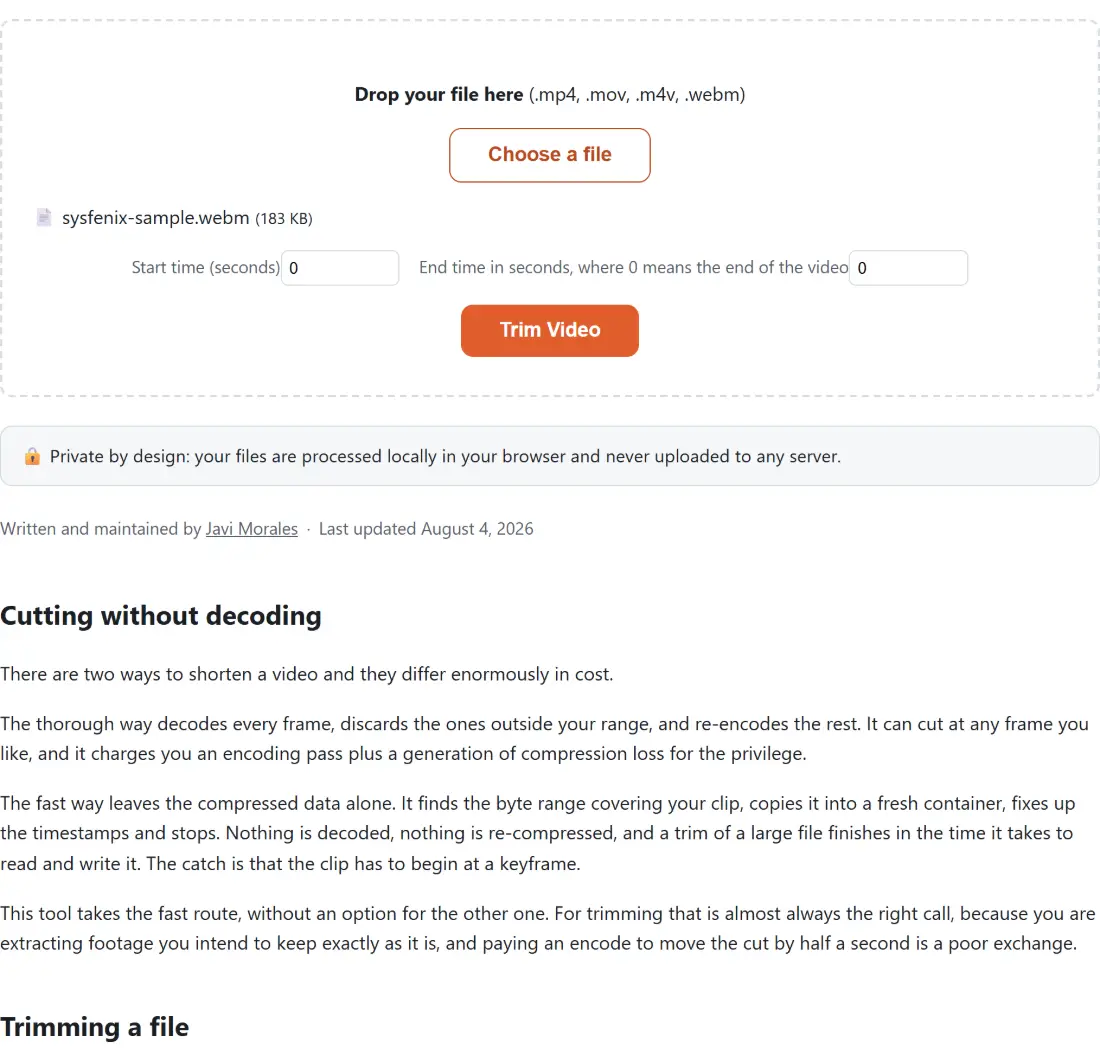
Trimming on keyframe boundaries. This is the important one, because trimming is the single most common video edit. This site’s video trimmer seeks on the input side, before the decoder, and then stream-copies: the cut jumps to the nearest keyframe at or before your start time and copies packets from there. Your frames are bit-for-bit the ones from the source.
The trade-off is precision. If your requested start lands mid-GOP, the clip begins at the preceding keyframe instead, so you may get up to a keyframe interval of extra footage at the front. That is the honest price of a lossless cut. A frame-accurate cut requires decoding and re-encoding at least the leading GOP, which means accepting a lossy pass in exchange for exactness.
Metadata and container flags. Titles, language tags, and the rotation flag that tells a player to display a phone video upright are all container-level. Setting them costs nothing.
Edits that always re-encode
Any change of codec. Converting MP4 to WebM means H.264 or HEVC frames going in and VP8, VP9 or AV1 frames coming out. There is no shortcut between two different codecs’ internal representations, so this is a full decode and re-encode.
Any change of pixels. Resizing, cropping, rotating the actual image rather than the flag, changing frame rate, colour adjustment, watermarking, adding subtitles as burned-in pixels. All of these require the decoded picture, so all of them re-encode. Resizing a video for a specific aspect ratio is in this category.
Compression. Obviously, but worth stating: making a file smaller is re-encoding at a coarser quantisation. That is the whole mechanism.
Making the unavoidable pass cost as little as possible
When you do have to re-encode, most of the outcome comes down to one choice.
Bitrate-targeted encoding tells the encoder how many bits per second it may use, and it must fit the content into that budget however hard the content is. Quality-targeted encoding (CRF) inverts the arrangement: you specify how much loss you will accept and the encoder spends whatever bitrate that requires, cheaply on a static shot and generously on a fast pan.
For a single re-encode of already-compressed material, CRF is almost always the better choice, because your source is not uniformly demanding and a fixed bitrate will either starve the hard scenes or waste bits on the easy ones.
The video compressor here uses CRF values of 26 for its balanced preset and 28, 30 and 32 for its progressively smaller email, WhatsApp and Discord presets. Two things about those numbers are worth borrowing even if you never use the tool. First, FFmpeg’s own H.264 guidance notes that a change of about 6 in CRF roughly halves or doubles the resulting file size, which is why every gap between those four presets is exactly 2 rather than ten: a step of 2 is a third of the way to halving the file, a noticeable but survivable change, while a jump of ten would take you past a halving in a single move. Second, the smaller presets also cap resolution (1280 pixels on the longest side, 854 for the smallest preset), because past a certain point reducing resolution preserves more perceived quality than pushing quantisation further on a full-size frame. A clean 720p picture reads as better than a mushy 1080p one at the same file size.
Two more details that quietly cost quality on every pass:
Chroma subsampling. Most delivery encodes, including the ones here, force 4:2:0, which stores one pair of colour samples for each 2x2 block of brightness samples. The cost of that depends on what you started from: a 4:4:4 source carries a colour pair for every single brightness sample, so four pairs per 2x2 block become one and three quarters of the colour samples go on the first pass, while a 4:2:2 source is already halved horizontally and loses half, because only the vertical dimension is decimated further. Either way it never comes back, and it is most visible on saturated red edges and on text.
Audio. The audio stream is a separate lossy encode and it re-encodes under exactly the same rules. Compressing a clip to AAC at 96 kbps when the source was already a lossy 128 kbps track is a second generation on the sound as well as the picture.
A practical checklist
Before any video edit, ask what it needs. If it only touches packaging or timing at keyframe boundaries, insist on a tool that stream-copies. If it touches pixels, accept one re-encode, do all your pixel changes in that single pass rather than in three separate saves, and pick your quality target deliberately.
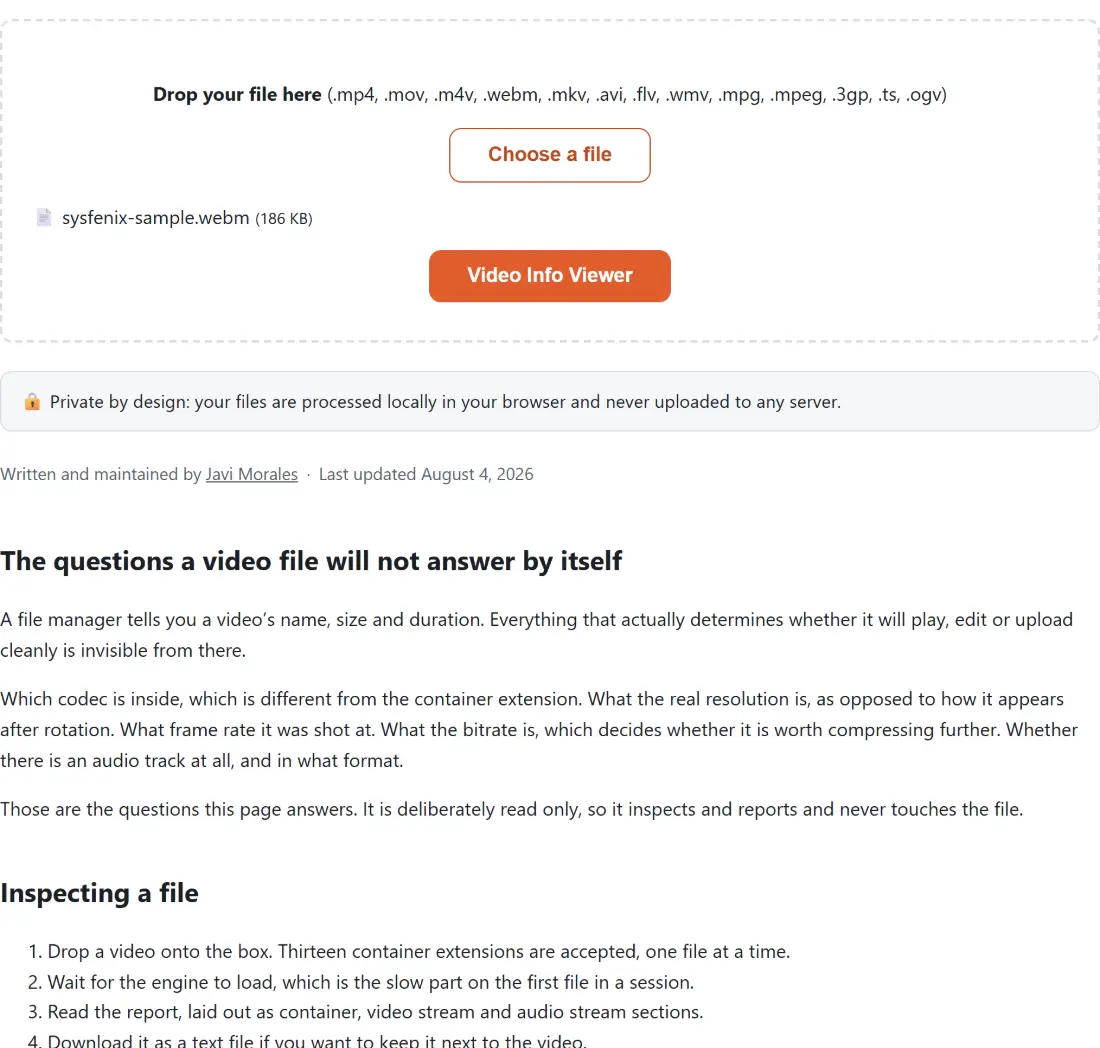
It also helps to know what you actually have before deciding. A video info viewer will tell you the codec, resolution, frame rate and bitrate of a file, which is often enough to reveal that the “4K” clip someone sent you is an upscaled 1080p encode at a bitrate too low to justify either number.
One last note specific to doing this in a browser. The encoder on this site is FFmpeg compiled to WebAssembly, running in your tab, deliberately single-threaded (the multi-threaded build requires HTTP headers that break other things on the page). That means encoding is honest but slow: nothing is uploaded anywhere, and a long clip will take real time on your own CPU. For a quick trim that is irrelevant, because a stream copy barely has to do any work at all. For a full re-encode of a ten-minute 1080p file, it is the main thing you will notice.