Keying is colour matching, not object recognition
Chroma keying does one thing: it measures how close each pixel is to a chosen colour and removes the ones that are close enough. It has no idea what a person is, where the edge of a subject lies, or that the green thing at the bottom of the frame is a plant rather than the backdrop.
That simplicity is a strength when you actually have a screen. It is fast, it is deterministic, it costs nothing to run, and it will happily process a folder of photographs in the time a model would take to load. It is also the reason it fails completely on an ordinary background, because an ordinary background is not one colour.
Two numbers control the whole thing. Tolerance decides how wide the band of removed colours is. Edge softness decides how gradually removal arrives at the boundary. Everything good and bad about a key comes out of those two.
Keying a batch of shots
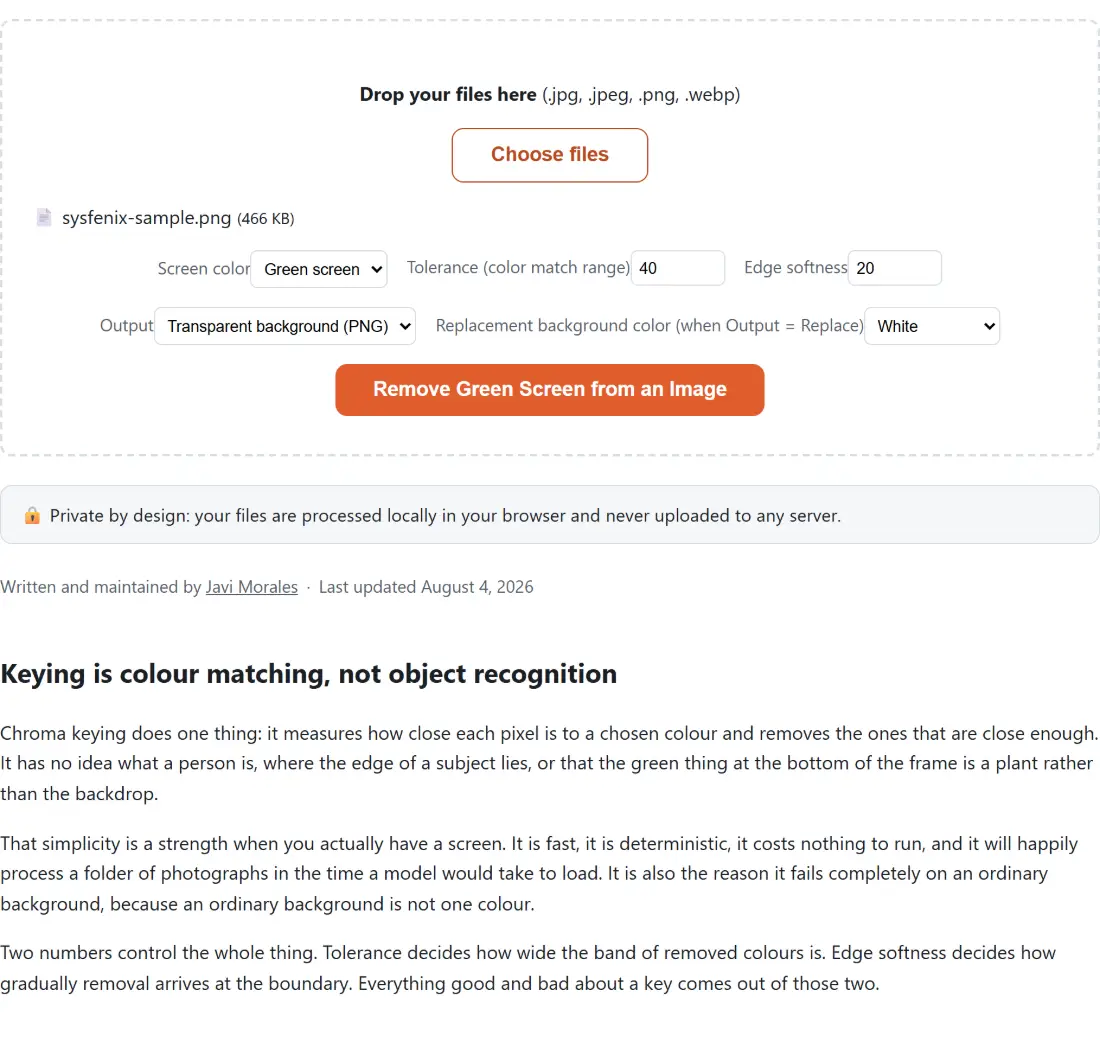
- Drop your photos on the box or use Choose files. JPG, JPEG, PNG and WebP are accepted, several at a time.
- Set Screen color to Green screen or Blue screen, whichever the backdrop actually is.
- Set Tolerance (color match range). The default of 40 is a reasonable starting point.
- Set Edge softness. The default of 20 gives a slightly feathered edge rather than a hard cut.
- Choose an Output. Transparent gives you a PNG; replace gives you an opaque image on one of four colours.
- If you chose to replace, pick a Replacement background color (when Output = Replace).
- Click Remove Green Screen from an Image and download each result, named with a keyed suffix.
Run one photo first and check the edges at full size before committing a whole shoot. Adjust tolerance and softness one at a time, since together they are hard to reason about.
Tolerance is a trade, not a quality setting
Turning tolerance up does not make the key better. It makes the band of removed colours wider, and that cuts both ways.
Too low and only the purest patches of the screen go. Shadowed corners, creases in the fabric and areas further from the lights are all darker versions of the key colour, and they survive as a patchy halo around the subject. That is the most common symptom of an under-keyed image.
Too high and the band starts reaching colours that belong to your subject. Anything leaning toward the key colour goes first, which is why wearing green in front of a green screen produces a hole rather than a shirt, and why blond hair suffers on a badly set yellow-leaning green.
Lighting the screen evenly is worth far more than any setting here. A flat, well-lit backdrop keys cleanly at a low tolerance; a shadowed one does not key well at any value.
Edge softness is what makes it look real
At zero, every pixel is a binary decision. Keep or remove, nothing between. The result has a hard edge that follows the pixel grid, and against any new background it reads immediately as a cut-out.
Raising softness introduces a ramp, so pixels near the boundary become partly transparent in proportion to how close they are to the key colour. That gradient is what lets a subject sit on a new background convincingly, and it is the difference between usable hair and a helmet-shaped silhouette.
The default of 20 is deliberately modest. It softens the boundary without visibly blurring it, and it is a better starting point than either extreme.
Transparent or replaced
Transparent output forces PNG, because PNG is the only format here with an alpha channel to store it in. That is not a preference; a JPEG physically cannot hold transparency, and writing one would fill the removed area with something solid and throw the key away.
Replacement output is opaque everywhere, so there is no need to change format and the source type is kept. The four colours are white, black, light grey and cream, aimed at product shots and portraits rather than at creative compositing.
If you want a photographic background rather than a flat colour, take the transparent PNG and composite it in an editor. This tool deliberately does not accept a second image.
When to reach for something else
If your background is a room rather than a screen, keying has nothing to work with. Background Remover identifies the subject instead of matching a colour, which is the right approach for ordinary photographs and a considerably heavier one to run.
Once you have a cut-out, Sticker Maker adds an outline around it, Add Border to Image frames it, and Watermark Image marks it before you publish. The rest is on the image tools hub.