Square first, border second, corners last
The three options interact, and the order they are applied in is the thing that makes the result look right. Square padding runs first, when it is enabled, expanding the photo onto a square canvas. The border is then added around whatever that step produced. The corner rounding is computed last, against the final bordered canvas.
That sequence matters more than it sounds. If the border were added before the square padding, an Instagram export would end up with a frame of one thickness on the two edges that already had padding and a different thickness on the other two. Doing it in this order gives you a uniform frame on all four sides of a square, which is what a framed print looks like and what the eye expects.
A percentage of the short edge, not a pixel count
Border width (% of image size) is measured against the shorter edge of whatever it is wrapping, and it accepts anything from 0 to 20 with 5 as the default. Percentages instead of pixels is the right call here for a specific reason: a 40-pixel frame is a heavy border on a 600-pixel thumbnail and an invisible hairline on a 6000-pixel camera file, so a fixed pixel value makes a mixed batch look inconsistent. Five percent reads as the same weight on both.
The one thing to hold in your head is that with square padding on, the short edge is the square’s side, which came from your photo’s longer edge. A 5% border on a 4000x3000 photo is 150 pixels on its own, and 200 pixels once it has been padded to 4000x4000. The frame gets visibly chunkier when you tick the square box, and that is arithmetic rather than a bug.
Rounded corners change what format you get back
Corner roundness % runs from 0 to 50, and it is a percentage of the finished canvas’s short edge, capped so it can never exceed half of that edge. At 50 the shape converges on a full pill or circle. It defaults to 0, meaning sharp corners.
Anything above 0 has a consequence worth knowing before you run a batch: rounding the outer corners cuts them to fully transparent pixels, which a JPG cannot store at all. So the moment you raise the roundness, this page switches every output to PNG regardless of what you put in, and a JPG source will come back noticeably larger because PNG does not compress photographs the way JPEG does. At 0 roundness the fill is opaque everywhere and your source format is kept: JPG in, JPG out.
If what you actually want is a circular crop with a transparent background rather than a rounded frame, Crop Image into a Circle is the page built for that shape.
Framing a whole batch in one pass
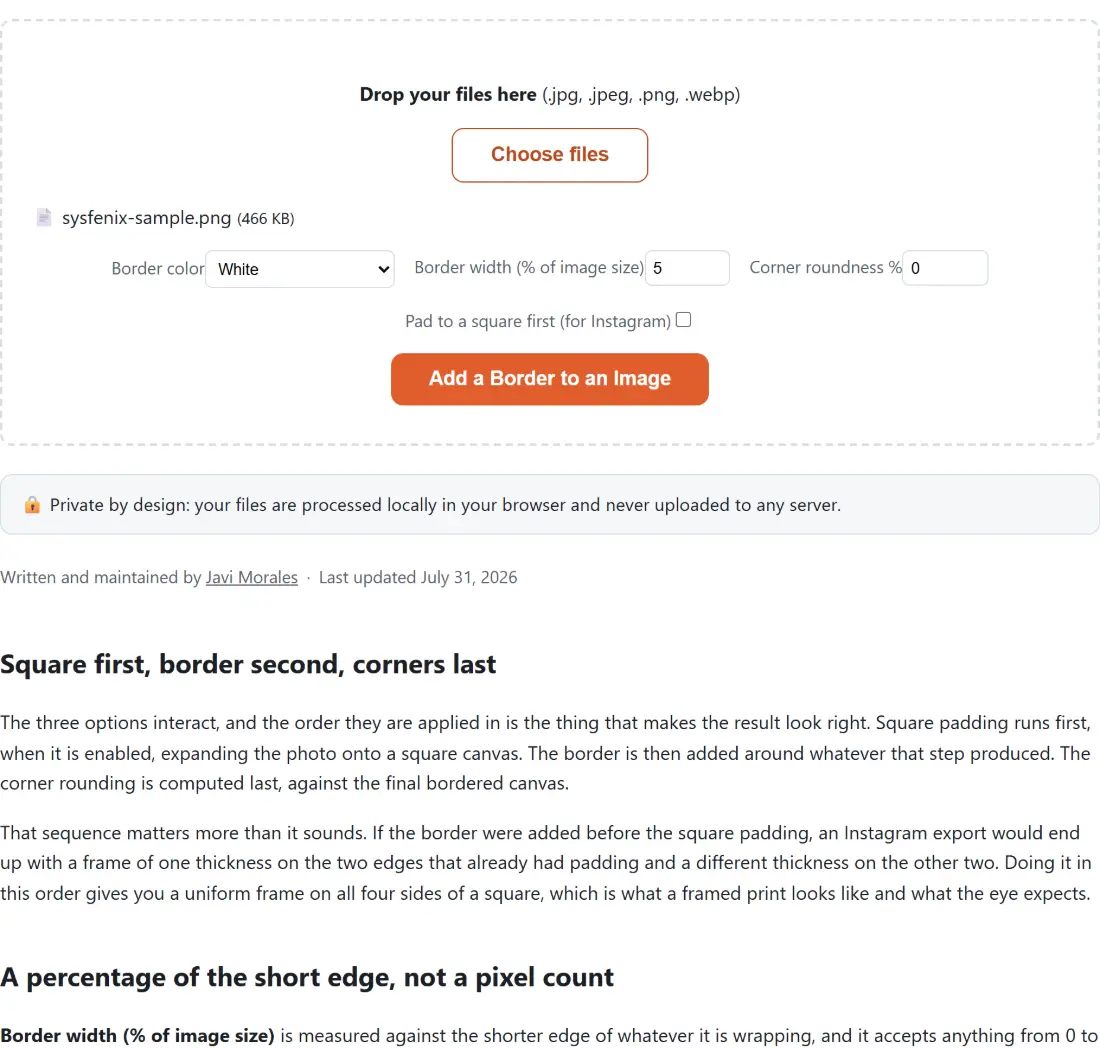
- Drop your photos onto the box above, or use Choose files. JPG, JPEG, PNG and WebP are accepted, and you can add several at once.
- Pick a Border color from the four presets, then set Border width (% of image size).
- Optionally raise Corner roundness %, and tick Pad to a square first (for Instagram) if you want an uncropped square export.
- Press Add a Border to an Image and wait for the progress bar, which advances one step per finished file.
- Download each result. They come back with
-borderedinserted before the extension, so nothing overwrites an original.
Because the whole batch shares one set of settings, the sensible workflow is one pass per look rather than one pass per folder. Run the white-framed portfolio shots, then run the matte-mounted set separately.
Four presets, and what to do when your colour is not among them
The palette is white, black, a light gallery gray and a warm cream, and there is no free hex field. Those four are not arbitrary: white and black are the two classic photographic frames, one isolating a photo from a busy feed and the other making bright work pop by contrast, and the two neutral tones stand in for the mat board a framer would cut.
If you need a specific brand colour, the honest answer is that this page cannot give it to you and the workaround is to add a white or black frame here and recolour it in an editor afterwards. What this page is good at is the repetitive part: putting the same frame on forty product shots without opening any of them. Pair it with Resize Images when the set also needs to hit one width, or with Add Watermark to Photos when the frame is going on work you are publishing. The rest of the photo tools sit together under image tools.