A watermark is either a credit or a deterrent
Deciding which one you are adding settles every other choice on this page, and people who skip that decision end up with a mark that fails at both.
A credit says who made this. It should be small, unobtrusive, in a corner, and faint enough not to compete with the picture. Nobody is trying to remove it, so it does not need to survive an attack.
A deterrent exists to make an unlicensed copy worthless. It has to be positioned where cropping cannot remove it, which in practice means across the image rather than at an edge, and it has to be visible enough to matter. It will make the photo worse to look at, and that is the whole idea.
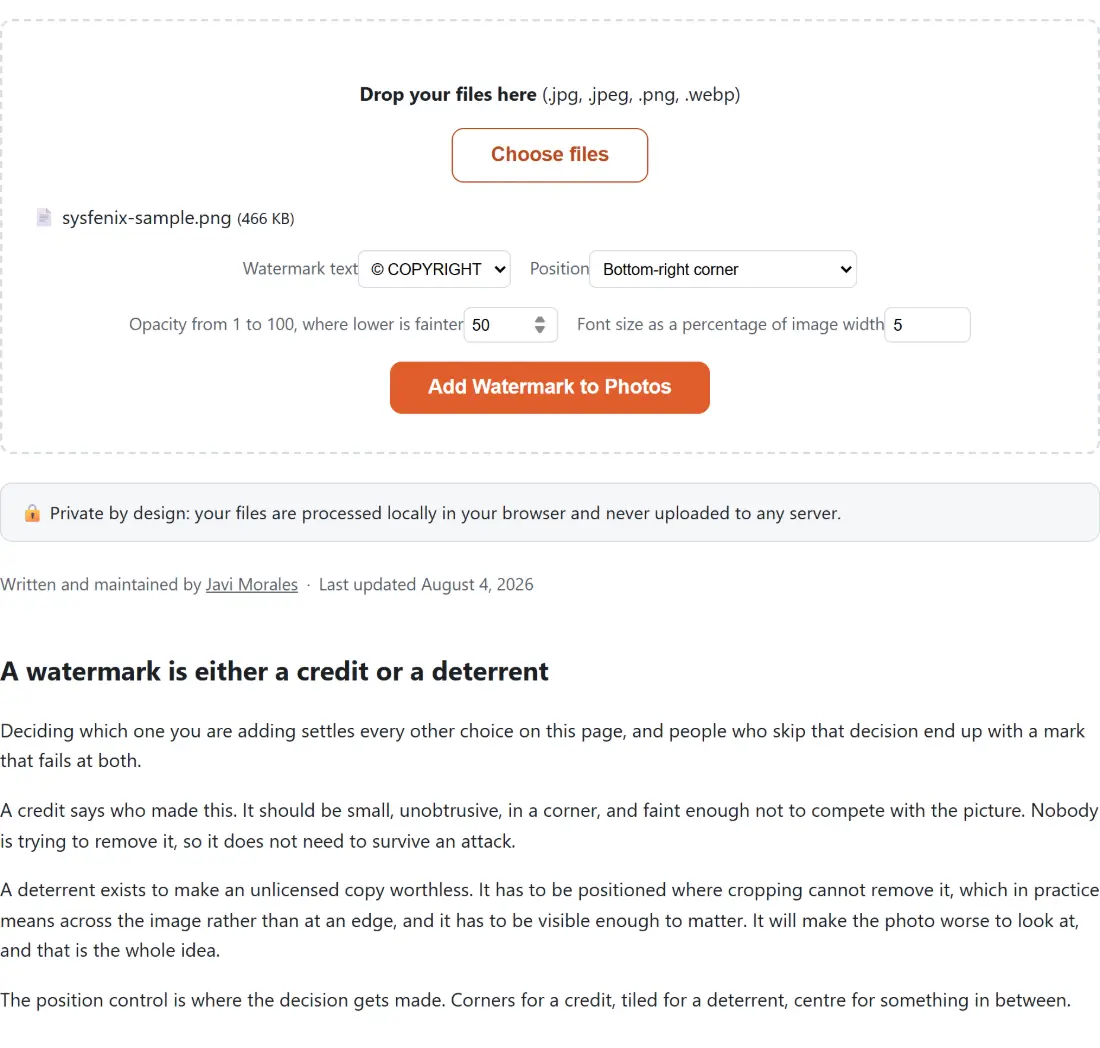
The position control is where the decision gets made. Corners for a credit, tiled for a deterrent, centre for something in between.
Watermarking a batch
- Drop in one or more JPG, PNG or WebP files.
- Choose Watermark text from the four available.
- Choose a Position.
- Set the Opacity from 1 to 100, where lower is fainter.
- Set the Font size as a percentage of image width.
- Run it and download the results, each named after its original.
Sizing by percentage rather than pixels
This is the setting that makes batch watermarking actually work.
A pixel size is meaningless across a mixed batch. Forty pixels is a heavy stamp on an eight hundred pixel web image and an almost invisible speck on a six thousand pixel camera file. Anyone watermarking a shoot has both in the same folder.
Expressing the size as a share of each image’s own width means the mark occupies the same proportion of every photo regardless of resolution. The default of five percent produces a mark that reads clearly without dominating, and the range runs from one percent, which is a discreet credit, up to twenty, which is a very assertive stamp.
The margins follow the same principle. The gap between a corner mark and the edge is derived from the text’s own height rather than being a fixed number, with a floor so it never disappears entirely on a tiny image.
How tiling is laid out
Tiling places the mark on a regular grid. The cell size comes from the measured size of the rendered text, which means the spacing adapts to your font size setting rather than being fixed, and the cells are noticeably wider and much taller than the text itself so the repeats never touch.
The grid starts half a cell in from the top left rather than at the corner. That small detail is what stops the pattern looking clipped along one edge and centred along the other, and it is the difference between a tiled watermark that looks deliberate and one that looks like a mistake.
Opacity matters more in tiled mode than anywhere else. A tiled mark at fifty percent is aggressive. For a preview you still want people to be able to evaluate, somewhere in the twenties is usually the right balance.
Watermarking is not metadata removal
A visible watermark says who owns the image. It does not remove what the file says about itself, and photos carry a surprising amount, including the camera, the settings, the date and often the exact location where the shot was taken.
If you are publishing images you care about protecting, check what is embedded with EXIF Viewer and strip it with Remove EXIF as a separate step. A watermarked photo that still carries its capture coordinates has solved one problem and left another.
Related image tools
Watermark last in your workflow, after Resize Image and Crop Image, so the mark is sized against the final dimensions rather than being scaled along with everything else. Run Compress Image afterwards if you need the file smaller.
For the same job on other media, Add Watermark to Video and Watermark PDF cover those. The rest are on the image hub.