What makes a sticker a sticker
Open any sticker pack in WhatsApp or Telegram and the shared visual language is obvious: no rectangle, no background, and a thick white outline hugging the subject. That look is not decoration. A sticker floats on top of a chat bubble whose colour you cannot predict, in a theme you cannot predict, so the white ring is what stops a dark subject from disappearing into a dark bubble.
Underneath that there is a technical spec, and it is stricter than most people expect. Both platforms want a 512 by 512 image with real transparency. A cropped square JPG will not do, because JPG has no alpha channel at all and the square edges will show. That is three separate jobs stacked on one photo: remove the background, add the outline, land on exactly 512 by 512. Doing them by hand means a selection tool, a stroke layer and a canvas resize, in that order, without accidentally clipping the subject.
This page does all three in one pass, and this article is mostly about the two decisions it makes on your behalf.
The die-cut border is a distance transform
The interesting part of the pipeline is how the outline gets drawn. The naive approach is to repeat a dilation step once per pixel of border width, checking each pixel’s eight neighbours each time. At the default 14 pixel border on a 512 by 512 canvas that is fourteen full passes over a quarter of a million pixels, and it gets worse linearly as you widen the border.
Instead we compute a Chebyshev distance transform: for every pixel on the canvas, the distance to the nearest subject pixel, measured in king’s moves on a chessboard. A forward sweep from the top-left propagates distances from the neighbours already visited, and a backward sweep from the bottom-right fills in the rest. Two passes total, regardless of border width. Any pixel whose distance is at or below the border width becomes opaque white, anything further becomes fully transparent, and any pixel that was already part of the subject is copied through byte for byte.
Chebyshev distance is exactly what repeated eight-connected dilation produces, so the result is identical to the slow version. We checked that claim against a hand-worked case before trusting the general machinery: a 4 by 4 opaque square in the middle of a transparent canvas, dilated by 2, must come out as an exact 8 by 8 square rather than a rounded blob. The test file pins that down pixel by pixel, because a rounded corner there would have been the first visible sign that the sweep logic was wrong.
One side effect is useful. Because the alpha channel is thresholded at the halfway point before the sweep runs, the faint semi-transparent halo that background removal often leaves just outside the subject is squared off rather than preserved as a ghost ring around your outline.
Contain-fit onto 512 by 512, and why we pad instead of crop
The other decision is what to do when your photo is not square, which it almost never is. Two options exist: crop to a square, or scale to fit and pad the leftover space.
We fit and pad. The subject has already had its background removed at this point, so the padding is the same transparency the removal step produced and is completely invisible in a chat. A crop, by contrast, would silently remove part of whatever survived the cutout. On a wide photo that means an outstretched arm; on a tall one it means the top of someone’s head. Losing the subject to save empty pixels is the wrong trade for a sticker.
The fit also scales up, not just down. This is a deliberate departure from how a normal resize tool behaves, where refusing to upscale is the polite default. A sticker is expected to fill most of its frame the way every pack you have seen does, so a 200 pixel source is enlarged to fill the square. The honest cost is softness on very small sources. If your only copy of a photo is tiny, run it through Upscale Image before making the sticker rather than accepting the plain scale-up here.
Making a pack
- Drop in one photo or a whole batch of JPG, PNG or WebP files.
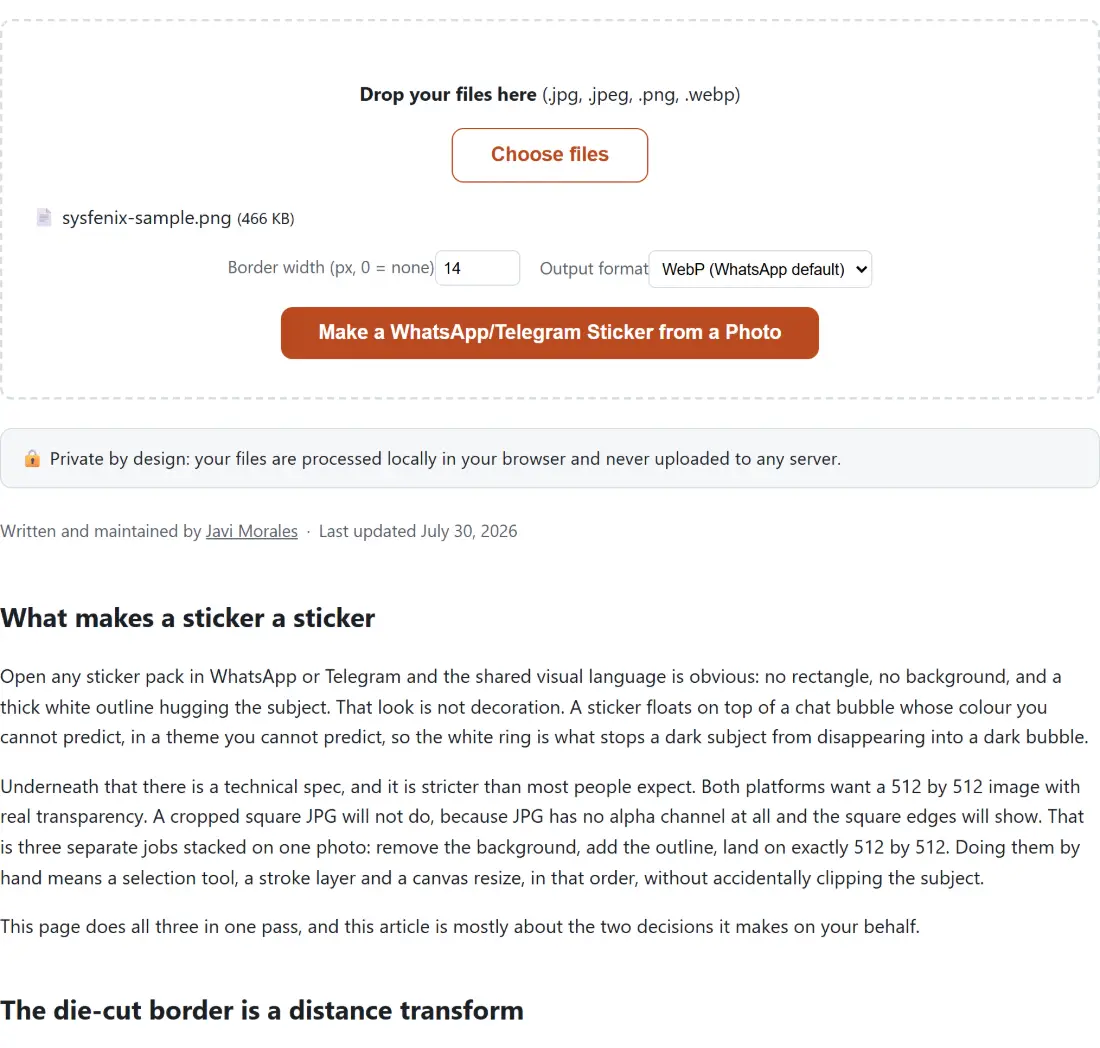
- Set the border width, or leave it at 14. Set it to 0 if you want a bare cutout.
- Pick WebP for WhatsApp or PNG for a tool that insists on it.
- Run it. The first photo takes noticeably longer than the rest, because the segmentation model has to load before any pixels can be processed; after that it stays in memory and each additional photo is much quicker.
- Save each result. Files are named after the source with
-stickerappended.
Progress is weighted so the background removal accounts for most of the bar within each photo, which is honest about where the time actually goes: the border sweep and the encode are trivial next to running a segmentation model. Keep the border width consistent across a batch if you want the pack to look like a set rather than a collection.
When another tool fits better
If you want the transparent cutout on its own with no sticker framing, go straight to Background Remover, which is the same model without the 512 pixel canvas or the outline. For a round avatar rather than a die-cut shape, Circle Crop is the right shape. For a caption-on-image reaction rather than a cutout, Meme Generator is the tool, and if your subject was shot against an actual green screen, Remove Green Screen keys it out more cleanly and much faster than a neural model can.