FIGlet, and the letterforms behind these banners
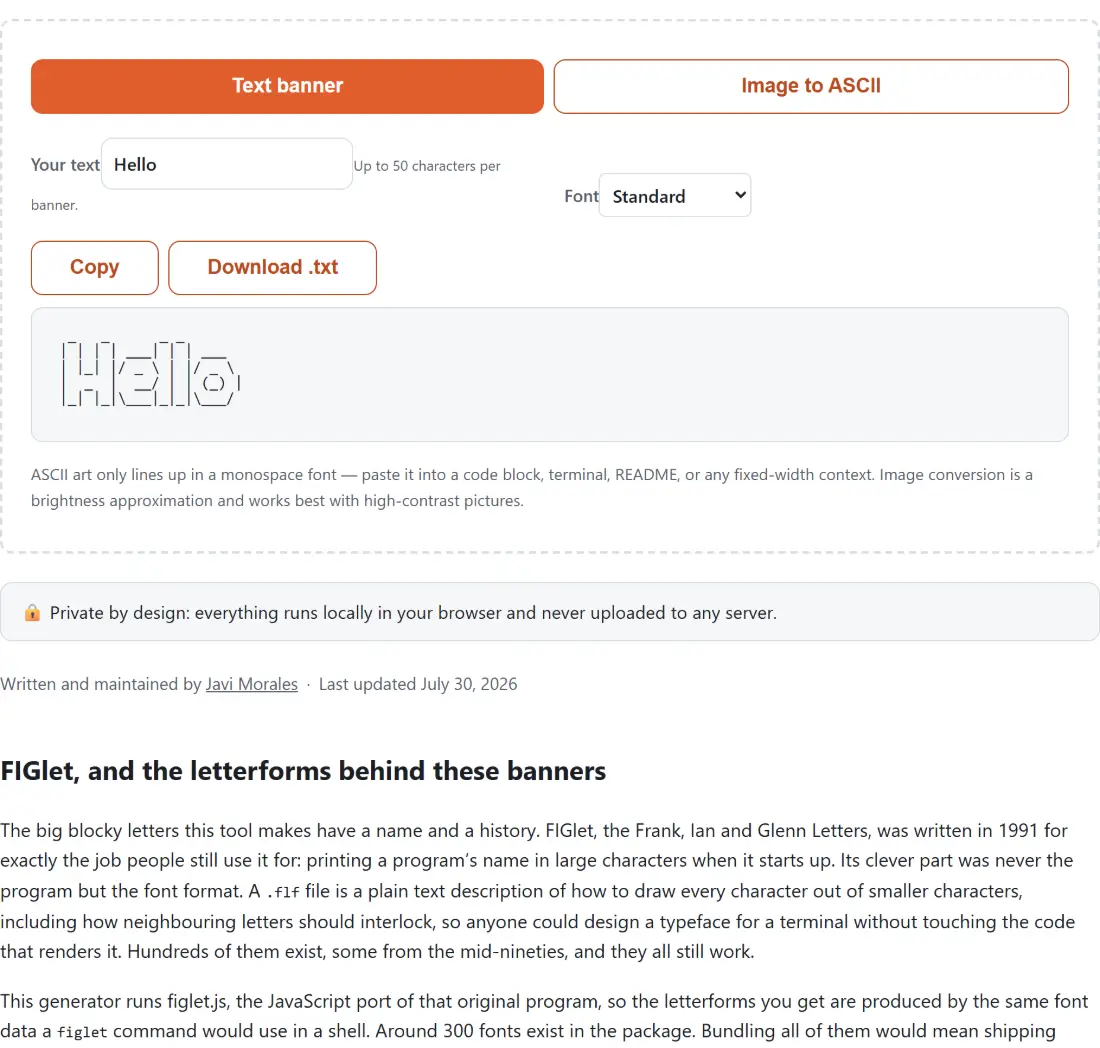
The big blocky letters this tool makes have a name and a history. FIGlet, the Frank, Ian and Glenn Letters, was written in 1991 for exactly the job people still use it for: printing a program’s name in large characters when it starts up. Its clever part was never the program but the font format. A .flf file is a plain text description of how to draw every character out of smaller characters, including how neighbouring letters should interlock, so anyone could design a typeface for a terminal without touching the code that renders it. Hundreds of them exist, some from the mid-nineties, and they all still work.
This generator runs figlet.js, the JavaScript port of that original program, so the letterforms you get are produced by the same font data a figlet command would use in a shell. Around 300 fonts exist in the package. Bundling all of them would mean shipping several megabytes to every visitor, so this page carries a curated twelve: Standard, Big, Small, Slant, Banner, Block, Shadow, Doom, Ghost, Mini, Digital and ANSI Shadow. Between them they cover the clean, the heavy, the compact and the retro, which is most of what anyone actually reaches for.
Choosing a font for the space you have
The practical constraint is width, not looks. Because each input character expands to six to ten columns depending on the font, a word that seems short becomes wide fast: eight characters in Big will already crowd an 80-column terminal, while the same word in Mini fits with room to spare. Decide where the banner is going first, then pick.
For a CLI startup message or a server login banner, Standard and Slant are the reliable choices at about six rows tall. For a README title, ANSI Shadow and Block look deliberate and modern and are worth the extra width. For something that has to live inside a comment header, a git commit template or a narrow log line, Small and Mini exist precisely for that. Ghost and Shadow sit between the two extremes. Since the preview re-renders as you type or switch fonts, the fastest approach is to type the real text and cycle the dropdown rather than reason about it.
Where figlet and the fonts come from
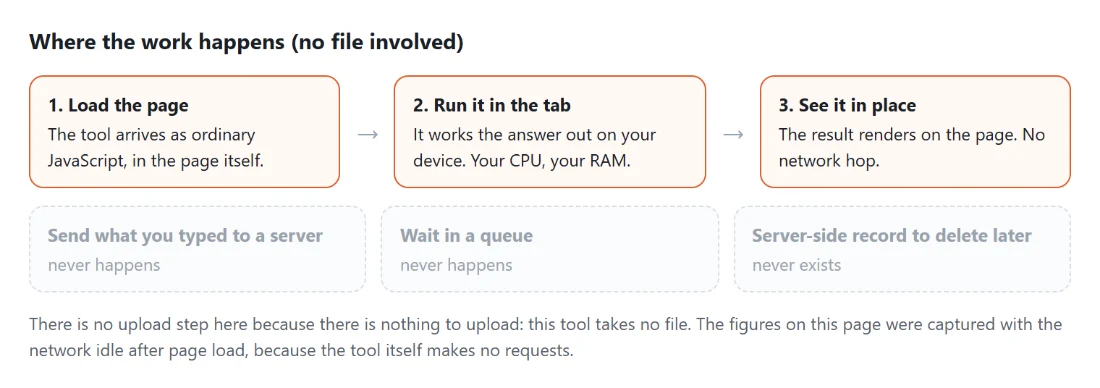
Everything runs on your device, and the interesting part is how the loading works. Neither figlet nor any font is loaded when the page opens. Each font is a separate lazily loaded module, so your first banner triggers a one-time download of the engine plus exactly one font file from this same domain, typically a few dozen kilobytes. Nothing is ever fetched from a third-party CDN, which means no external request is made on your behalf and nothing about what you typed can leak through one. Once that first render is done, the tool works offline and font switching is instant, because parsed fonts are cached for the rest of the session.
Image mode is local for the same reason. Your picture is read into a <canvas> element in the page and sampled there, never uploaded, which matters when the thing you are ASCII-ifying is an unreleased logo or a photo of somebody.
Image to ASCII: how the brightness ramp works
Image mode does something quite different from the banner mode. The picture is scaled down to a grid whose width is the column count you choose (between 10 and 200, defaulting to 80), each cell is reduced to a single brightness number using the standard luminance weighting that treats green as far more visible than blue, and that number selects a character from a ramp ordered dense to sparse.
Three details decide whether the output looks right. First, aspect ratio: monospace character cells are about twice as tall as they are wide, so the grid samples twice as many pixels vertically per cell as horizontally, otherwise every result would look stretched upward. Second, transparency: transparent pixels are composited onto white before brightness is measured, so a PNG logo with no background reads as dark shapes on empty space rather than as a solid black rectangle. Third, direction: the ramps assume dark ink on a light page, so if you are pasting into a dark terminal, turn on Invert or the whole image will appear as a photographic negative of itself.
The width slider is the strongest control you have over quality. At 40 columns you get a recognisable silhouette; at 160 you get something with real shading, and a plain text file wide enough to need a maximised window.
Making the art, step by step
- Choose Text banner or Image to ASCII at the top.
- For a banner, type up to 50 characters and pick a font. The preview updates as you type.
- For an image, choose a file, then drag the width slider, pick the standard or detailed character set, and toggle Invert if the destination has a dark background.
- Press Copy to take the art to your clipboard, or Download .txt to save it as
ascii-banner.txtorascii-art.txt.
What this tool will not do
It produces plain, uncolored ASCII and nothing else. There is no ANSI color output, no animation, and no Unicode block-drawing characters, which is a deliberate restriction: block glyphs give visibly smoother gradients but break in fonts that lack them and in older terminals, whereas a file made only of printable ASCII pastes anywhere without surprises. The image mode outputs text, not a picture, so if you want the art as a shareable image you will need to screenshot it, and Code to Image Screenshot Maker will render the text in a monospace font with proper window chrome for that purpose. There is no reverse direction either, since brightness mapping discards far too much to reconstruct anything.
If what you actually want is stylised text for a social bio or a chat message rather than a multi-line banner, ASCII art is the wrong tool, because those places use proportional fonts. Use the Fancy Text Generator instead, which substitutes single Unicode characters that keep their shape anywhere. And if the banner is destined for the top of a project page, the README Generator will build the surrounding document to drop it into.