The two flags that carry the whole edit
The module behind this page builds a very short argument list and hands it to FFmpeg: -c copy, then
-an. That is the entire operation. The first tells FFmpeg to move the compressed video stream into
the new file as it already is, without decoding a single frame, and the second tells the muxer to
write no audio stream at all. Order matters here, which is why the audio-disable flag comes second
and wins.
For MP4, M4V and MOV inputs one more pair gets appended, -movflags +faststart. That relocates the
container index to the front of the file so a player can start drawing frames before the whole thing
has arrived. WEBM goes through a different muxer entirely, so it does not get that flag and does not
need it.
Nothing is decoded on the way through. That is the reason a job which takes a desktop editor several minutes of exporting finishes here in a fraction of the time, and it is the reason the picture that comes out is the same compressed data that went in. Re-encoding is the step that costs quality, and this page has no re-encoding step. The longer version of that argument is in our guide on why video re-encoding loses quality.
Silencing a track and deleting a track are different edits
Dragging a volume slider to zero in an editor leaves the audio stream in the file. It is still there, still occupying space, still liable to reappear if a platform re-processes your upload or if the project file loses that automation. Deleting the stream is a different, more final thing: after this run the container has no audio stream to restore, because none was written.
That distinction is what makes a mute the right first move before a clip goes anywhere public. A recording with a radio playing in the background, a screen capture that picked up a notification chime and half a sentence you did not mean to say, a family video with a stranger’s conversation carrying across it: in all of those the picture is fine and only the sound is the problem. Removing the stream solves the problem once, at the file level.
Four clicks from noisy clip to silent clip
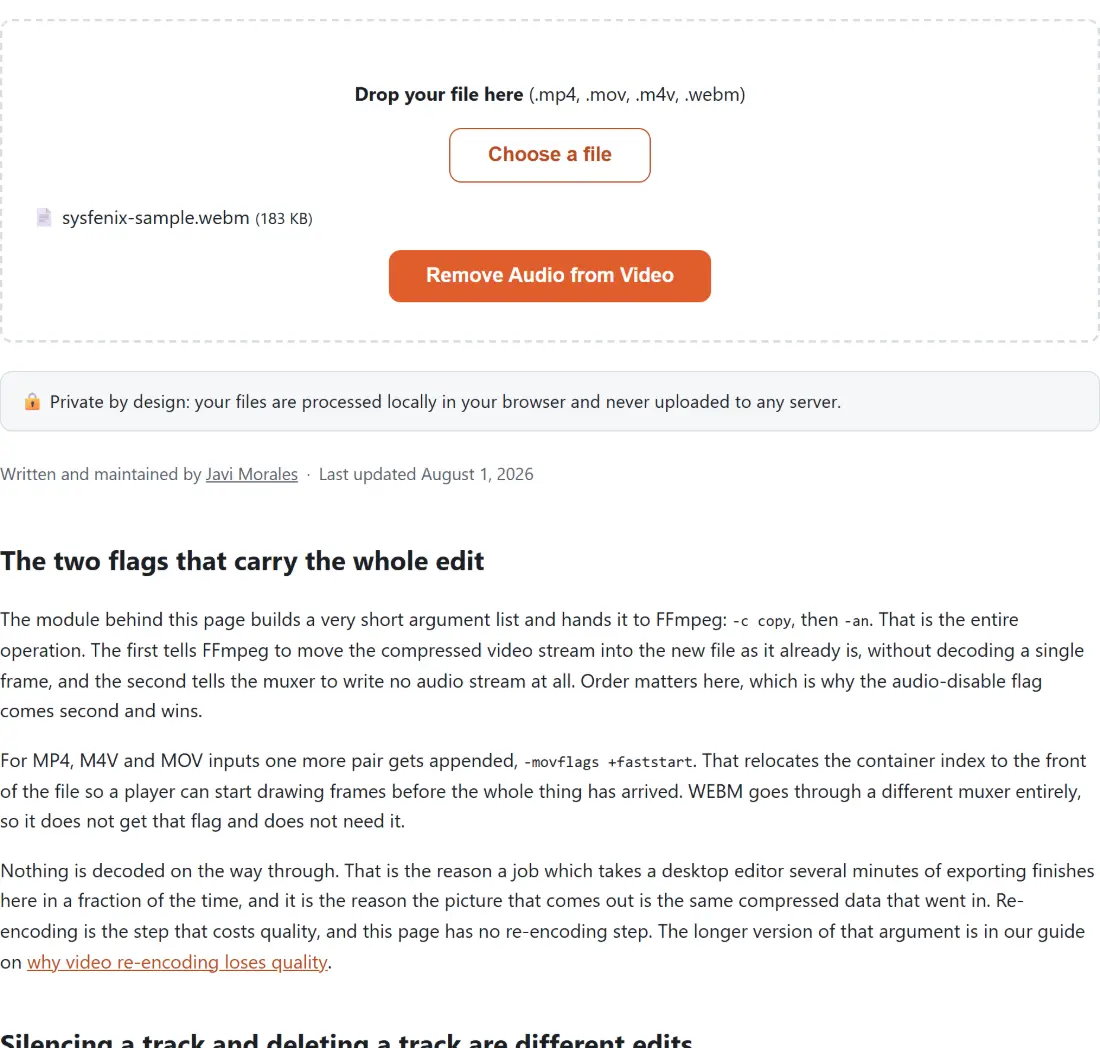
- Drop the video onto the box above, or click Choose a file. The box names the four extensions it will take before you pick anything.
- Check the file name and size that appear underneath, then click Remove Audio from Video. This page has no options at all, so there is nothing else to set.
- Watch the percentage counter while FFmpeg runs. A Cancel button sits beside it, and using it clears the dropzone and keeps nothing.
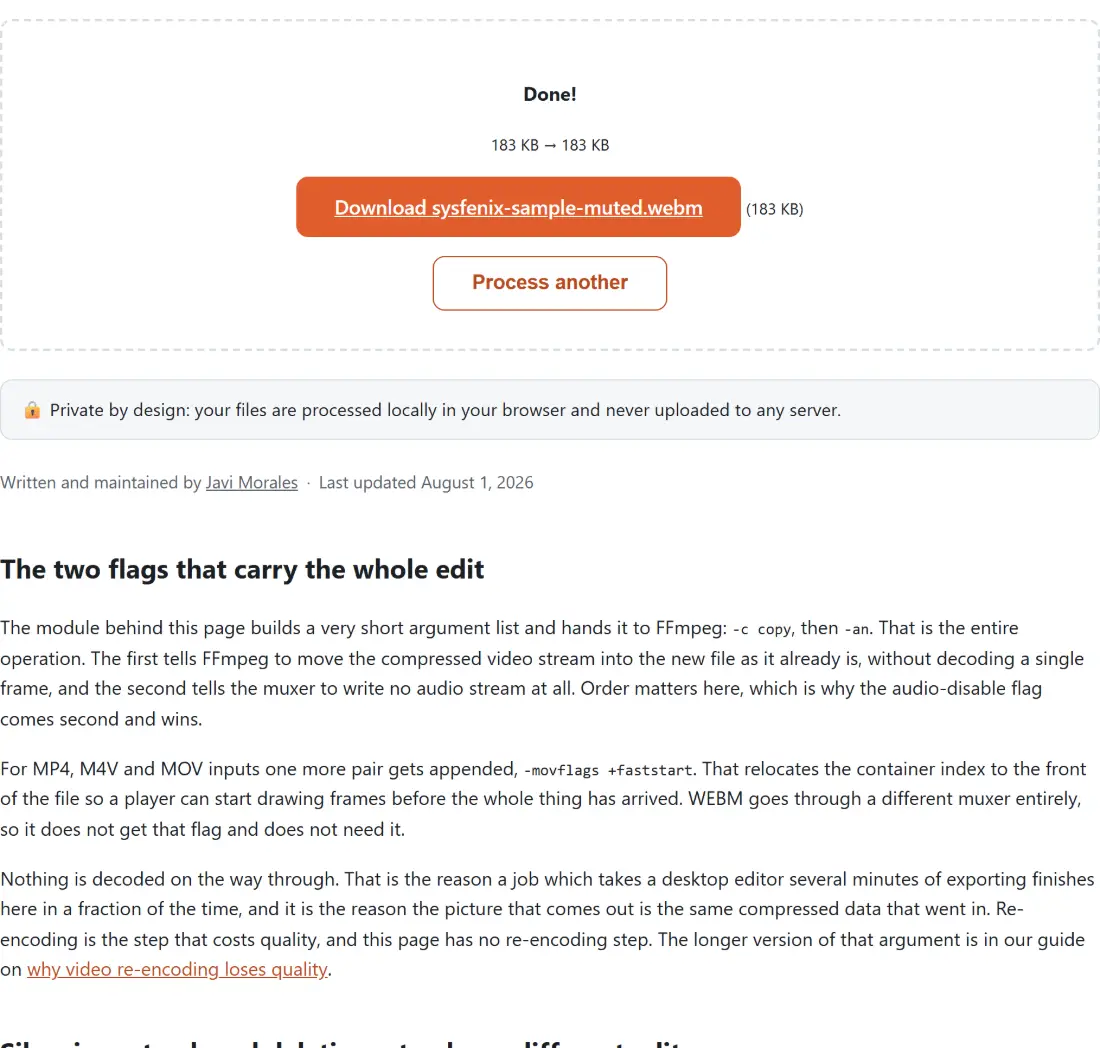
- Click the download link. The result takes the original name with
-mutedinserted before the extension, so a file calledbeach-clip.mp4comes back asbeach-clip-muted.mp4.
What the before-and-after size line is telling you
Once the run completes the panel prints the input size, an arrow, the output size and a percentage when the file shrank. That shrinkage is the audio track and the index entries that referred to it, nothing else. It is not a quality setting you accidentally chose and it is not the picture degrading. A stereo track in a phone recording is a genuine slice of the container, and deleting it takes that slice away with it.
Because the size figure is computed from your actual file rather than from a rule of thumb, it is also a decent sanity check. If the number barely moved, the clip probably had very little audio data in it to begin with, which happens with short screen captures and with sources that were already silent.
MP4, MOV, M4V and WEBM: what the dropzone will take
The accepted list is exactly those four extensions, and the shell compares the file’s extension against that list before the muting module is even loaded. An MKV or an AVI is refused at the dropzone, so nothing on this page can act on one. If that is what you have, run it through Convert MKV to MP4 first, then come back. The output container always matches the input container, so nothing about your file’s format changes except that it no longer carries sound.
Where muting ends and another tool begins
If the clip also needs shortening, Trim Video accepts the same four extensions and uses the same stream copy approach, so trimming and muting are both cheap operations on the same file. If the plan is to lay a new soundtrack over the clip, Add Audio to Video has a Replace mode that discards the original audio itself, which means muting first is optional rather than required; note that it wants the clip and the audio file in one drop and always returns an MP4.
One combination to avoid: mute a clip and then try to raise its level with the Video Volume Booster. That tool probes for an audio stream first and, finding none, copies the video straight through with audio disabled, so nothing happens. Sort the level out while the track still exists. Screen captures are a common source of unwanted sound, and the Screen Recorder here keeps its microphone capture behind a checkbox that is off unless you tick it. The rest of the video tools are one click away if the clip needs more than a mute.