A grid of shrunken pages, not a print driver setting
N-up printing puts several of a document’s pages onto one physical sheet, each one shrunk to fit its own cell in a grid. Most print dialogs bury the same idea in a “pages per sheet” dropdown, and that works fine right up to the moment you want to check the layout before printing, email it to someone, or hand it to a print shop whose driver reads the setting differently. This tool does the arrangement first and gives you back an ordinary PDF, so what a viewer shows is what the printer produces.
The mechanics explain every trade-off further down. Each source page is embedded once and then painted into its cell through a scale transform. Nothing is rendered to pixels at any point, so a page of vector text arrives in the output still as vector text, selectable and sharp at any zoom. That is a completely different pipeline from Compress PDF in its strong mode, which deliberately turns every page into an image to shrink the file.
Naming follows the input. Drop lecture-slides.pdf, pick 4-up, and the download is called lecture-slides-4up.pdf.
Arranging a deck onto fewer sheets, step by step
- Drop one PDF onto the box, or press “Choose a file”. A second file replaces the first, and anything that is not a .pdf is refused before processing starts, with a message naming the accepted extension.
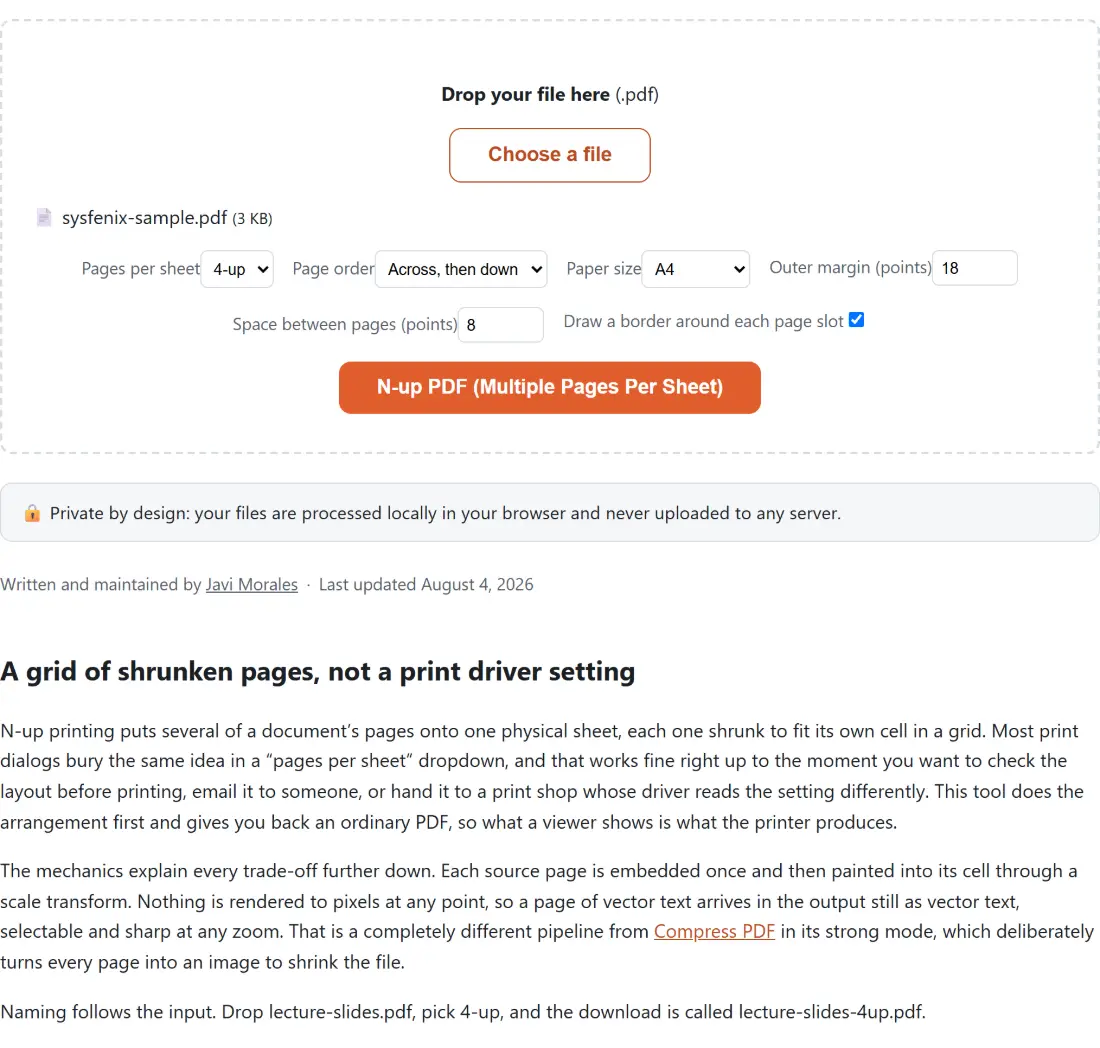
- Set “Pages per sheet” to 2, 4, 6 or 9. It starts on 4-up.
- Set “Page order” to “Across, then down”, which fills each row left to right in normal reading order, or “Down, then across”, which fills each column from the top before moving right.
- Pick “Paper size”, then adjust “Outer margin (points)” and “Space between pages (points)” if 18 and 8 do not suit your printer. Both are capped, at 72 and 36 points respectively.
- Leave “Draw a border around each page slot” ticked for a thin grey frame around every cell, or untick it for a bare sheet.
- Press the button labelled “N-up PDF (Multiple Pages Per Sheet)”, the same wording as the heading at the top of this page, then download the result.
The progress bar advances one notch per output sheet and waits at 95 percent while the finished document is written out.
Picking a layout: what 2-up costs on upright pages
Here is the part nobody tells you. Because the output sheet is always upright and the 2-up grid is two rows by one column, an ordinary portrait page at 2-up is limited by the cell’s height, not its width. Feed A4 pages onto an A4 sheet and each page is drawn at about 47 percent of its original linear size, leaving roughly half the cell’s width blank, split between its two sides. The same page at 4-up draws at about 46 percent. Two layouts, near enough identical page sizes, and 2-up burns twice the paper to get there.
2-up earns its place on wide source pages. A 16 by 9 slide on an A4 sheet comes out at about 58 percent at 2-up against about 29 percent at 4-up, a genuine doubling, because a wide page fills a wide, short cell properly. So the rule of thumb is simple: 2-up for landscape slides, 4-up for almost everything upright.
At the small end, 6-up is two rows of three and 9-up is three rows of three. They share a column count, which matters more than the row count for an upright page, and the practical consequence is covered in the FAQ below.
A4 and US Letter do not shrink the same way
A4’s proportions are the square root of two, which is exactly the ratio that survives being halved, so an A4 page dropped into a quarter of an A4 sheet fits its cell almost perfectly: at the default margins there is only around nine points of vertical slack in a cell nearly 400 points tall. US Letter has no such property, but it does not need it here, because a Letter page on a Letter sheet at 4-up also lands within about six points of a perfect fit.
Mixing them is where it shows. Put A4 pages on a US Letter sheet at 4-up and the fit flips to being limited by height, leaving about 20 points of empty width split between the two sides of every cell. Go to 9-up with that same mismatch and each page shrinks further still. If your document and your paper disagree, choose the paper you will actually print on and accept the white space, rather than choosing by which preview looks tidiest.
Margins, gutters, and the frame drawn around nothing
The outer margin is subtracted from all four edges of the sheet before the grid is measured, which is what keeps content clear of a printer’s unprintable border. The spacing value is then removed between neighbouring cells, so what is left divides evenly into equal cells. Everything is in points, at 72 points to the inch, so the default 18 point margin is a quarter of an inch.
Every page is fitted inside its cell with its proportions intact and centred, so nothing is ever stretched or cropped; a page whose shape does not match its cell simply gets equal empty strips on two sides. Borders, when enabled, are a thin grey rectangle traced on the cell itself rather than on the page inside it, which is why the border frames the whole slot even when the page inside it is narrower.
Where booklet imposition takes over
If your goal is a folded, stapled booklet rather than a paper-saving handout, this is the wrong tool. Print PDF as Booklet uses a sideways sheet, pads the page count up to a multiple of four because the fold demands it, and pairs pages in the scrambled order that makes them read correctly once folded. N-up does none of that. It keeps your pages in the order they already have and never pads the count to reach a round number.
Two things worth doing before the layout rather than after. If the deck is spread across several files, run Merge PDF Files first, since this tool takes a single document. And if a scan came back with a page in the wrong place, fix it with Reorder PDF Pages before laying it out, because once the pages have been placed into cells, each sheet is one fixed arrangement and the sequence is set. The rest of the PDF toolkit is on the PDF tools hub.