The height is calculated, never chosen
Every option on this page describes one number: a width, or a percentage of the original. The height is then derived from your image’s own proportions and rounded to a whole pixel. There is no way to type both edges, and that is on purpose, because typing both is how people accidentally squash faces.
The arithmetic is unremarkable but worth spelling out. Pick 1920 px wide for a 4000x3000 photo and the tool computes 3000 multiplied by 1920 divided by 4000, giving 1440, so you get 1920x1440. Pick 50% and both edges halve to 2000x1500. Occasionally the rounding lands a pixel away from the round number you had in mind, which is the correct behaviour rather than a defect: the alternative is a fractional pixel that no format can store.
If you need a specific shape rather than a specific size, resizing is the wrong tool for that step. Change the shape first with Crop Image, which trims to a ratio, and resize the result. Working the other way around leaves you resizing pixels you are about to throw away.
Percentages for a mixed batch, pixel widths for a fixed slot
The two kinds of option answer different questions. A percentage is relative, so every file in a mixed batch shrinks by the same proportion and their relative sizes are preserved. That is what you want for a folder of holiday photos taken on two different cameras, or for an archive pass where nothing has a specific destination.
An exact width is absolute, so every file comes out the same width regardless of what it started at. That is what a website template, a marketplace listing or a document layout actually needs, since the slot is a fixed number of pixels and a 4000 px image and an 800 px image both have to end up filling it identically.
What the presets are sized for
1920 px is a full-HD screen’s width, which makes it the practical ceiling for a web hero image or a desktop wallpaper. 1280 px covers general web use and email, where the difference from 1920 is invisible but the file is much smaller. 1080 px matches the widest image an Instagram feed post is displayed at. 640 px is thumbnail territory, for a gallery grid or a list view. 600 px exists for one specific reason: a 2 by 2 inch passport print at 300 dots per inch.
For anything else, Custom width (set below) takes any value from 1 to 10000 pixels, entered in the Custom width in px (used with “Custom width”) box. Ten thousand is a deliberate ceiling; browser canvases have their own limits above that, and a resize that exceeds them fails rather than degrading gracefully.
Resizing a batch
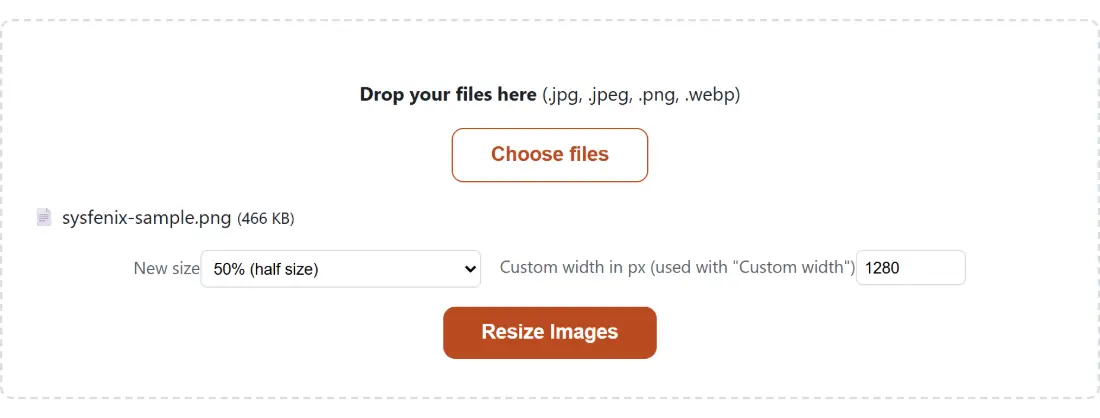
- Drop your JPG, PNG or WebP files into the box above, or use Choose files. Files accumulate across drops, so a batch can be assembled from several folders.
- Choose a New size. Percentages shrink proportionally, pixel widths make everything the same width.
- For a size the list does not cover, choose Custom width (set below) and type a width into the number box beneath it.
- Click Resize Images. The progress bar steps forward once per completed file.
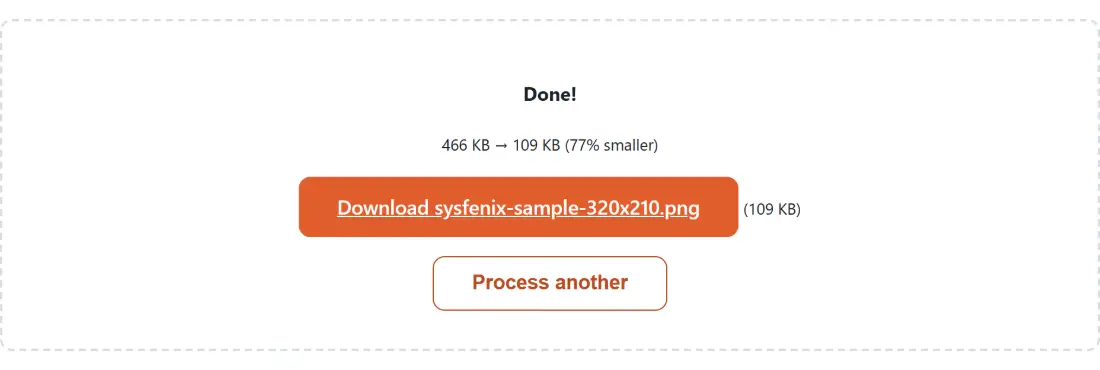
- Download the results. Each filename carries its own new dimensions, for example
photo-1920x1440.jpg.
Asking for a width larger than the original
Nothing stops you entering a width above the source’s own. The browser will interpolate the extra pixels using high-quality smoothing, and the result is a bigger file that is softer than the original rather than more detailed, because the detail was never captured. Small enlargements are fine; large ones look exactly like what they are.
When the goal really is more detail, an interpolating resize is the wrong mechanism entirely. Upscale Image runs a model that reconstructs plausible detail instead of averaging neighbours, and for artwork that exists as vectors, SVG to PNG rasterizes the real paths at any size with no interpolation at all.
What the resized copy no longer carries
The output is drawn fresh onto a canvas, and a canvas holds pixels and nothing else. So the copy you download has no EXIF block: no GPS coordinates, no camera model, no capture timestamp, and no embedded colour profile either. For most uses that is a quiet bonus, and on a wide-gamut photo it can mean a very slight shift in how saturated colours render in a colour-managed viewer.
If you wanted the metadata gone but the dimensions intact, Remove EXIF Data from Photos is the direct route for a JPG or a PNG, the two formats it accepts. If the file is still too heavy after resizing, Compress Images applies a quality setting on top, though that number only reaches a JPG or a WebP; a PNG there responds to the downscale option alone. Both, and everything else in this family, are listed on the image tools hub.