600 by 600 for the US, 413 by 531 for Schengen
Both presets are physical sizes first and pixel sizes second. The US passport and visa photo is 2 inches square, and the EU and Schengen ID photo is 35 by 45 millimetres. Everything renders at 300 dots per inch, the resolution photo counters expect, so those two physical sizes come out as exactly 600 by 600 pixels and 413 by 531 pixels respectively. The Schengen numbers are not round because millimetres and inches do not divide neatly; 35 mm at 300 DPI is 413.4 pixels, rounded to the nearest whole one.
Only those two sizes exist here, which is a deliberate limit. A third preset was researched while this tool was being built and dropped, because the published eye line figure for it contradicted itself between two official looking sources. Shipping a number nobody can check is worse than shipping fewer options.
Centre crop, white flatten, resize, JPG
Three steps produce the photo, with one more added for each optional extra you ask for, and all of them run on your own machine.
First the photo is cropped to the preset’s own aspect ratio at its full native resolution, taking the largest centred rectangle that fits. For a square US photo out of a landscape 4 by 3 phone shot, that means the full height with a strip trimmed off each side; hold the phone in portrait and it trims the top and bottom instead. For the much taller Schengen ratio out of a landscape photo, most of the width goes, which is the practical argument for framing vertically in the first place.
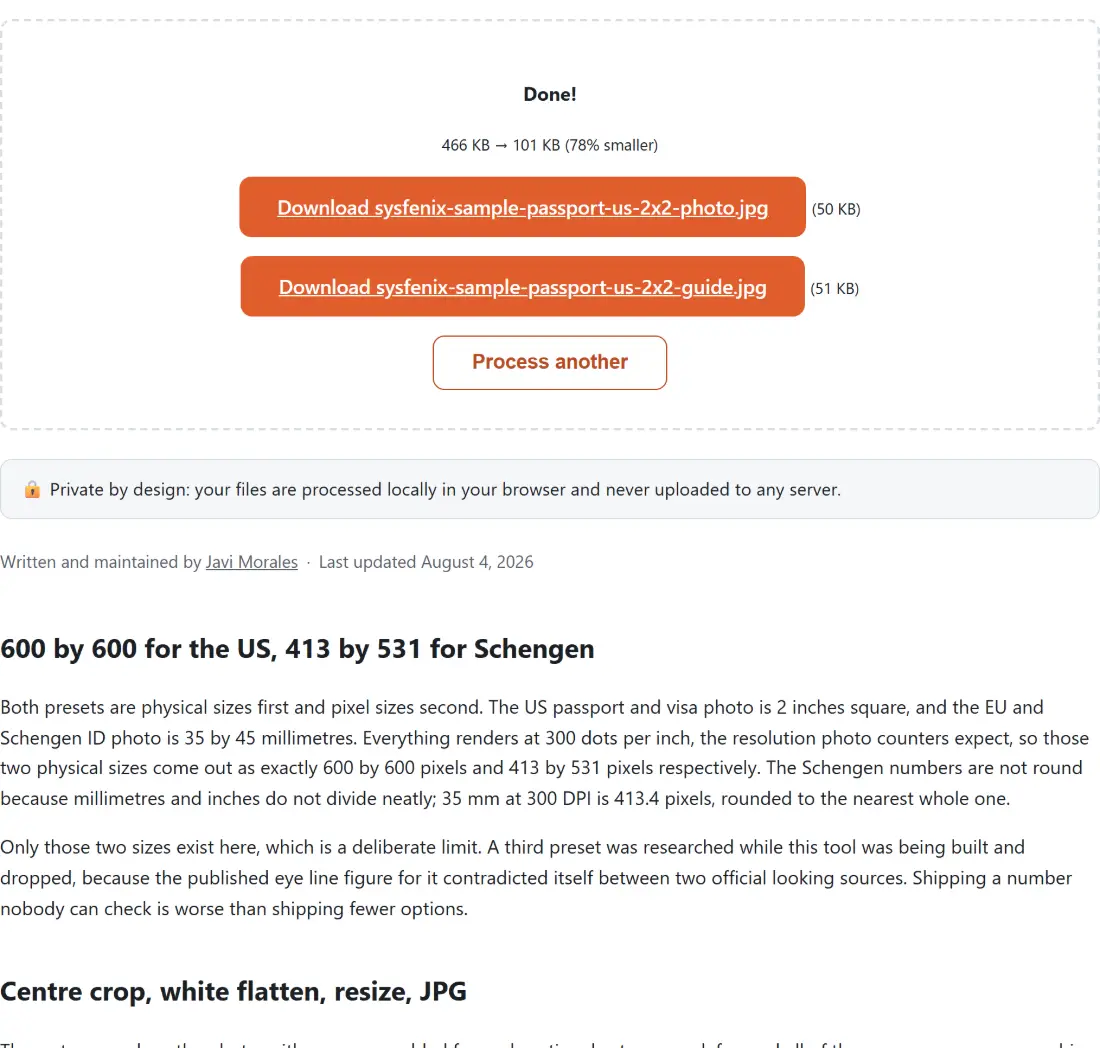
Second, any transparency is flattened onto solid white. Third, the result is resized to the exact pixel dimensions above with high quality smoothing and encoded as JPEG at quality 0.92, because JPEG is what print services and application portals actually accept. Each file keeps your original basename with the preset and the output kind appended, so selfie.jpg comes back as selfie-passport-us-2x2-photo.jpg, alongside a guide and a sheet version if you asked for them.
One side effect worth knowing: because every stage re encodes from canvas pixels, nothing copies your original file’s camera metadata into the output. If you also plan to send the untouched JPG or PNG original somewhere, strip its EXIF separately, since this page only governs the files it hands back.
Two guide bands, drawn from the published ranges
The optional guide image is the same photo with two translucent zones and a faint centre line painted over it. The blue zone is the documented head height range, the red one the documented eye line range, both measured as a percentage of the photo’s own height from the bottom edge. For the US that is a head of 1 to 1 3/8 inches and an eye line 1 1/8 to 1 3/8 inches up, and for Schengen a head of 32 to 36 mm and an eye line 28 to 36 mm up.
Nothing here looks at your face. There is no detection model, no landmark finding, and no scoring. The bands are printed reference lines and you are the one comparing them against your own head, in the same way a photo booth hands you a paper template. There is also a simplification the source code admits to and this page will not hide: head height is really a size, chin to crown, and the overlay treats it as a position by assuming your chin sits near the bottom of the frame. That assumption holds for most already reasonably framed portraits and fails for an unusual one.
Six copies on a 4 by 6 sheet, and the margins that appear
Turn on the print sheet and you get a second file, 1200 by 1800 pixels, which is 4 by 6 inches at the same 300 DPI, filled white and tiled with identical copies of your photo.
The layout falls out of simple division. Two 600 pixel columns and three 600 pixel rows fit a 2 by 2 inch photo perfectly, so six US copies cover the sheet edge to edge with no wasted paper. The Schengen size also fits six, two columns and three rows, but 413 by 531 pixel tiles leave a genuine border: about 187 pixels of white down each side and a little over 100 at the top and bottom. Ask for fewer than six and the grid fills row by row from the top left and stays centred as a block.
The copies field is clamped to whatever the sheet can hold, so it never exceeds six, and anything below one is raised back to a single copy. A decimal is rounded to the nearest whole copy first. Clearing the box entirely counts as no value given rather than as a zero, so you get the default of six and can retype the number at your own pace.
Making one from a phone photo
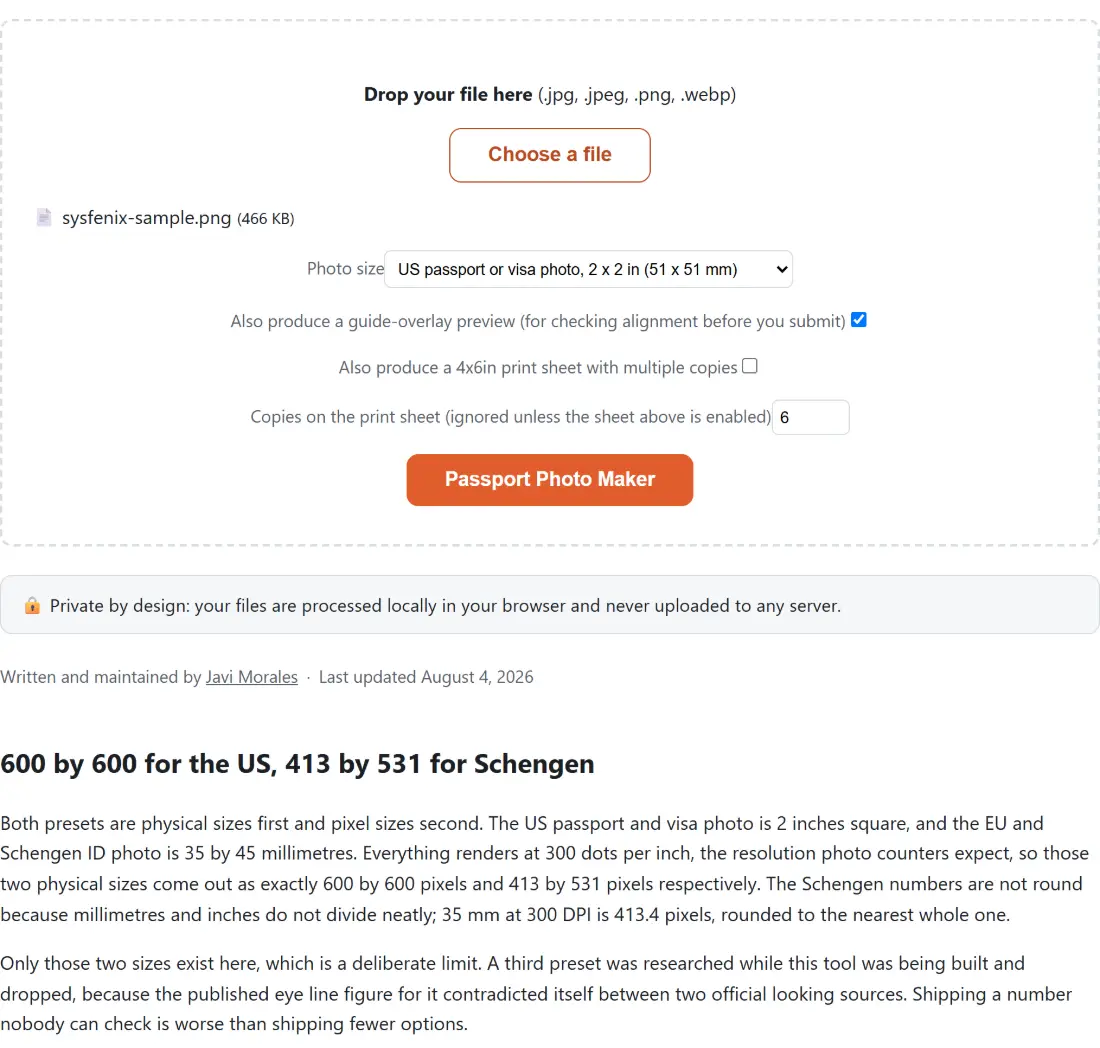
- Drop a JPG, PNG or WebP into the box, or press Choose a file. Front facing, evenly lit, plain light background behind you.
- Set Photo size to US passport or visa photo, 2 x 2 in (51 x 51 mm) or EU or Schengen ID and passport photo, 35 x 45 mm.
- Leave the guide overlay checkbox ticked unless you already know your framing is right.
- If you want prints, tick the 4x6in print sheet checkbox and set Copies on the print sheet between 1 and 6.
- Press the action button, which carries this tool’s own name, and download each result. Only the file ending in photo is the one to submit.
If you do not have a usable photo yet, the webcam capture tool will take one with a countdown and hand you a JPG or PNG that drops straight in here, and background removal produces the transparent PNG that this page flattens to white.
What this tool does not check
Dimensions are the easy part of an ID photo, and they are the part this page solves. Everything else on the rejection list stays your responsibility: background colour and shadows, neutral expression, eyes open and visible, glare on glasses, head coverings, the age of the photograph, and whatever your specific country has decided this year. There is no verification service behind the button and no promise that an office will accept the result.
So treat it as a fast, private way to get the geometry and the file right before you spend money on prints, and read your own destination’s current rules alongside it. More photo preparation tools sit on the image hub, and our roundup of the image tools here walks through the ones that pair with this.