The five sliders, and which one to reach for first
Every slider here runs from -100 to +100 with 0 meaning “leave it alone”, but they are not five flavours of the same control. Each one solves a different problem, and picking the right one first saves you fighting the other four.
Exposure is the one to try on any photo that is simply too dark. It multiplies light rather than adding it, so shadows and midtones lift a long way before highlights start to blow out. Brightness adds a flat offset to every channel, which is the right move when a photo is evenly a little off and the wrong move when only the shadows need help. Contrast steepens the curve around mid-grey, pulling shadows down and highlights up at once; it is the fix for a hazy, low-contrast scan or a shot through a dirty window. Saturation pushes colours away from or towards grey, useful both for a washed-out photo and for toning down a phone camera that oversaturates by default. Temperature corrects a colour cast, warm for a shot lit by indoor tungsten bulbs, cool for one taken in open shade or under an overcast sky.
A practical order for a dim indoor photo: raise Exposure until faces look right, add a little Contrast to recover the punch that lifting exposure flattens, then nudge Temperature to kill whatever colour the room’s lighting added. Saturation last, and usually by less than you expect.
Why exposure and brightness are not the same slider
This is the distinction most simple photo tools skip, and it is the reason we built two controls where a CSS filter would have offered one.
Brightness is addition. At +50 the tool adds about 128 to every channel of every pixel. A pixel that was already at 200 hits the 255 ceiling and stays there, so the bright half of the photo turns into a flat white smear while the shadows are still grey. It is fast, predictable and often too blunt.
Exposure is multiplication, and crucially it happens in linear light rather than on the stored sRGB byte value. The channel is converted out of gamma space, scaled by a gain factor, then converted back. The slider is calibrated in photographic stops, where each stop doubles or halves the light, and the full range spans about four stops end to end. That matches how a camera aperture actually behaves, which is why an exposure lift looks like a correctly exposed photograph while an equivalent brightness lift looks like someone turned up a lamp behind a sheet of paper.
We use the common gamma 2.2 approximation for the sRGB conversion rather than the exact piecewise transfer curve. The difference is invisible at slider precision, and the approximation keeps the whole pipeline as plain arithmetic that can be unit-tested outside a browser.
Watching both panels at once
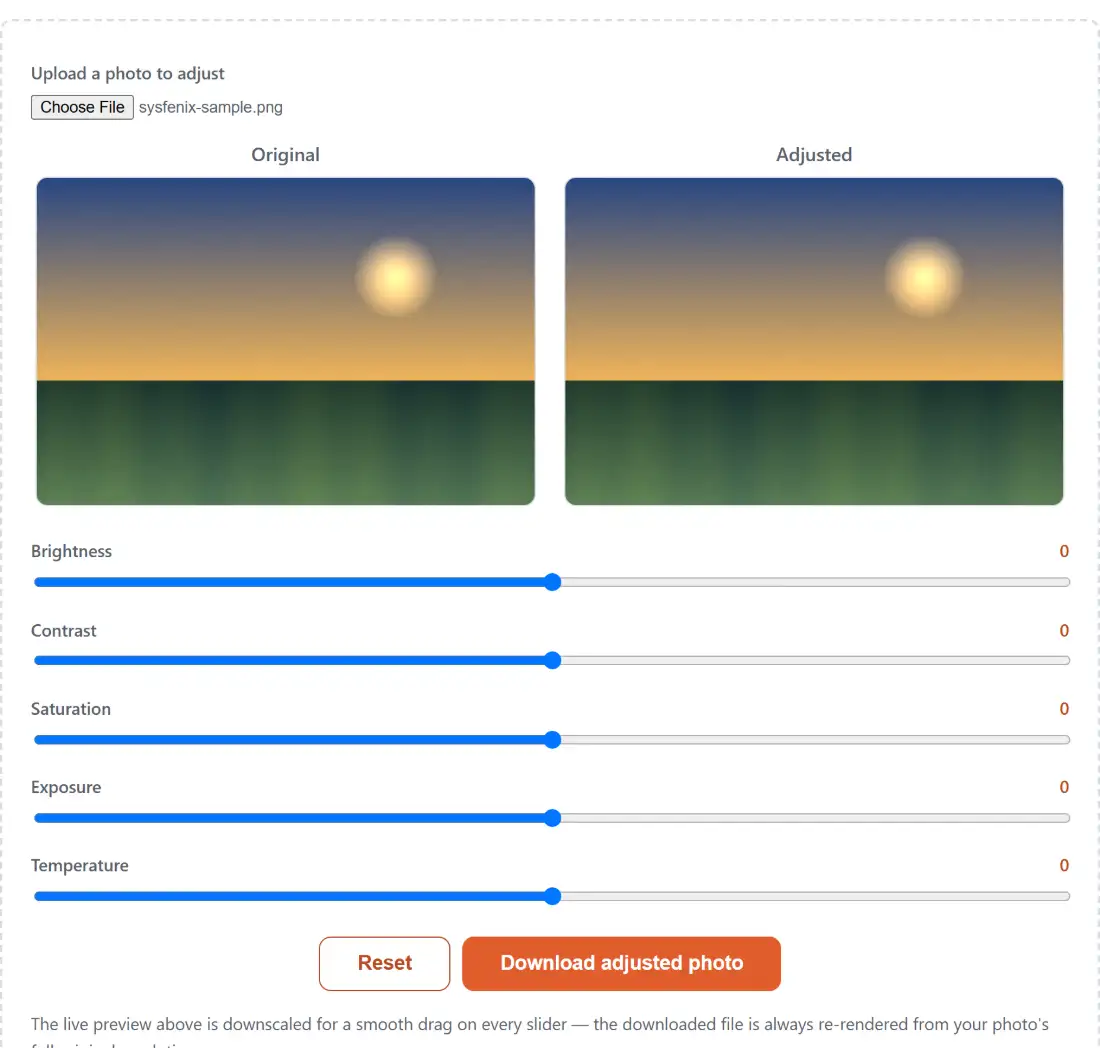
The interface shows two panels side by side rather than one image with a before/after toggle. The Original panel is drawn once from your file and never touched again. The Adjusted panel is redrawn from those same untouched source pixels every time a slider moves, which is why edits never compound and why dragging a slider back to 0 restores the exact original.
Both panels are capped at 420 pixels on the longer edge. That cap is what makes the sliders feel instant: a redraw touches a few hundred thousand pixels instead of forty million. It has no effect at all on what you download. Clicking the download button re-decodes the original file from scratch and runs the same per-pixel function across the full native pixel grid, then re-encodes in the source format.
Working through one photo takes four moves:
- Use Upload a photo to adjust to pick a JPG, PNG or WebP. It decodes on your device and both panels appear.
- Drag Exposure or Brightness until the Adjusted panel is roughly where you want it, checking against Original beside it. Each slider runs from -100 to 100 and shows its current number next to its name.
- Correct the cast with Temperature, then finish on Contrast and Saturation. Reset returns every slider to 0 whenever an edit gets away from you.
- Click Download adjusted photo. The export re-runs your settings over the full-resolution original, not over the 420 pixel preview.
What these sliders will not fix
Five global sliders apply the same maths to every pixel in the frame, which sets a hard limit on what they can repair. They will not selectively rescue a face that is in shadow while the sky behind it is correctly exposed; that needs local adjustment or an HDR merge. They will not recover detail from a region that was already pure black or pure white in the original, because there is nothing left in those bytes to recover. They will not fix motion blur or a missed focus, and Temperature will not remove a green fluorescent cast, since it only moves the red-blue axis.
If the underlying photo is small and soft rather than badly lit, Upscale Image is a better starting point. If the problem is framing, Crop Image comes first, and for a photographed page of text Document Scanner applies a threshold-style clean-up that suits documents better than any brightness curve. A full conversion to monochrome is a separate tool, Grayscale Image, rather than pulling Saturation to -100.
Photos people bring to a brightness tool
Think about what actually lands in a “fix this dark photo” box: a poorly lit photo of a passport page, an insurance claim, a whiteboard from a meeting, a child’s school event, a product shot that has not launched yet. A tool that uploads those to a server holds a copy of each one, however briefly, for a job that is arithmetic on bytes and needs no server at all.
Here the decode, the five adjustments and the re-encode all happen in your browser’s own canvas engine. There is no upload endpoint, no account, and no queue. The only file that outlasts the tab is the one you chose to save.