A 3x3 grid instead of a drag rectangle
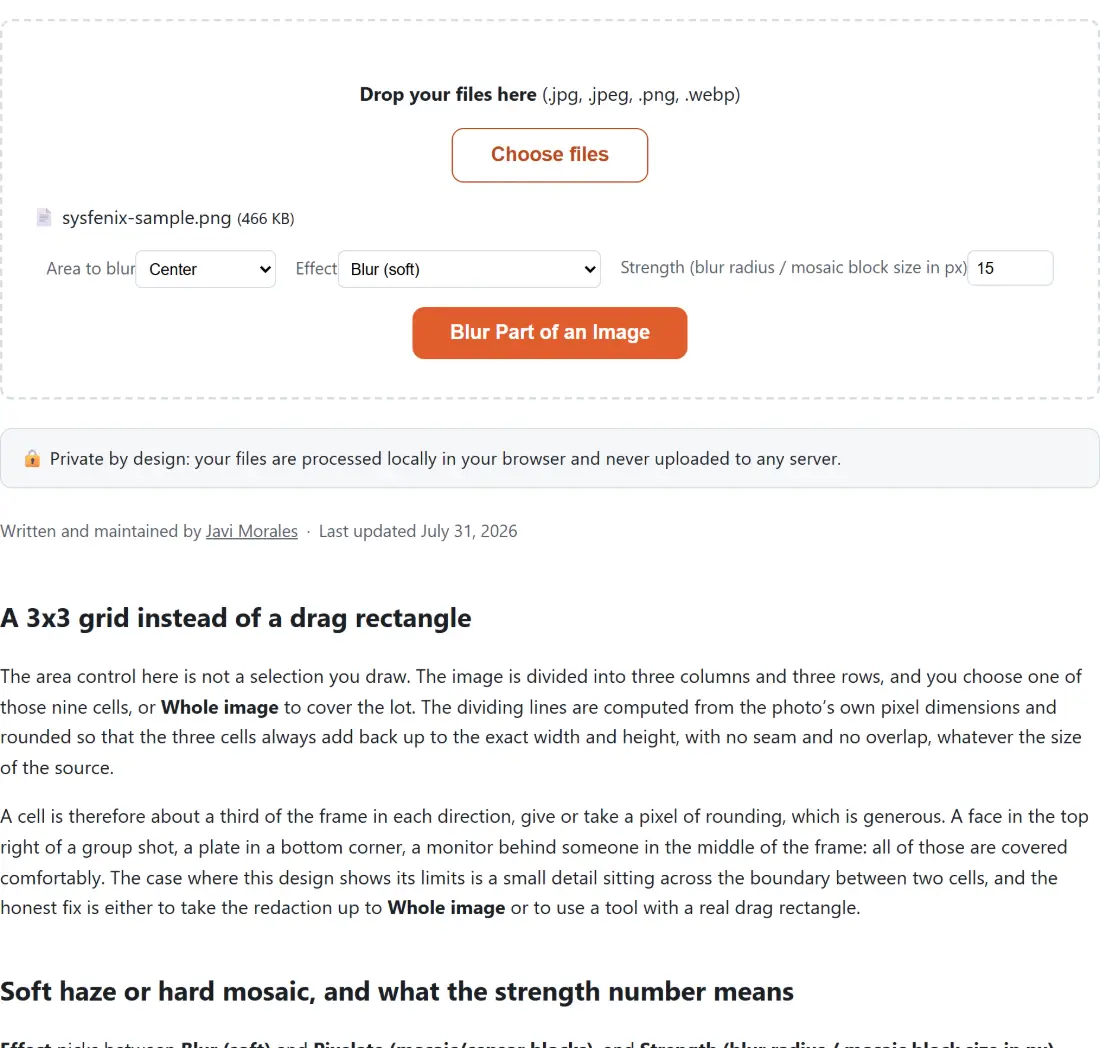
The area control here is not a selection you draw. The image is divided into three columns and three rows, and you choose one of those nine cells, or Whole image to cover the lot. The dividing lines are computed from the photo’s own pixel dimensions and rounded so that the three cells always add back up to the exact width and height, with no seam and no overlap, whatever the size of the source.
A cell is therefore about a third of the frame in each direction, give or take a pixel of rounding, which is generous. A face in the top right of a group shot, a plate in a bottom corner, a monitor behind someone in the middle of the frame: all of those are covered comfortably. The case where this design shows its limits is a small detail sitting across the boundary between two cells, and the honest fix is either to take the redaction up to Whole image or to use a tool with a real drag rectangle.
Soft haze or hard mosaic, and what the strength number means
Effect picks between Blur (soft) and Pixelate (mosaic/censor blocks), and Strength (blur radius / mosaic block size in px) means something different to each, which is why the label carries both names. It accepts 2 to 50 and starts at 15.
Because that number is in source pixels, the same setting is not equally strong on every photo. Fifteen pixels of blur across a 4000 pixel wide camera file covers far less of a face than fifteen pixels across a 600 pixel wide screenshot. Check the output at full size rather than trusting the default, and raise the strength if any structure is still legible.
The blur is produced by blurring a copy of the entire image on a scratch canvas and then pasting back only the cell you selected. That detail is visible in the result: the blur samples real neighbouring pixels from outside the cell, so the redacted area does not fade towards an empty edge the way a blur computed on an isolated rectangle would.
The redaction is permanent, and the format survives
Both effects overwrite pixels. Blur replaces the region with smeared values, pixelate replaces it with flat tiles, and in each case the original detail is gone from the output file. That is unlike drawing a black rectangle in a document or a slide, where the covering shape is a separate object anyone can drag aside. Nothing is layered here, and nothing is recoverable from the download.
The file you started with is not modified. The tool reads it, works on a canvas in memory and hands you a new file named after the original with -blurred before the extension, so keeping or deleting the unredacted original is a decision you make deliberately.
The output keeps its source format, so a JPG comes back JPG, a PNG comes back PNG and a WebP comes back WebP. No quality value is passed to the encoder, which means the browser’s own default applies for the lossy formats. And because the whole image is re-encoded from canvas pixels, there is nothing in this path that copies the source file’s metadata block across. If the metadata is the thing you are worried about rather than the picture, the EXIF remover does that job on JPG and PNG files, and the EXIF viewer shows you what a photo is carrying before you decide.
Redacting a batch, cell by cell
- Drop your JPG, PNG or WebP photos into the box, or click Choose files. A batch is fine.
- Pick the cell under Area to blur, or choose Whole image.
- Pick the Effect, then set the strength.
- Click Blur Part of an Image and download each result.
One run applies one cell, one effect and one strength to everything in the batch, so a set of photos where the sensitive detail sits in different places needs one run per group. Files dropped in after a run has finished are ignored until you click Process another, which clears the list.
Where the grid is the wrong shape for the job
Two cases fall outside what a single cell can express: a detail straddling a boundary, and several separate details scattered around the frame that you would rather not cover with a whole-image blur. For both, the screenshot annotator is the better fit, because it lets you drag blur or pixelate boxes exactly where you want them, as many as you need, on top of the same redaction code this page uses. The rest of the image tools cover the ordinary crops and conversions around a redaction.