The centered rectangle this tool keeps
Cropping here is one specific operation: find the largest rectangle of the ratio you chose that fits inside the source image, place it dead center, and keep what is inside it. Whichever edge is proportionally too long gets trimmed by the same amount at both ends.
Two examples make the behavior concrete. A 4000x3000 photo cropped to a square keeps the full 3000 height and trims the width to 3000, removing 500 pixels from each side. The same photo cropped to 16:9 keeps the full 4000 width and reduces the height to 2250, taking 375 pixels off the top and 375 off the bottom. Notice that the output resolution is not something you set: it falls out of the source size and the ratio, and the tool never scales anything to make a rounder number.
Which ratio each destination expects
Square, at Square (1:1) for profile pictures, is what avatars want almost everywhere: LinkedIn, most forums, Slack, and the classic Instagram feed post. Widescreen (16:9) for YouTube thumbnails and banners matches video thumbnails, presentation slides and the hero strip across the top of a web page. Portrait (9:16) for Stories, Reels and TikTok is the full-screen phone shape, the inverse of widescreen. Standard (4:3) is the shape most cameras and phones still shoot in, and it remains the right choice for printed photos, older displays and a lot of marketplace listings.
Getting the shape right before you upload matters because the platform will crop for you otherwise, using its own rules and without asking. That automatic crop is the reason so many profile pictures end up with a chin cut off.
Cropping copies pixels, it does not rescale them
This tool copies a region. It does not resample, interpolate, stretch or resize, so the pixels inside the frame are the same pixels that were there before, at the same scale. A square cut from a 12-megapixel photo is exactly as sharp as the original, just smaller in area.
The only change is the re-encode. The output is written in the source’s own format, so a JPG stays a JPG and a PNG stays a PNG, and the JPEG write does carry the usual small generation cost that any JPEG save does. Byte sizes will therefore not line up exactly with the fraction of area you kept.
No drag handles, and an off-center subject
There is no selection box to drag, no preview of the frame and no per-file adjustment. A centered crop is the right answer for a headshot, a product shot on a plain background, or a landscape with the horizon through the middle, and it is wrong for a photo where the subject stands at one edge.
When the composition is unusual, do the framing elsewhere first and use this tool only to lock the ratio. If what you actually want is a round avatar, Circle Crop Image cuts a centered circle and keeps the corners transparent. If you want to cut a large image into several tiles rather than trim it, Image Splitter does that. And for ID photos with formal framing rules, Passport Photo Maker works to the specification instead of to a ratio.
The ratio suffix on every filename
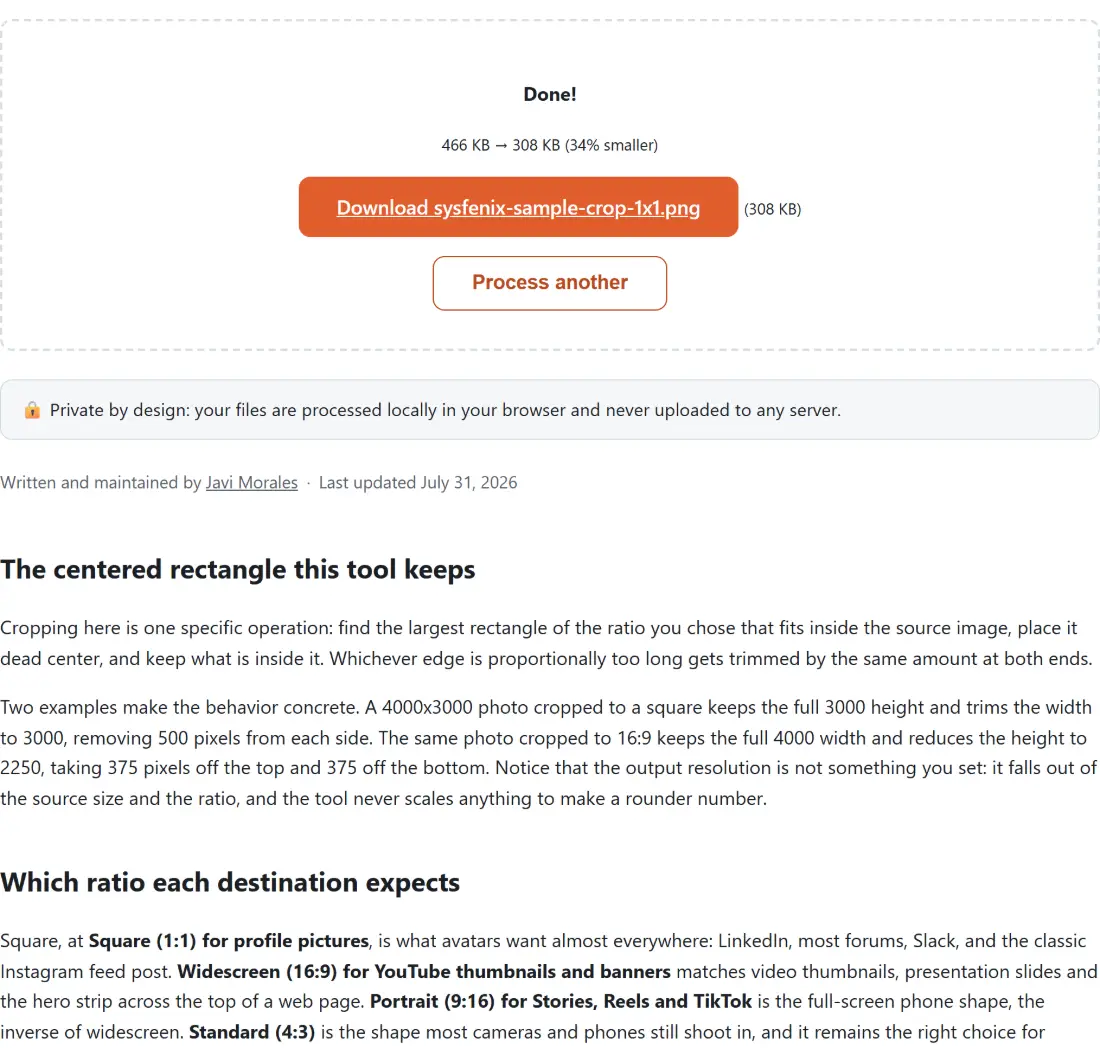
Each download is named after its source with the ratio appended, using an x because a colon is not legal in a filename on Windows. So portrait.jpg cropped to 9:16 comes back as portrait-crop-9x16.jpg. Run the same batch twice at two ratios and the two sets never collide, which is the practical reason the suffix exists.
Cropping a set of photos
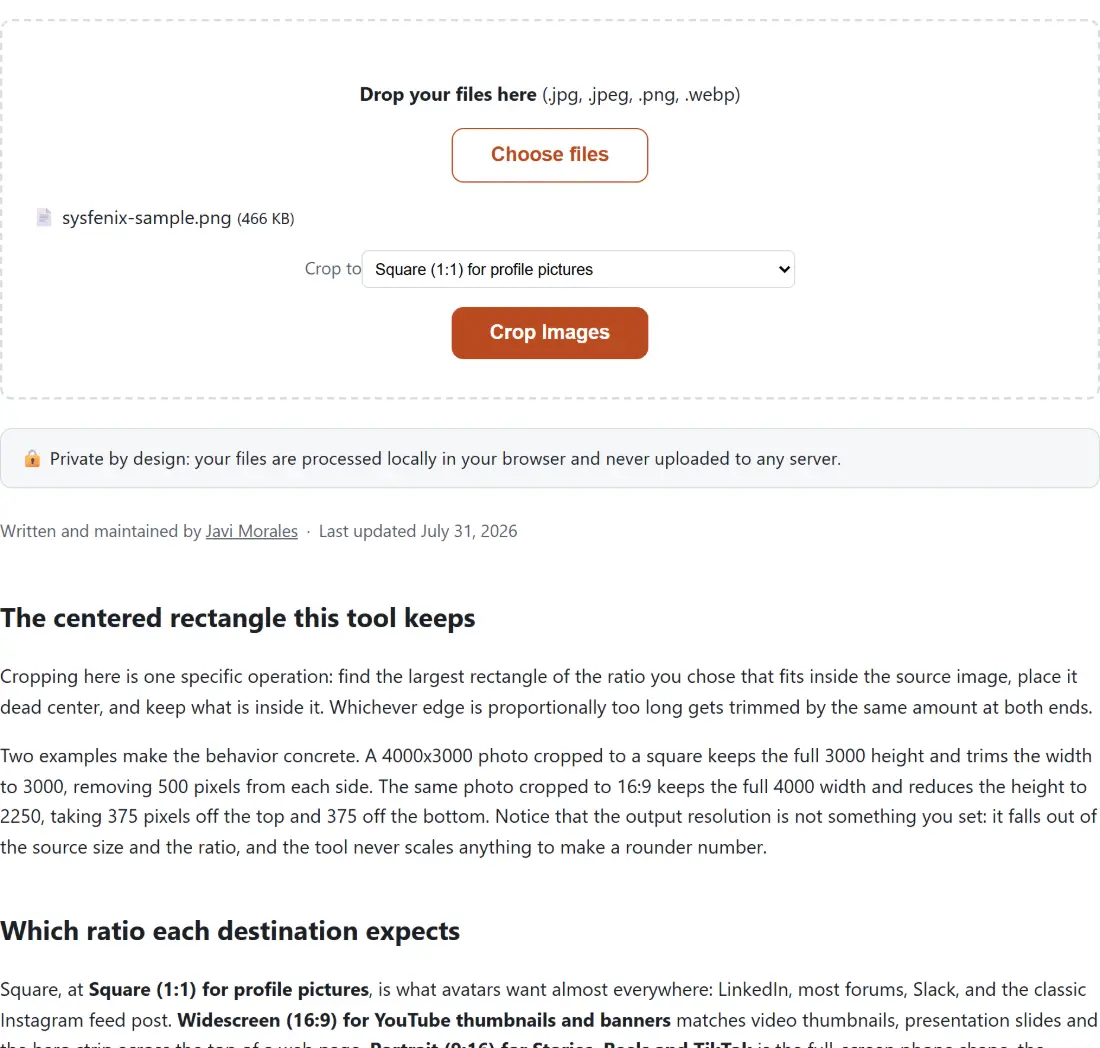
- Drop your JPG, PNG or WebP files into the box above, or use Choose files. The batch can be built up over several drops.
- Choose the ratio under Crop to. It applies to every file in the batch.
- Click Crop Images. The progress bar advances once per finished file.
- Download each result and open it to check the framing, since the crop is not previewed on the page.
Crop first, then resize
When a destination specifies both a shape and a size, do them in that order. Crop to the ratio here, then set the pixel dimensions with Resize Image, which derives the height from the width and so cannot fight the ratio you just established. Resizing first only rescales pixels you are about to discard.
The same pairing works for the rest of the pipeline: crop, resize, then compress. Every one of those steps is listed on the image tools hub, and the image converter and editing tools guide covers when each is worth doing.