The number a print portal checks is a header field
Almost everyone who searches for this arrives believing that converting an image to 300 DPI improves it. It does not, and understanding why makes the rest of the page obvious. An image is a fixed grid of pixels. The DPI value is a separate note attached to that grid saying how densely to lay those pixels down on paper. Change it and the grid does not move.
A 3000 by 2400 image labelled 300 DPI prints at 10 by 8 inches. Relabel it 150 and the identical pixels print at 20 by 16 inches, spread thinner; relabel it 600 and it prints at 5 by 4, packed tighter. On screen nothing changes, the file size barely moves, and no detail is added or lost. Submission systems ask for 300 because it is a convenient proxy for “big enough to print sharply”, and many check only the header field, which is exactly what the default mode writes.
Where each format keeps its density
The two accepted formats store this in completely different places, which is why they are the two formats this tool handles.
PNG uses a small chunk called pHYs holding pixels per metre on each axis plus a unit byte. If one is already present it is replaced; if not, a fresh one is inserted immediately before the first image-data chunk, where the specification says it belongs, and its checksum is computed properly so the file stays valid.
JPEG keeps density in the JFIF segment near the start of the file, as dots per inch. When a well-formed segment exists, only three values inside it are overwritten, the units byte and the two density fields, leaving the version bytes and any embedded JFIF thumbnail exactly as they were and the segment the same length as before. JPEGs often also carry Exif resolution tags, which some software (Photoshop among them) prefers over JFIF. Where those tags already exist they are patched to the same value in place, so the two sources cannot disagree and make the edit look like it failed.
Setting the density across a batch
- Drop your PNGs and JPGs on the box or click Choose files. More than one file is fine, and files that are not .png, .jpg or .jpeg are refused with a message naming them and listing what is accepted.
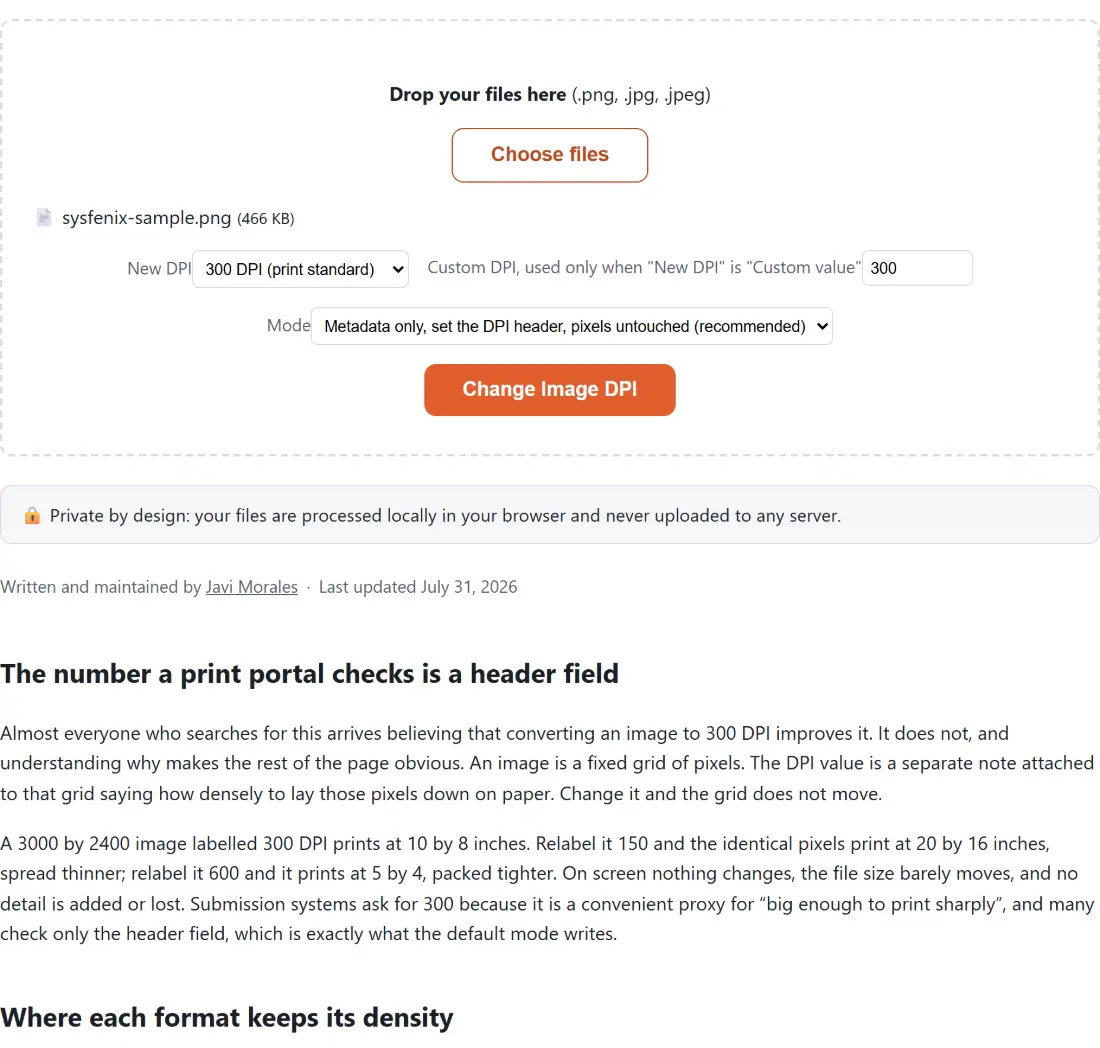
- Pick a New DPI. It starts on 300 DPI (print standard). Choosing Custom value makes the custom field below the one that counts; it takes anything from 1 to 10000.
- Leave Mode on the metadata-only choice unless a portal has specified a physical size in inches or centimetres as well as a density.
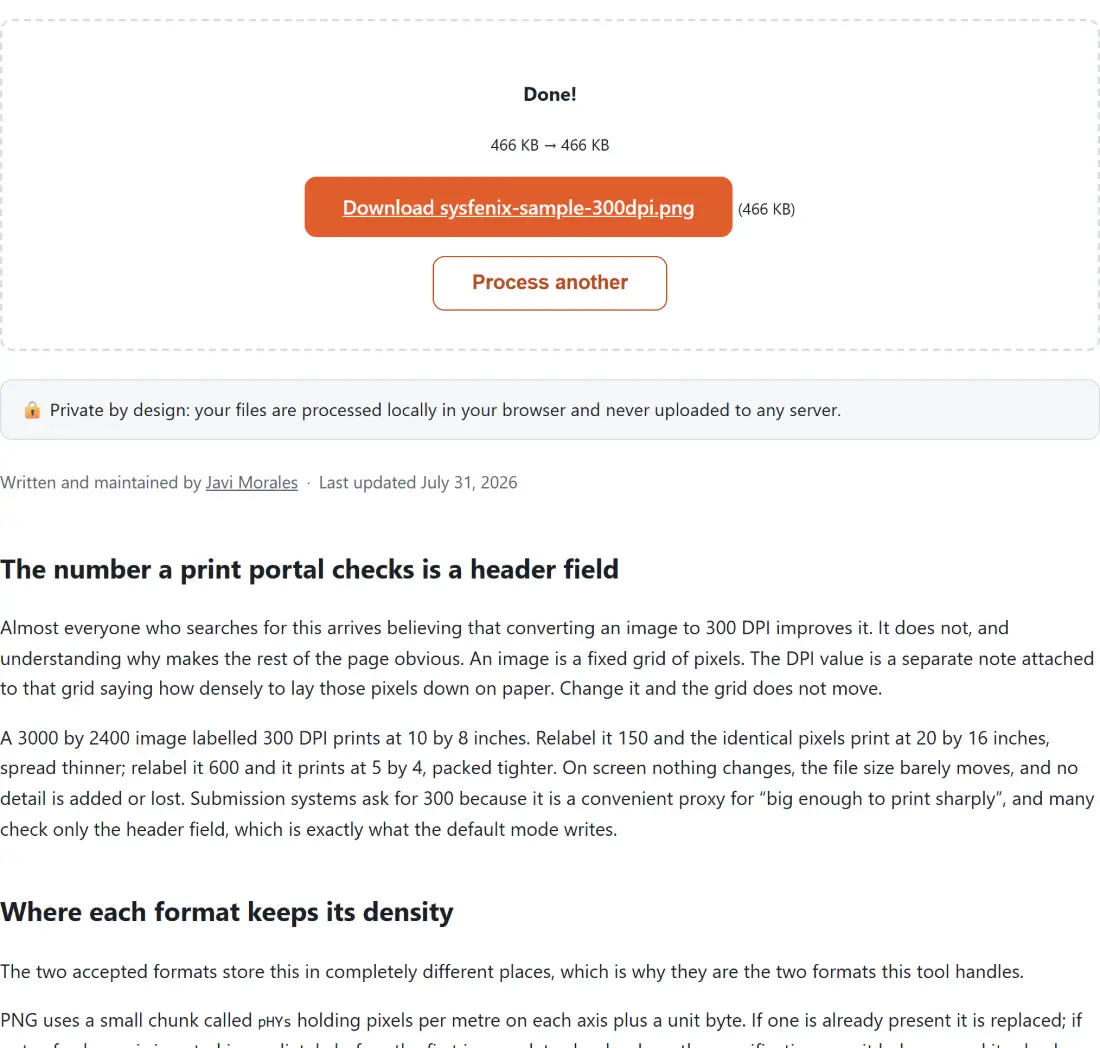
- Click Change Image DPI, then take each file from its own download link. Each one is renamed with the density, so
scan.pngcomes back asscan-300dpi.png.
Resample mode rebuilds the pixel grid instead
Some submissions specify both things at once, for example 2 by 2 inches at 300 DPI. If your pixel count does not already produce that physical size at that density, no header edit can fix it and the grid itself has to change. The second choice in the Mode select does what the resample checkbox in a desktop editor does: it holds the physical print size constant and recalculates the pixel dimensions, scaling each edge by the ratio between the new density and the file’s current one.
Be clear-eyed about what that buys you going upward. Tripling each edge means nine times the pixels, all of them interpolated from the ones you had, so the result is larger and smoother but carries no more real detail than the original. Going downward it behaves like an ordinary downscale. If your actual requirement is a pixel size rather than a density label, Resize Images is the more direct tool, and it takes a target width or a percentage across a batch with the aspect ratio kept.
Metadata that survives, and metadata that does not
Every step described here runs in your browser’s own memory, with no file sent anywhere, which matters for the passport photos, ID scans, manuscripts and client artwork that make up most print-prep work. What differs between the two modes is how much of your file comes out the other side.
In the default mode nothing is decoded: the file’s own bytes are copied through and only the density fields change, so camera model, capture date, GPS coordinates, exposure settings, colour profile and the compressed image data itself are all untouched, and a JPEG suffers no generation loss at all.
Resample mode cannot make that promise. Redrawing pixels means the image is decoded onto a canvas and encoded again by the browser, and that process keeps the picture and discards everything else attached to it. Exif and colour profile do not survive the round trip, and a JPEG is re-compressed at the browser’s own default quality, which is not adjustable here. If a photo’s metadata matters to you, check what it is carrying first with the EXIF Metadata Viewer, and prefer the metadata-only mode wherever the portal allows it. The rest of the image tools cover the cropping, compression and conversion steps that usually surround a print submission.
One last practical note on batches: the files are processed one after another and there is no per-file safety net, so a file that turns out not to be a real PNG or JPEG inside, whatever its extension says, ends the entire run. Nothing downloads in that case, not even the files that had already converted. With a large batch of mixed-provenance images it is worth running a couple through first.