Instagram fills the grid newest first, so the tiles count down
A profile grid puts your most recent post in the top-left square and pushes everything older down and to the right. That single fact is what makes grid posts fiddly, because the reading order of a picture and the posting order of a feed run in opposite directions.
Post the top-left tile first and it will not stay top-left for long. Every subsequent upload shoves it along, and by the time the ninth tile goes up the picture is scrambled beyond rescue. The correct sequence is the exact reverse of reading order: bottom-right first, top-left last, so the final upload lands in the corner where the picture begins.
Rather than leaving that to you, the numbering in the archive is already reversed. For a 3x3 split of beach.jpg you get beach-1.jpg through beach-9.jpg, where beach-1.jpg is the bottom-right corner and beach-9.jpg is the top-left. Upload them in plain numerical order and the grid assembles itself. When a grid has ten tiles or more the numbers are zero-padded to match, so a 3x4 layout produces beach-01.jpg through beach-12.jpg and they sort correctly in every file manager.
Even boundaries, rounded one edge at a time
Each cut position is computed independently as a fraction of the full dimension and then rounded, rather than by multiplying out a single tile width. It sounds like a detail; it is what keeps the tiles gapless.
Take a 1000 pixel wide photo split into three columns. The boundaries land at 0, 333, 667 and 1000, which makes the columns 333, 334 and 333 pixels wide. Every column starts exactly where the previous one ended, so there is no seam and no overlap, and the widths still sum to 1000. A dimension that divides cleanly has no remainder to spread at all: a 4032 pixel wide phone photo gives three columns of exactly 1344 pixels, and a 1080 by 1080 square gives nine tiles of 360 by 360.
Picking a layout and collecting the archive
- Drop a photo on the panel or press Choose a file. JPG, PNG and WebP are accepted, one photo per run.
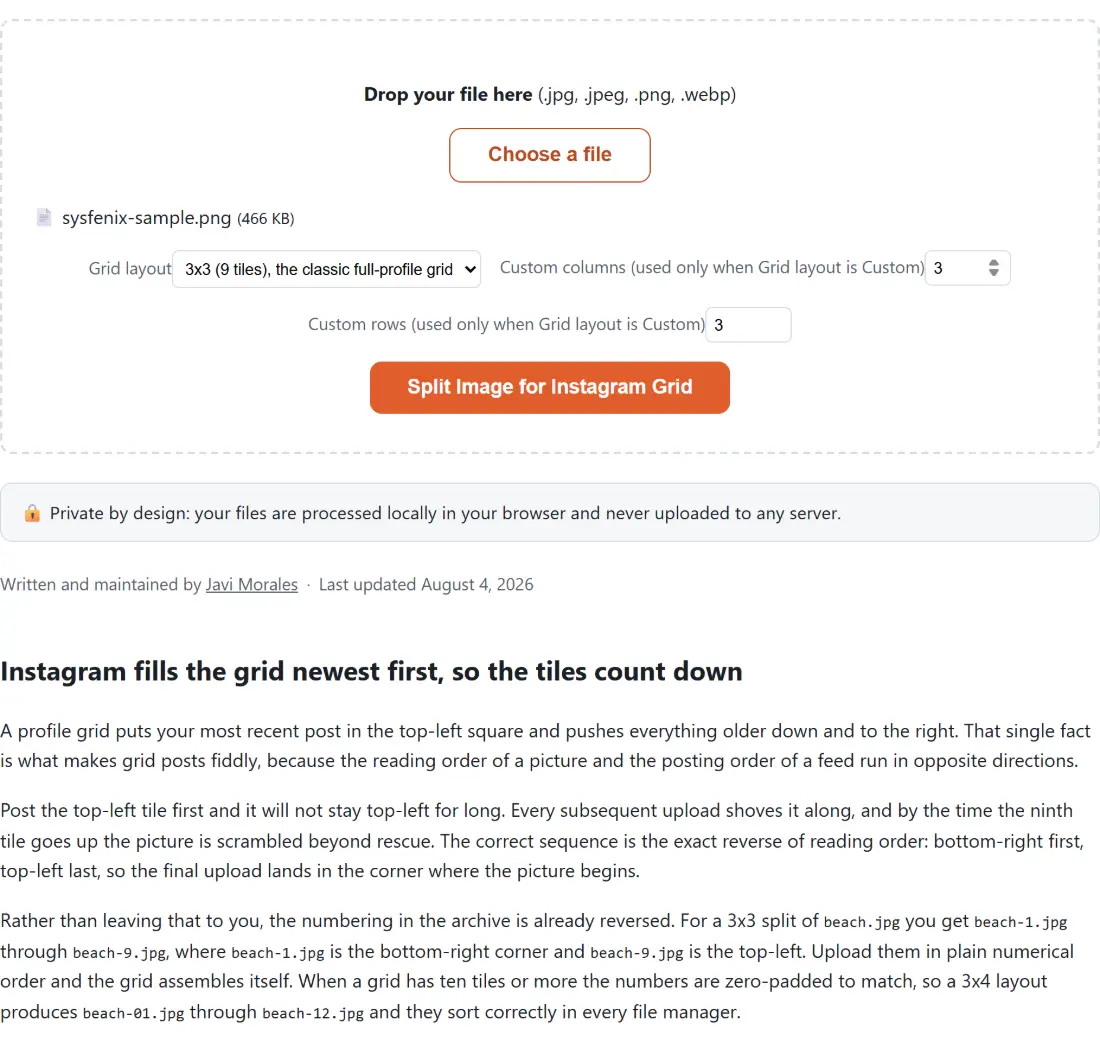
- Choose a Grid layout. 3x3 (9 tiles), the classic full-profile grid is the default and the one most people mean; 3x1 (3 tiles), a horizontal strip suits a panorama, and 3x2 (6 tiles) covers two rows.
- For anything else, pick Custom (set columns and rows below) and fill in Custom columns (used only when Grid layout is Custom) and Custom rows (used only when Grid layout is Custom). Both accept 1 to 10.
- Press Split Image for Instagram Grid. The progress bar advances one step per tile.
- Download the ZIP, unpack it, and upload the tiles in numerical order starting at 1.
Custom columns and rows, and what an empty box means
The custom fields are only read when the layout menu is set to Custom; leave the menu on a named preset and whatever is in them is ignored entirely.
When they are read, they are treated defensively. A value is rounded to a whole number, then clamped between 1 and 10, which caps the largest possible grid at 100 tiles. An empty box is not treated as a number at all: it means no value given, so the field falls back to the 3 it started with and clearing both simply returns you to the ordinary three by three grid. Typing a 0 is the one that clamps upward to 1, which is a slightly roundabout way of asking for your own photo back inside a ZIP.
The tiles are re-encoded, not carved out of the original file
Nothing here reaches into the file format and slices bytes. Your photo is decoded into a bitmap, and each tile is drawn from the source rectangle onto a canvas of exactly that size, at a one-to-one scale. No resampling happens, which is why a tile is precisely as detailed as the corresponding patch of the original.
The encoding step is the one honest cost. Each tile is written back out in the format it came from, and for a JPG or a WebP that means the browser’s own encoder runs at its default quality setting, adding one more lossy generation on top of whatever the photo already carried. A PNG comes back losslessly. It is a small effect on a single pass, and if the tiles need to be lighter for upload, unpack the archive and run them through Compress Images, which takes the whole set at once and gives you a quality dial this page does not.
One side effect is worth planning for: the canvas path discards the source metadata, so the tiles carry no EXIF at all. That is the same mechanism Remove EXIF Data from Photos uses on purpose. Here it is a freebie, not a promise about the original file, which is never modified.
Framing the photo before you split it
Instagram shows profile tiles as squares. Tiles come out square only when the source photo’s proportions match the grid you asked for, so a 3x3 split wants a square photo, a 3x2 split wants a 3:2 photo, and a 3x1 strip wants something roughly three times as wide as it is tall.
Getting there first is the difference between a grid that lines up and one the platform crops for you. Crop Images opens on a centred square by default and also offers 4:3, 16:9 and 9:16, and it takes a batch if you are preparing several grids. If your source is enormous, Resize Images beforehand keeps the tiles closer to what the platform will actually display, and a smaller source means a smaller archive. Both live on the image tools hub alongside the rest of the photo editing set.
If a run is taking longer than you expected on a very large custom grid, pressing Cancel stops it between tiles. Nothing partial is kept: the archive is only assembled once every tile has been rendered, so a cancelled run leaves the panel empty and ready for another attempt.