1280 by 720, and the five percent you should not design into
Every thumbnail here is a fixed 1280 by 720 canvas. That is YouTube’s own recommended size, 16:9, and it is the only size this tool produces, which removes the first decision most general design apps make you take.
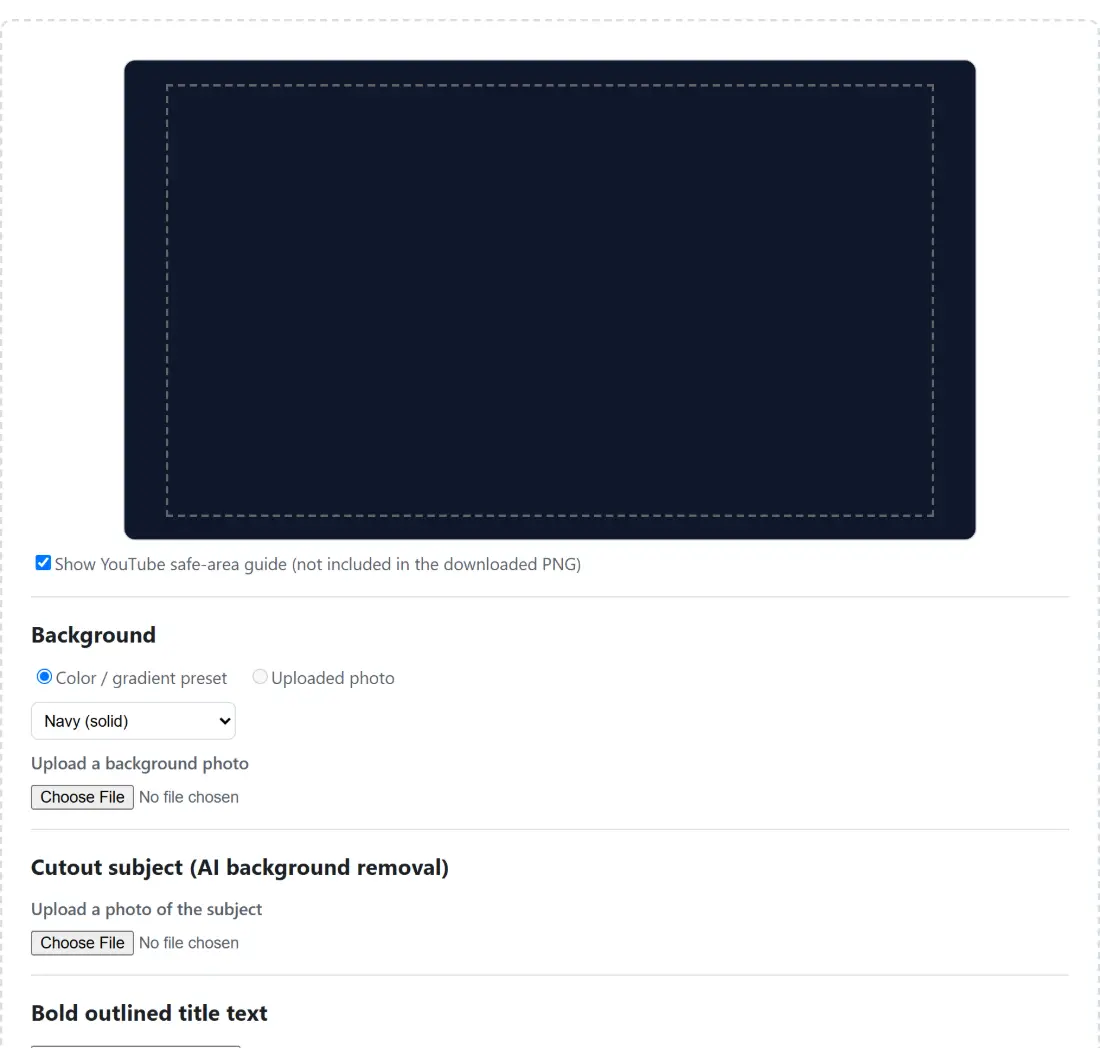
Inside that frame there is a second boundary worth respecting. Players and platform chrome (duration badges, hover progress bars, TV and embedded-player overlays) can crop or cover the outer edge of a thumbnail, so the useful advice is to keep faces and words inside the central ninety percent. The dashed guide you can toggle above marks exactly that: a five percent margin on each side, which at this size is 64 pixels left and right and 36 pixels top and bottom, leaving a 1152 by 648 usable box.
The guide is drawn as an HTML overlay sitting on top of the canvas element, never onto the canvas itself. That is a structural guarantee rather than a promise: the PNG export can only contain pixels that were painted on the canvas, so no amount of forgetting to switch the guide off can leak a dashed rectangle into your file.
Where a background photo actually gets cropped
Upload a background photo and it is cover-fitted, not stretched. The largest 16:9 rectangle that fits inside your image is taken from the centre and scaled up or down to fill the frame. A square 400 by 400 photo, for example, contributes the central 400 by 225 band starting 87 pixels down from its top edge; the top and bottom of the square are discarded rather than squashed. A very wide panorama loses its left and right ends instead.
That has a practical consequence when you shoot for a thumbnail: put the subject near the vertical centre of the frame, because a centre crop is unforgiving of a face near the top of a portrait photo. Once the photo is in place, five sliders (brightness, contrast, saturation, exposure and temperature, borrowed wholesale from the Photo Adjuster) let you push it back or warm it up so overlaid text stays readable. Those sliders only apply to an uploaded photo; the colour and gradient presets are painted directly and need no adjustment.
The layer stack, in the order it is painted
Understanding the paint order explains most of what you can and cannot arrange:
- The background, either a preset colour or gradient, or your adjusted photo.
- The cutout subject, scaled by height (the default 70 percent of the canvas puts it 504 pixels tall) and centred on its slider position.
- Emoji and shape stickers, in the order you added them, so a later sticker sits over an earlier one.
- The bold outlined title, always last, always on top.
The title being painted last is a design decision with a real trade-off: your headline can never be hidden behind the subject’s shoulder, but equally you cannot put the subject in front of the text for that “peeking over the words” look. If you need that, export, then composite the pieces in an editor that has arbitrary layer ordering.
The bold outlined title, and why it uses Impact
The headline is drawn in Impact with an Arial Narrow fallback, the same choice the Meme Generator makes, because it is condensed and heavy enough to read at feed size and it is present on essentially every desktop system with no font file to download. Fill and outline colours are both yours to pick; the defaults are white on black.
The outline width is derived from the font size rather than being another slider: it is the font size divided by ten, with a floor of 2 pixels, so the default 72 pixel headline gets a 7 pixel stroke and a 180 pixel headline gets 18. Stroke joins are rounded, which is what keeps the corners of letters like A and V from growing spikes. Sizes run from 24 to 180 pixels.
Stickers come from a curated set of twenty emoji that genuinely turn up in thumbnails, plus four shapes (rectangle, circle, arrow and star) drawn as canvas geometry rather than as font characters, with their own colour picker and a size range up to 480 pixels for the shapes. The arrow exists for one reason, and anyone who has scrolled a tech channel’s uploads knows what it is.
Draft headlines for an unlisted video should not leave your machine
Thumbnail work is nearly always work on something unpublished: a video still in the editor, a product that has not been announced, three candidate headlines you are choosing between. That is a bad fit for a design site that uploads your assets to render them.
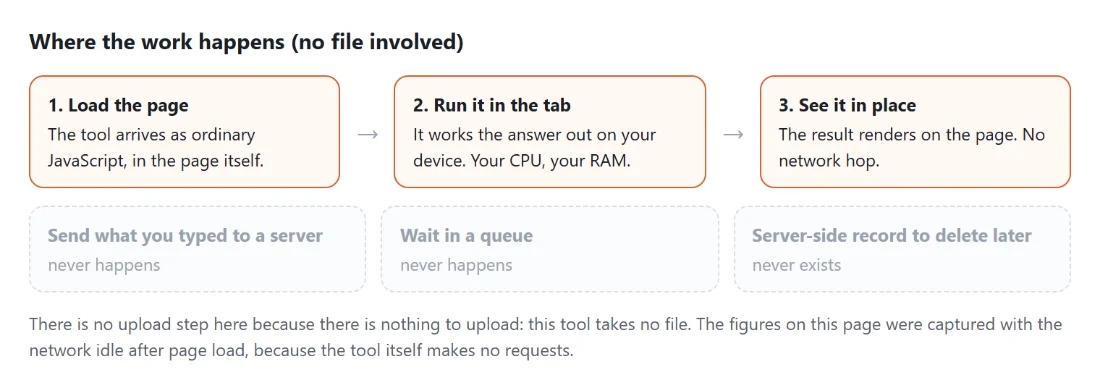
Nothing here does. The background photo and the subject photo are decoded locally, composed on a canvas in your own tab, and exported with the browser’s own PNG encoder to youtube-thumbnail.png. The only network traffic in the whole tool is the cutout machinery itself: the onnxruntime WebAssembly runtime and the roughly 6.3 MB quantized MODNet weights, fetched from a public CDN and cached the first time you use the cutout feature. That request sends your device a model; it does not send anyone your photo.
What to reach for when this is not the right shape
There is one text layer, one cutout, no drag handles, no template gallery and no project you can reopen tomorrow. If you need a matching share image for the blog post or landing page that accompanies the video, OG Image Generator produces the 1200 by 630 version. If you only need the subject cut out and nothing else, go straight to Background Remover and skip the canvas. And if you are stamping your logo across finished footage frames rather than designing a click target, that is Watermark Image instead.