The Impact look, reduced to two pickers and a number
The format has barely changed since image boards invented it. Heavy uppercase lettering in Impact, white fill with a thick black outline so it survives any background, one line pinned just inside the top edge and another just inside the bottom. Everyone recognizes it, and almost nobody wants to build it by hand in an image editor.
This page draws it with the browser’s own canvas. The photo is decoded, redrawn at its original pixel dimensions, and then the captions are stroked in black and filled in white on top, centered horizontally, with a rounded line join so the outline does not spike at sharp corners. Nothing about the picture itself is resized or cropped, so what comes back is your photo at its original dimensions with lettering added. No logo goes on it either, which is the main practical difference from most free meme sites.
Captioning a batch, step by step
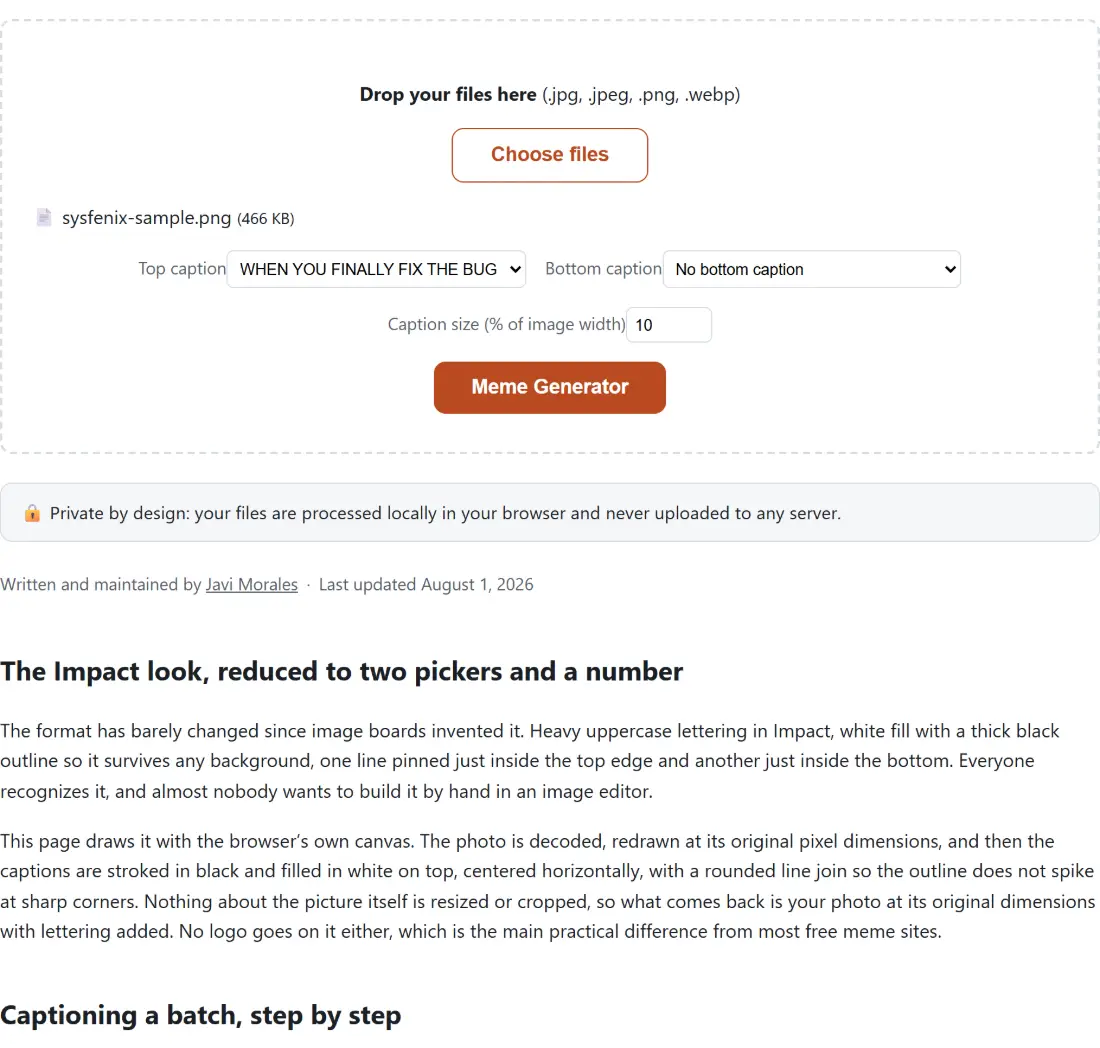
- Drop your JPG, JPEG, PNG or WebP files onto the box above, or press Choose files. Several at once is fine, and files with an identical name and size are ignored as duplicates when you add more.
- Choose a Top caption. It starts on WHEN YOU FINALLY FIX THE BUG, and No top caption leaves that slot empty.
- Choose a Bottom caption. It starts on No bottom caption, so a fresh run gives you a single line at the top until you change it.
- Set Caption size (% of image width) if the default of 10 is not right for your image.
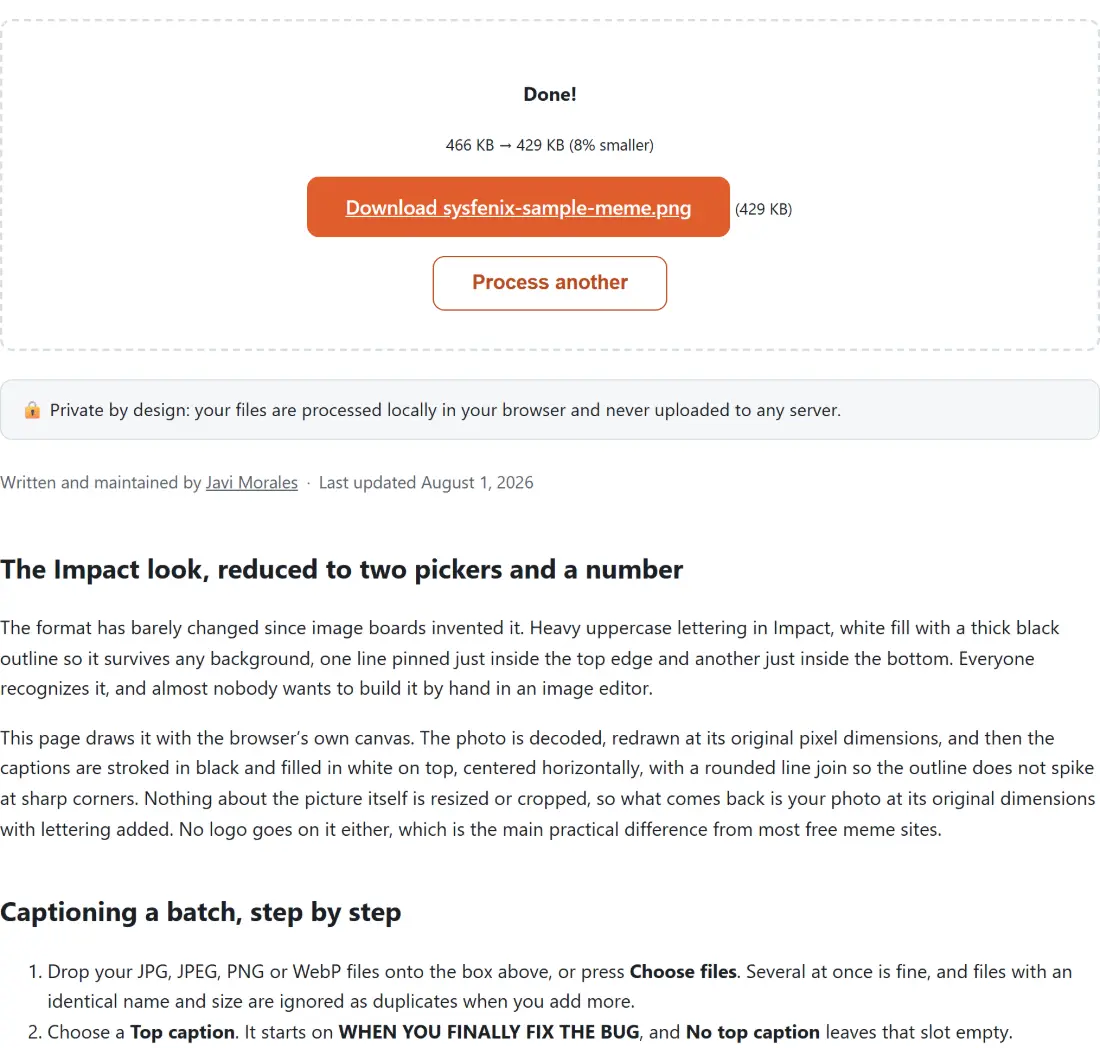
- Press Meme Generator, the button that repeats the page title, and download each captioned photo from the list that appears.
Every file in the run gets the same pair of captions at the same size. That is the point of the batch mode, and it is also its limit: if you want different text per photo, run them separately.
Caption size is a share of the width, not a point size
Typing a font size in points is useless when one input is a 640 pixel screenshot and the next is a 4000 pixel camera file. So the Caption size (% of image width) field takes a number between 1 and 20 and multiplies it by the image’s own width.
Work an example through. A 1200 pixel wide photo at the default 10 gives a 120 pixel font. The margin between the text and the edge is a quarter of the font size, so 30 pixels. The outline is a tenth of it, so 12 pixels. Push the same photo to 20 and the font doubles to 240 pixels, with a 60 pixel margin and a 24 pixel outline to match.
Two floors stop the math collapsing on small images. The font never drops below 10 pixels and the margin never drops below 6, so a 600 pixel image at a setting of 1 still gets legible 10 pixel text rather than a 6 pixel smear. Anything outside the 1 to 20 range, or a non-numeric value, falls back to 10.
Where the captions land, and what that means for framing
The top caption is drawn from its top edge downward at the margin, and the bottom caption from its bottom edge upward at the margin. Both are locked to the horizontal center. There is no position control, because the whole visual joke of the format depends on those two anchor points.
That does mean framing matters. If your subject’s face is at the very top of the shot, the top caption will sit across it. Crop before you caption rather than after: Crop Images offers fixed aspect ratios and starts on a 1 to 1 square, and cropping first also changes the width the caption size is measured against, so the lettering scales to the new frame instead of the old one. If the source is enormous, Resize Images can bring it down first, which keeps the finished meme a sensible size for a chat app.
What the re-encode does to your file
The output format is decided purely by the extension you uploaded. A .png comes back as a PNG, a .webp as a WebP, and anything else, meaning .jpg and .jpeg, as a JPEG. The file name gets -meme appended before the extension, so reaction.jpg becomes reaction-meme.jpg.
There is no quality slider on this page, so the encoder runs at the browser’s default. For PNG that costs nothing, since PNG is lossless. For JPEG and WebP it means a second generation of lossy compression over the entire image, including regions the captions never touched. If the result is larger than you want for a chat app, Compress Images has a Quality (1–100, lower = smaller file) field that defaults to 75, and when no downscale was actually applied and the re-encode came out no smaller, it hands your original bytes straight back rather than returning something bigger than it started with. Related trick, if you want a discreet corner mark rather than a joke across the frame: Add Watermark to Photos takes the same four file types and defaults to a small mark at 5 percent of the width in the bottom right with adjustable opacity, where this tool always draws at full opacity.
Limits worth knowing before you start a big run
Decoding happens one frame at a time, so an animated WebP contributes only its first frame to the output. The captions become ordinary pixels the moment they are drawn, which means there is no way to peel them off later; keep the original if you might want a clean copy.
The batch loop is all or nothing. It has no per-file error handling, so a corrupt or undecodable image ends the whole run and nothing at all is downloadable, not even the files processed before it. Cancelling mid-run behaves the same way, because the shared shell’s cancel button also clears the dropzone and discards anything finished so far. Neither is a data risk, since nothing left the machine, but it does mean very large batches are best split into smaller ones. For more on the rest of the toolkit, see the image tools hub or the roundup in the best image converter and editing tools.