Six markup tools, and when each one is the right one
The toolbar is deliberately short, because a screenshot markup job almost never needs more than this:
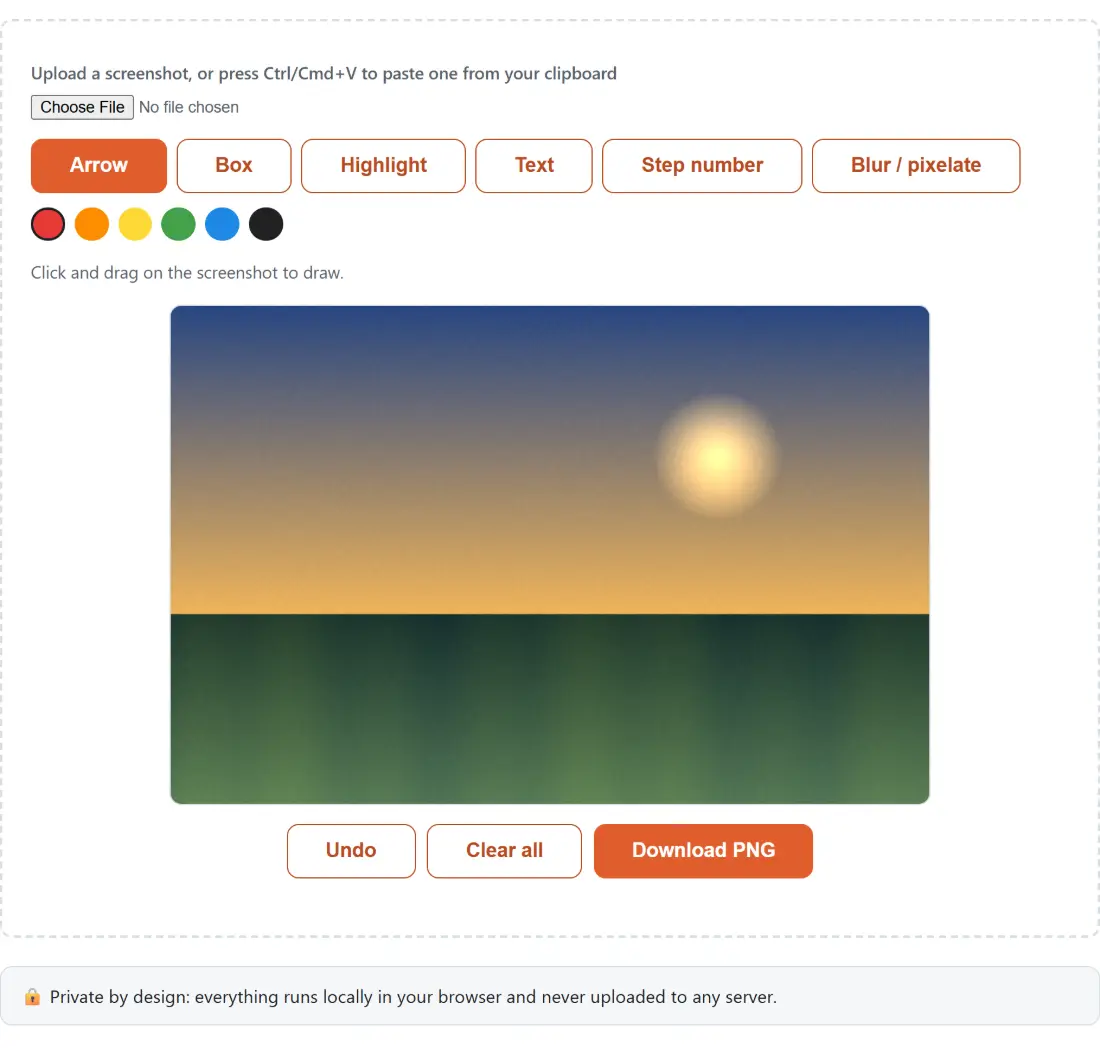
- Arrow points at one thing. Drag from where the label should sit toward the target, since the arrowhead lands at the end of your drag, spread at about 26 degrees off the shaft.
- Box outlines a region without covering it. Better than an arrow when the thing you are pointing at is a whole panel rather than a single control.
- Highlight paints a translucent block over the pixels, at 40 percent opacity, so the text underneath still reads. This is the right tool for one line in a log dump.
- Text places a filled colour chip with white bold lettering on it, rather than bare coloured text. Screenshots are visually noisy and plain text on top of a UI is often unreadable, so the chip is there on purpose.
- Step number drops a numbered circular badge. Use it when the reader has to do things in an order.
- Blur / pixelate covers something that should not be in the shared file at all.
Six colours are offered (red, orange, yellow, green, blue, black) and red is the default, because it is the one that survives on the widest range of interface backgrounds.
Placing your annotations
- Choose a file, or press Ctrl+V (Cmd+V) anywhere on the page to paste a screenshot from your clipboard.
- Pick a tool and a colour.
- Arrow, Box, Highlight and Blur / pixelate are drag gestures. Text and Step number are single clicks, and for Text you type the label into the field first, then click the spot.
- Undo drops the last annotation, Clear all starts over, and Download PNG exports the finished image.
A movement of under four pixels between pressing and releasing counts as a click, not a drag, so a slightly shaky hand while placing a step badge will not accidentally create a zero-width box.
Why the export is sharper than the canvas you drew on
Modern screenshots are big. A 4K display produces a 3840 pixel wide PNG, and dragging annotations around a canvas that size in the browser gets sluggish, especially with a blur region redrawing on every pointer move.
So the editing canvas is downscaled to fit inside 900 pixels on its longest side, and every annotation’s coordinates are stored in that display space, which is exactly the space your mouse is moving in. On export, the tool creates a second canvas at the screenshot’s true native size, multiplies every annotation’s geometry by the ratio between the two, and redraws the whole set from scratch. Stroke widths, font sizes and badge radii are scaled by the same factor, which is why a 4 px arrow on the preview does not come out as a hairline on a 3840 px export.
Nothing about your screenshot is ever resampled upward. The downscaled canvas exists only for the interaction; the file you download is your original pixels with fresh vector-quality drawing on top.
Redaction that genuinely redacts
The blur and pixelate region shares its pixel work with our standalone Blur Image tool, the same function called from both places rather than two similar implementations that could drift apart.
Blur re-blurs the entire source image onto a scratch canvas and then copies back only your rectangle. That extra step matters: applying a blur filter to a cropped rectangle makes its edges sample transparent pixels beyond the crop, so the redaction fades out at its own border and leaves the outermost pixels of whatever you were hiding partly legible. Blurring the whole image first means every pixel inside the rectangle has real neighbours to average with.
Pixelate takes a different path. It downscales your rectangle to one pixel per block, then scales it back up with image smoothing switched off, so each block becomes a flat tile of a single colour. That is genuinely destructive, which makes it the better choice for anything you would be unhappy to see recovered. A soft blur at a low radius can sometimes be partly reversed on high-contrast text like a monospaced account number; a mosaic at a 15 px block size cannot, because the information is gone before the image is even encoded.
Both styles always sample the original screenshot for their rectangle, never the annotated canvas, so a redaction placed last covers every arrow, box and label that was already drawn in that spot.
A screenshot is the worst kind of file to hand to a stranger
Ask what is actually in the images you mark up. An internal admin panel with a customer’s email in the header. A bank balance in the corner of a browser window. A Slack sidebar full of channel names that reveal an unannounced project. Nearly always, the sensitive part is incidental: it happened to be on screen when you captured the button you actually wanted to talk about.
That is precisely the file most annotation sites ask you to upload before letting you draw one arrow on it. This one decodes the image with your browser’s own bitmap decoder, draws every annotation into a canvas element in the tab, and encodes the PNG from that same canvas. There is no request carrying image bytes anywhere, which is also why it keeps working when you are on a plane or behind a corporate proxy that blocks file uploads outright.
The download is named with a timestamp, for example annotated-screenshot-2026-07-30_14-30-05.png, so a batch of them from one bug-hunting session stays in order in your downloads folder. If the thing you need to mark up is a document rather than a screen capture, Annotate PDF works on the pages directly, and if you have not captured the screen yet, the Screen Recorder handles the moving version of the same problem.