A layout is a decision about rows, not a template
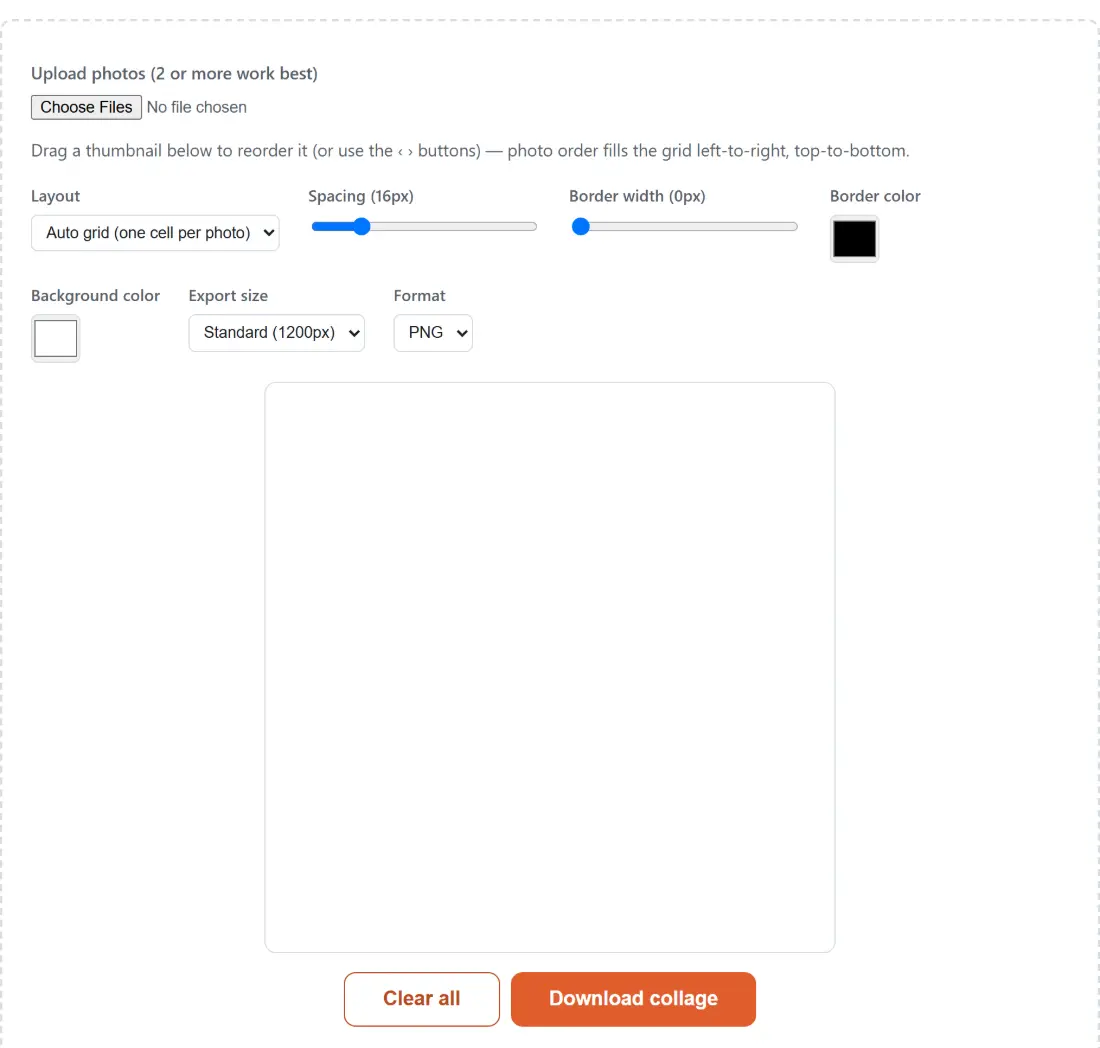
Four layouts sit in the Layout select, and they split into two behaviours.
2x2 grid (4 photos) and 3x3 grid (9 photos) are fixed. They hold their shape whatever you upload, which is the point of picking one, and cells with no photo show the background colour. Photo strip (vertical) stacks single photos down the page like a photo-booth print, sized to how many you uploaded, up to six.
Auto grid (one cell per photo) is the default and it adapts, building exactly one cell per photo for any count including the awkward ones. The row count is the square root of your photo count rounded down, and the photos are spread across those rows as evenly as possible with any remainder going to the top rows, so rows differ by at most one photo. Five photos come out as a row of three above a row of two and seven as four above three. Rows always span the full width, so a shorter row simply gives its photos wider cells, and there is never an empty cell. The overall aspect ratio is the widest row set against the number of rows, so a 2x2 or 3x3 comes out square and a six-tall strip comes out very tall.
Centre-cropping is what makes a grid read as a grid
Every photo is cropped to fill its cell exactly rather than shrunk to fit inside it. The crop is centred, trimming whichever dimension is proportionally too long equally from both edges, and nothing is stretched or squashed. That is what makes a grid of mixed portrait and landscape shots look like a grid instead of a page of mismatched rectangles.
The cost is that a subject near an edge can lose the top of its head, and the fix is upstream: crop that photo towards the cell’s proportions first with Crop Images, which centres on a chosen aspect ratio and takes the same JPG, PNG and WebP files this page does. Shrinking a huge photo first with Resize Images is unnecessary, since the export is redrawn from full native resolution either way.
Spacing is measured against a 1200px export
The spacing slider runs from 0 to 80 and opens at 16, setting the gap between cells and the outer margin with one number; its label carries the live value, so it reads Spacing (16px) until you move it. The border width slider runs from 0 to 40 and opens at 0, stroking a frame inside each cell in the Border color you pick, while Background color fills everything the photos do not cover.
The number on those sliders is neither preview pixels nor export pixels. It is defined against a 1200 pixel long side and scaled proportionally to whatever canvas is being drawn, which is what makes the preview a true scale model: a spacing of 16 occupies the same fraction of the image in the preview and in either export. Gutters can also never take more than 85 percent of a dimension, so thirty photos at maximum spacing still leaves visible cells rather than a blank rectangle.
Arranging the photos and exporting the sheet
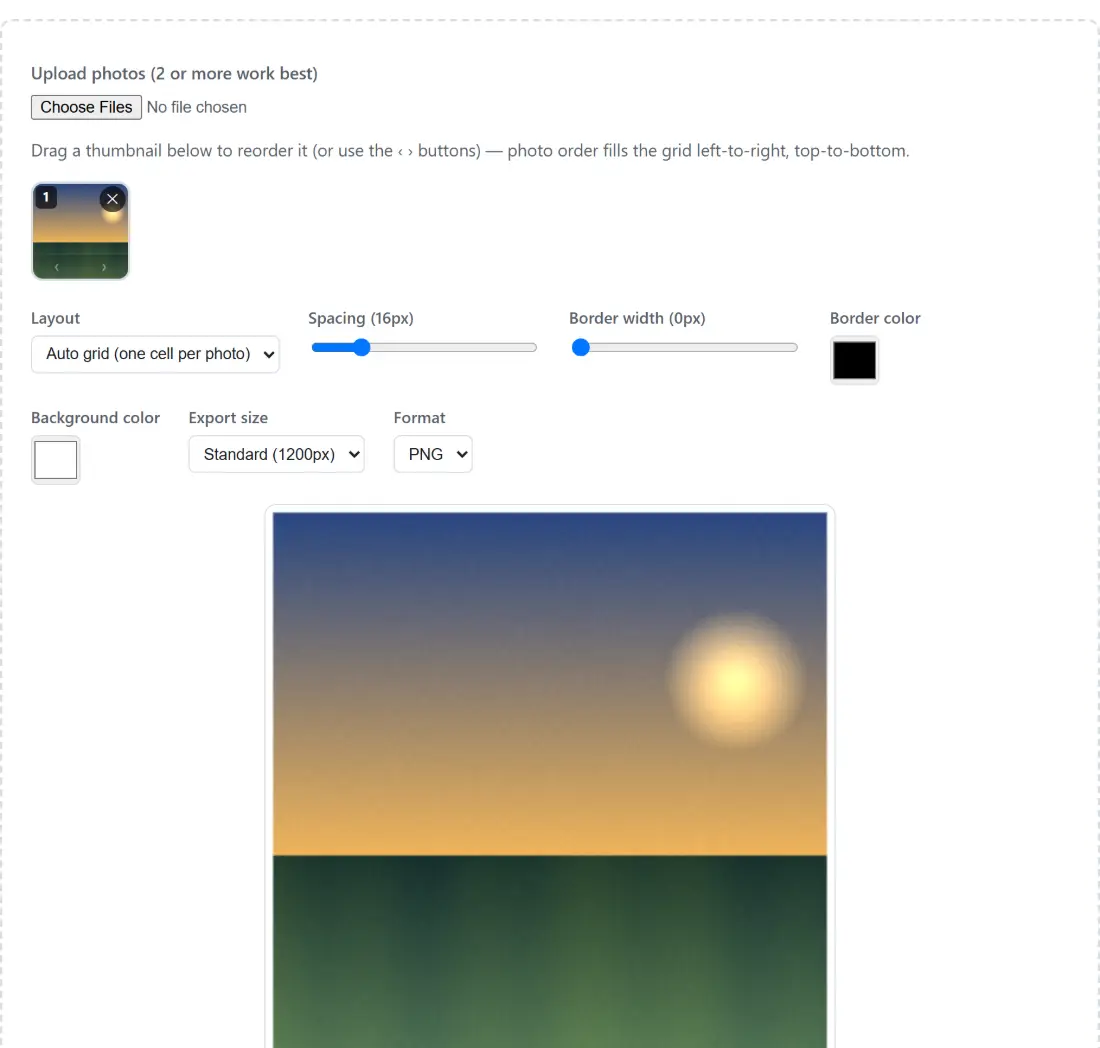
- Choose images with Upload photos (2 or more work best); each appears as a numbered thumbnail.
- Reorder by dragging one thumbnail onto another, or with the arrow buttons on each one.
- Pick a Layout, then set the spacing and border width sliders, Border color and Background color.
- Choose an Export size and a Format, then click Download collage.
Cells fill in thumbnail order, left to right and top to bottom, and the number on each thumbnail is its position, so reordering them reorders the collage. The preview redraws after every change, including every step of a slider drag. Thirty photos is the ceiling for one session.
When a fixed grid leaves photos out
A fixed 2x2 has four cells, a fixed 3x3 has nine, and the strip caps at six. Upload more photos than the layout has cells and the surplus is not drawn, but never silently: a line above the preview says how many of your photos are shown and how many cells the layout has.
There are two ways out. Switch to Auto grid (one cell per photo), which never omits anything, or reorder first, since it is the leading thumbnails that make the cut. Going the other way, fewer photos than cells, is allowed on purpose: a 2x2 holding three photos leaves one cell showing the background colour, and if a border is on, that empty cell still gets its own stroke.
What lands in your downloads folder
Export size offers a standard 1200 pixel long side and a high-resolution 2400 pixel one, and high-resolution means something specific: the export is not an upscale of the preview. Each photo is decoded once at its native resolution when you add it, and the preview and the final file are drawn from those same originals at different canvas sizes.
Format picks PNG or JPG. PNG is lossless and larger, which suits collages with flat background colour, thick borders or screenshots in the mix; JPG is smaller and encoded at high quality here, which suits a grid of photographs. The file arrives named for the format you chose, with no watermark and no sign-up gate; a fallback link appears if the download does not start.
None of this involves a server: your photos are decoded, cropped and composited by your own browser’s canvas, which matters because a collage is almost always personal. The neighbouring image tools take the same JPG, PNG and WebP files: Add Watermark to Photos if it is going somewhere public, Crop Image into a Circle for an avatar, and the rest on the image tools hub.