What oxipng rewrites inside a PNG
A PNG stores its pixels in three layers of decision, and most files exported from a design tool or a screenshot key get all three wrong. First, the bit depth and colour type: a screenshot of a terminal might contain forty distinct colours yet still be stored as 8 bits per channel of full-colour RGBA, using four bytes where one palette index would do. Second, the row filter: PNG lets every single row of the image pick one of five predictors so that the values passed to the compressor are mostly small differences rather than raw colours, and most encoders pick one filter for the whole file or guess with a cheap heuristic. Third, the DEFLATE pass itself, which can be run harder than any exporter bothers to.
oxipng, the Rust optimizer this tool runs, works on all three. It tries the filter combinations, reduces depth and palette wherever the image’s real colour content allows it exactly, and re-deflates the result. What it never does is approximate a colour. That distinction is the whole point: the file gets smaller, the picture does not change.
The optimizer is compiled to WebAssembly and loaded from this site itself, not from a public CDN, and it runs single-threaded because the headers a multi-threaded WebAssembly build needs would break other parts of this page. So it is genuinely your own processor doing the compression work, one file after another.
Optimizing a folder of PNGs
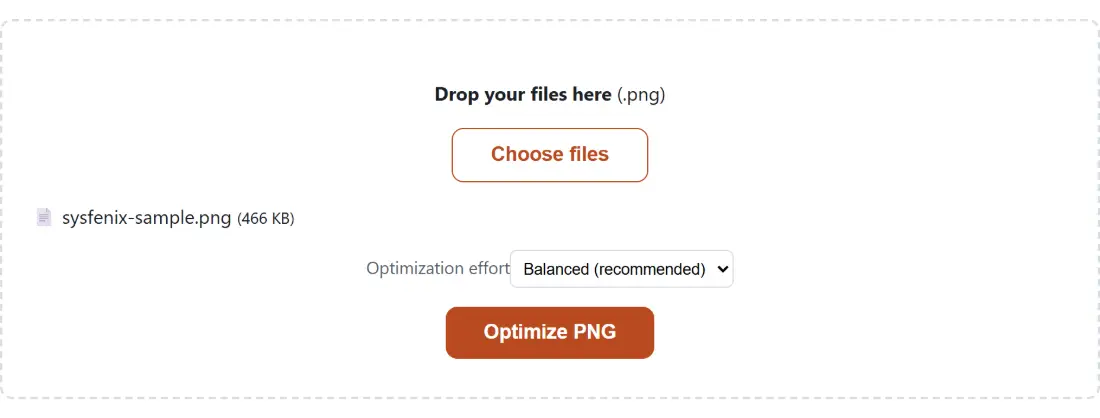
- Drop your
.pngfiles into the box above, or use Choose files. You can keep adding until the batch looks right; duplicates by name and size are filtered out. - Leave Optimization effort on Balanced (recommended) for a first pass, or raise it if you have time to spend.
- Click Optimize PNG. The first click also fetches the WebAssembly optimizer, so expect that run to start a moment later than the rest.
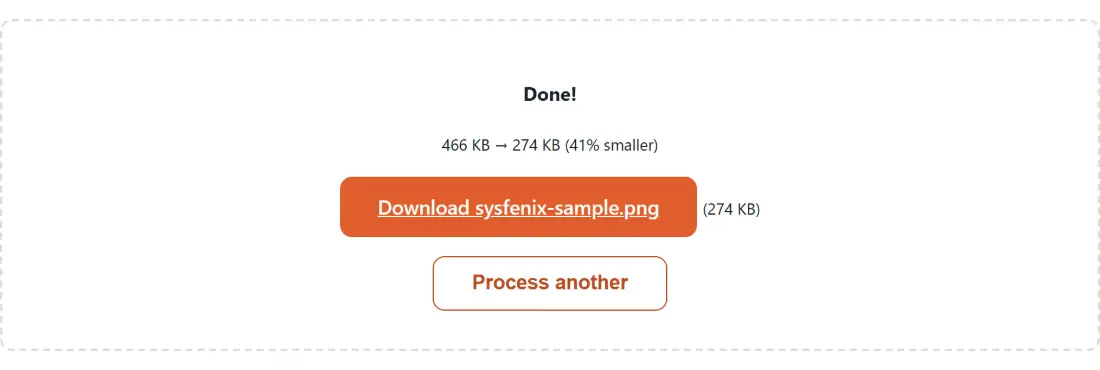
- Download each file. The size line above the downloads gives the totals before and after, so you can see whether the effort level was worth raising.
Effort 2, 4 and 6, and what the extra time buys
The three choices map onto oxipng’s own optimization levels: 2, 4 and 6 out of a 0 to 6 scale. Higher levels do not use a different algorithm, they simply try more combinations of filter and compression strategy before settling, so the cost is time and the benefit is a few more bytes.
Balanced is the honest default. The gap between level 2 and level 6 is usually small next to the gap between an unoptimized export and level 2, and level 6 on a large photographic PNG can take a noticeable while on a laptop. Raise it when you are preparing an asset that will be served millions of times, where every kilobyte is multiplied, and leave it alone when you are cleaning up a screenshot for a bug report.
Byte-identical pixels, transparent ones included
Every optimization here is verified lossless by construction rather than by eye. The decoded red, green, blue and alpha value of every pixel is the same before and after, which is why this is safe for a logo, a UI mockup, a chart, a diagram with hairline strokes or an icon with a one-pixel border, all cases where a lossy compressor’s softening would be visible immediately.
Two settings are deliberately forced to protect that guarantee. Alpha optimization, which rewrites the invisible colour data behind fully transparent pixels, is switched off, so even pixels you cannot see keep their exact stored values. Interlacing is switched off too, since it reliably inflates a PNG.
PNGs this will not shrink
Some files come back the same size, and that is a real outcome rather than a failure. A PNG that already went through an optimizer has nothing left to gain, and a very small icon can have so little data that the overhead dominates. When the optimized version is not smaller than the input, the tool returns your original bytes, so you can never end up with a bigger file by running this.
Photographic PNGs are the other disappointing case. PNG compresses runs of similar values, and a photograph has almost none, which is why a camera image saved as PNG is enormous and stays enormous. The fix there is a format change rather than an optimization: PNG to WebP or PNG to AVIF will do far more for that file than any lossless pass. Compress Images keeps the format instead, and its quality box does nothing to a PNG because the browser’s PNG encoder has no quality parameter to hand it to, though the re-encode alone can still come out smaller, and your original bytes come back when it does not and no downscale was applied. If the image is simply larger than it needs to be, Resize Image attacks the pixel count directly. The rest of the toolkit is on the image tools hub, and the image converter and editing tools guide compares the options side by side.