Going from a lossless source to a lossy one
This conversion has a property the other direction does not: the file you are starting from is perfect. A PNG is a bit-exact record of whatever produced it, so every difference between the source and the WebP you get back is a difference this step introduced. There is no earlier generation of damage to hide behind and no ambiguity about who is responsible for the softening.
That framing is useful because it makes the decision concrete. You are spending a measured amount of image fidelity to buy a smaller file, and you get to choose how much. The saving is usually large for photographic PNGs, because lossless compression is a bad fit for photographic detail and a lossy codec designed for the web is a very good one. The saving is much smaller for the flat, sharp-edged graphics that PNG was made for.
The conversion is also one-way. WebP will not remember what the PNG contained, so the original file is the only copy of the original pixels you will ever have.
The alpha channel is deliberately not flattened
Both formats carry a real alpha channel, so nothing here is composited onto a background colour. The module calls the plain conversion path rather than the flattening one that the JPG converters use, with an explicit note in the code explaining why: flattening would destroy transparency that the target format is fully able to represent, which would be a bug rather than a feature.
The practical result is that logos, app icons, cut-out product photos, sprite sheets and UI assets keep their transparent backgrounds, including the partly transparent pixels along anti-aliased edges and inside soft shadows. Converting back with WebP to PNG will return that alpha channel unchanged, though of course not the detail the lossy pass removed.
Quality 80 and what the encoder does with it
The WebP quality (1–100) field starts at 80, is clamped into the 1 to 100 range, and is then divided by a hundred before it reaches the browser’s WebP encoder. Eighty is a sensible default for photographic content on a website, where it typically produces something visually very close to the source at a fraction of the size.
Push it up when the picture has fine text, thin lines or a large flat area where banding would be obvious. Pull it down when the image is decorative, small on screen, or behind other content. The honest way to pick is empirical rather than theoretical: convert one representative image at two settings and look at both at full size. Because everything happens locally, that experiment costs seconds rather than two more uploads.
Flat-colour graphics are the awkward case
The advice you usually read is that WebP beats PNG, and for photographs it does. For the material PNG was designed around it is much less clear cut. A logo with three colours, a chart, a diagram, a pixel-art sprite or a screenshot of an interface is largely made of long runs of identical pixels, which PNG’s filtering and deflate stage compress extremely efficiently. There is comparatively little left for a lossy encoder to remove, and what it does remove tends to be exactly the crisp edges that make those images readable.
So for that kind of artwork, either raise the quality substantially or skip the conversion. Optimize PNG shrinks a PNG’s file size by re-encoding the container and reducing bit depth where it can, without changing a single decoded pixel, and for flat graphics it is often the better answer than any lossy format. When you do want maximum compression on photographic assets, PNG to AVIF generally goes further than WebP at the cost of a much slower encode.
Converting a batch of PNG exports
- Drop your
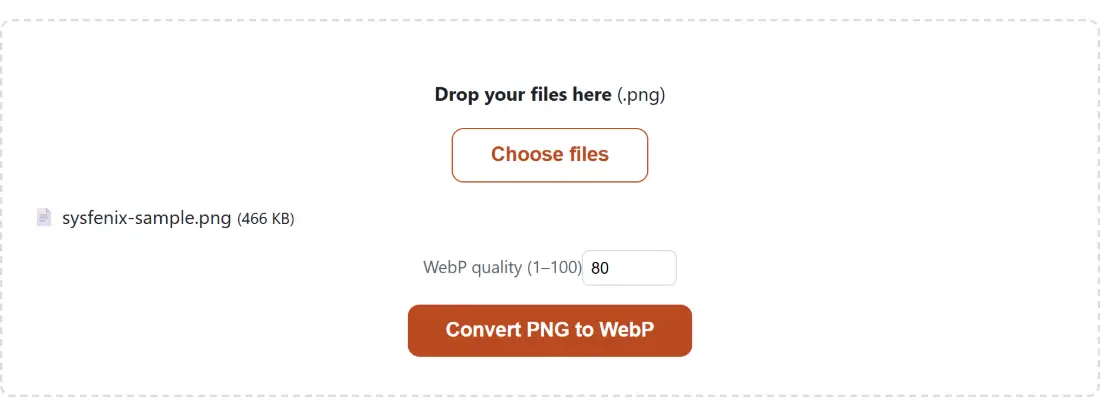
.pngfiles onto the box above, or click Choose files. Additional drops add to the same batch, and a file with a name and size already in the list is skipped. - Set WebP quality (1–100) if 80 is not what you want. Higher keeps more detail and costs bytes; lower does the reverse.
- Click Convert PNG to WebP. Each file is decoded and re-encoded in turn, so the progress bar moves in steps rather than smoothly.
- Download each result from its own link, then click Process another to empty the tool before the next batch.
Keeping a lossless PNG alongside the WebP
Treat the WebP as a distribution copy and the PNG as the master. Once a design asset exists only as a lossy WebP, every future edit compounds the loss, and any request for a print version or a higher-resolution crop has to start from a degraded file. Storage is cheap; regenerating artwork is not.
For a site rebuild that means keeping the exported PNGs in the project and publishing the WebP versions, rather than converting in place and deleting the originals. The rest of the raster converters live on the image tools hub, and the image converter and editing guide covers how the formats compare when you are choosing between them.