Grey rectangles are load bearing
Every layout goes through a stage where the real photographs do not exist yet. The temptation is to grab a stock image, or to point an image tag at whichever free placeholder domain you remember, and move on.
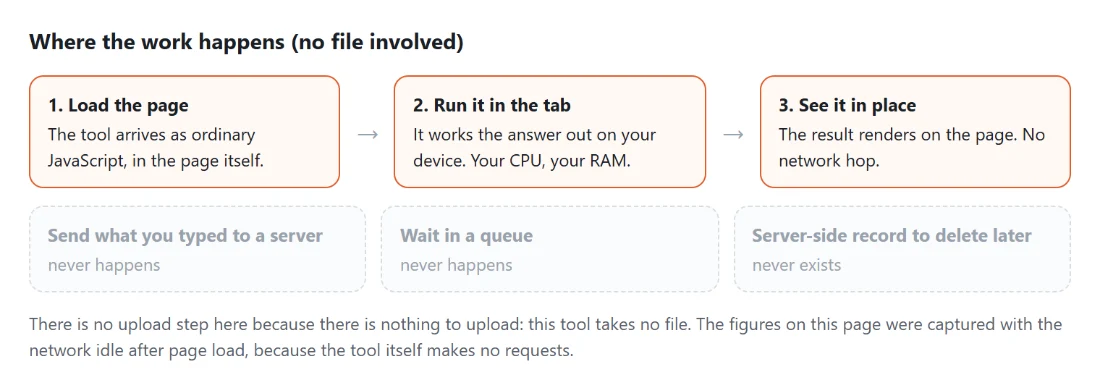
Both choices cost you later. A stock photo makes the mockup lie about how the design behaves with real content of an awkward shape. A hotlinked placeholder makes your prototype depend on somebody else’s uptime, and quietly reports every render back to them. When that service disappears, and several have, every mockup you ever made breaks at once.
A generated file has neither problem. It is a rectangle of a colour you chose, at a size you chose, with the dimensions written across it so you can tell your boxes apart, sitting in your own project folder.
Making one image, then making all of them
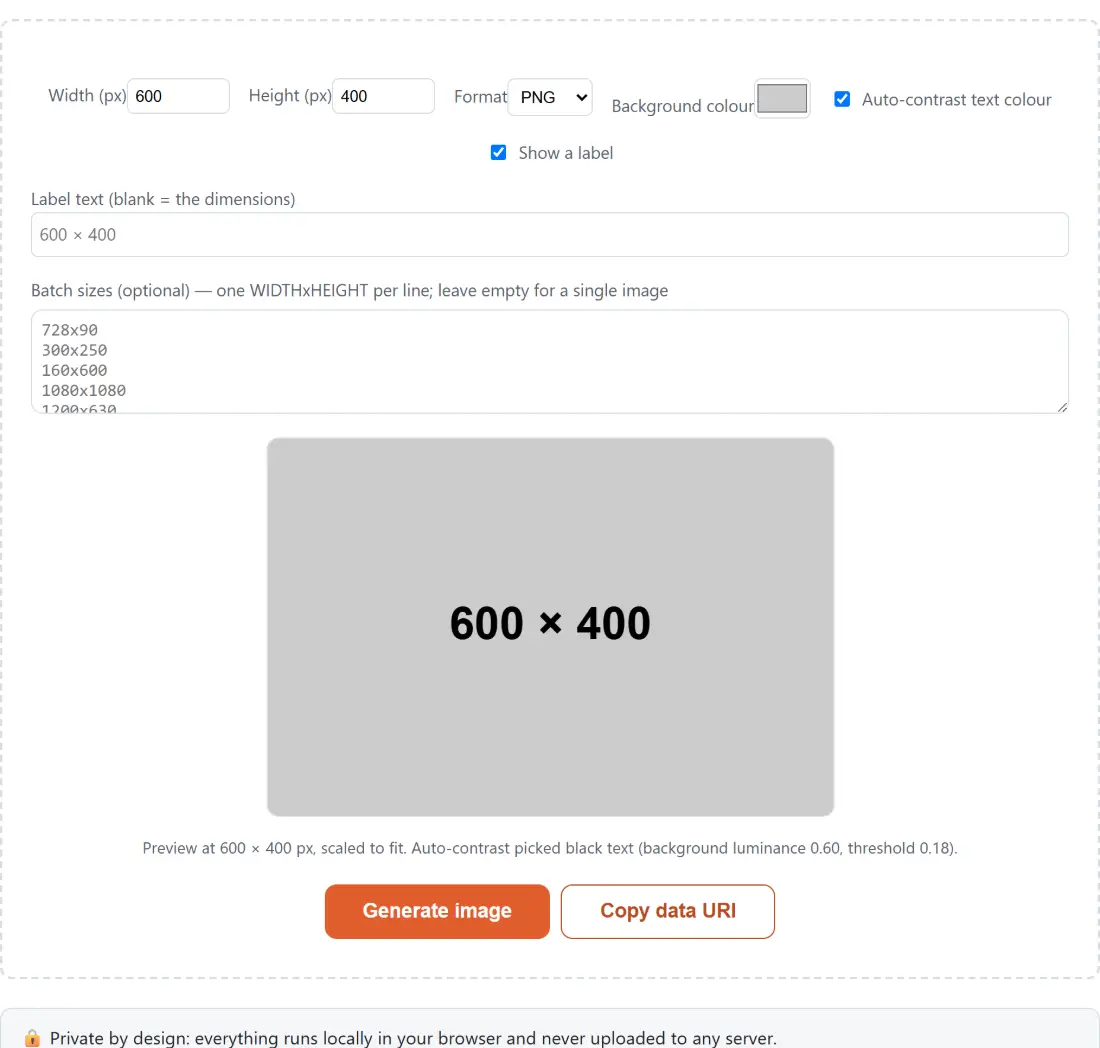
- Set Width (px) and Height (px). Anything from 1 to 5000 in each direction.
- Choose a Format. The four options are PNG, JPG, WebP and SVG.
- Pick a Background colour with the colour swatch.
- Leave Auto-contrast text colour ticked and the label switches between black and white for you, or untick it to reveal a Text colour swatch of your own.
- Show a label controls whether any text is drawn. With it on, Label text (blank = the dimensions) lets you type your own caption.
- Watch the preview, which redraws as you type and tells you the size it is showing and, when auto-contrast is on, which colour it chose and why.
- Click Generate image to download it, or Copy data URI to put the whole file on your clipboard as inline text.
- To make a set instead, list one size per line in the batch box. The button changes to Generate ZIP and the width and height fields above stop being used.
The batch box arrives prefilled with five sizes worth knowing: 728x90, 300x250, 160x600, 1080x1080 and 1200x630. That is three standard ad units, a square social post and an open graph card.
Four formats, and when each earns its place
SVG is the one people underuse. A placeholder is a filled rectangle plus a centred string, which is about three hundred bytes of markup regardless of whether it stands in for a thumbnail or a billboard, and it stays sharp at every scale. If your mockup is going to be zoomed or printed, use it.
PNG is the safe lossless raster and the right default when something in your pipeline will not accept a vector.
JPG and WebP exist because sometimes the point of the placeholder is to be roughly as heavy as the photograph it replaces. Both are encoded at a quality of 0.92. There is a real safeguard here worth knowing about: browsers are allowed to silently hand back a PNG when asked for a format they cannot encode, which would leave you with a mislabelled file. That case is detected and reported as an error instead.
The label sizing rule
Text size is twelve percent of the shorter side, clamped between 10 and 96 pixels.
Measuring the shorter side rather than the longer one is the whole trick. A 728 by 90 leaderboard is mostly width, and sizing against width would produce text far taller than the banner. Against the shorter side it gets an 11 pixel label that fits. A 1200 by 630 card gets 76 pixels, a 600 by 400 thumbnail gets 48, and a tiny 50 by 50 square hits the 10 pixel floor.
Both output paths use the identical rule, so the SVG and the PNG of the same placeholder carry the same text at the same size. Your typed label is escaped before it is written into the SVG markup, so an ampersand or an angle bracket in the caption cannot break the file.
Filling in the rest of the mockup
Placeholder images are half the job. For the text that sits beside them, Lorem Ipsum Generator produces paragraphs, sentences or an exact word count, and Fake Data Generator covers names, addresses and other structured filler for tables and lists.
When real images do arrive, Resize Images will bring them to the sizes your layout was built around. If you liked the inline data URI trick, Image to Base64 does the same conversion for photographs you already have, and SVG to PNG rasterises the vector placeholders at a fixed size. For a real social preview card rather than a stand-in, OG Image Generator is the direct route. The rest is on the generators hub.