The two minutes before a call
Almost everyone has joined a meeting and spent the first minute discovering that their camera was pointing at the ceiling, their microphone was the wrong one, or nobody could hear them. The conferencing app usually offers a settings panel that will confirm a device exists, which is not the same as confirming it works.
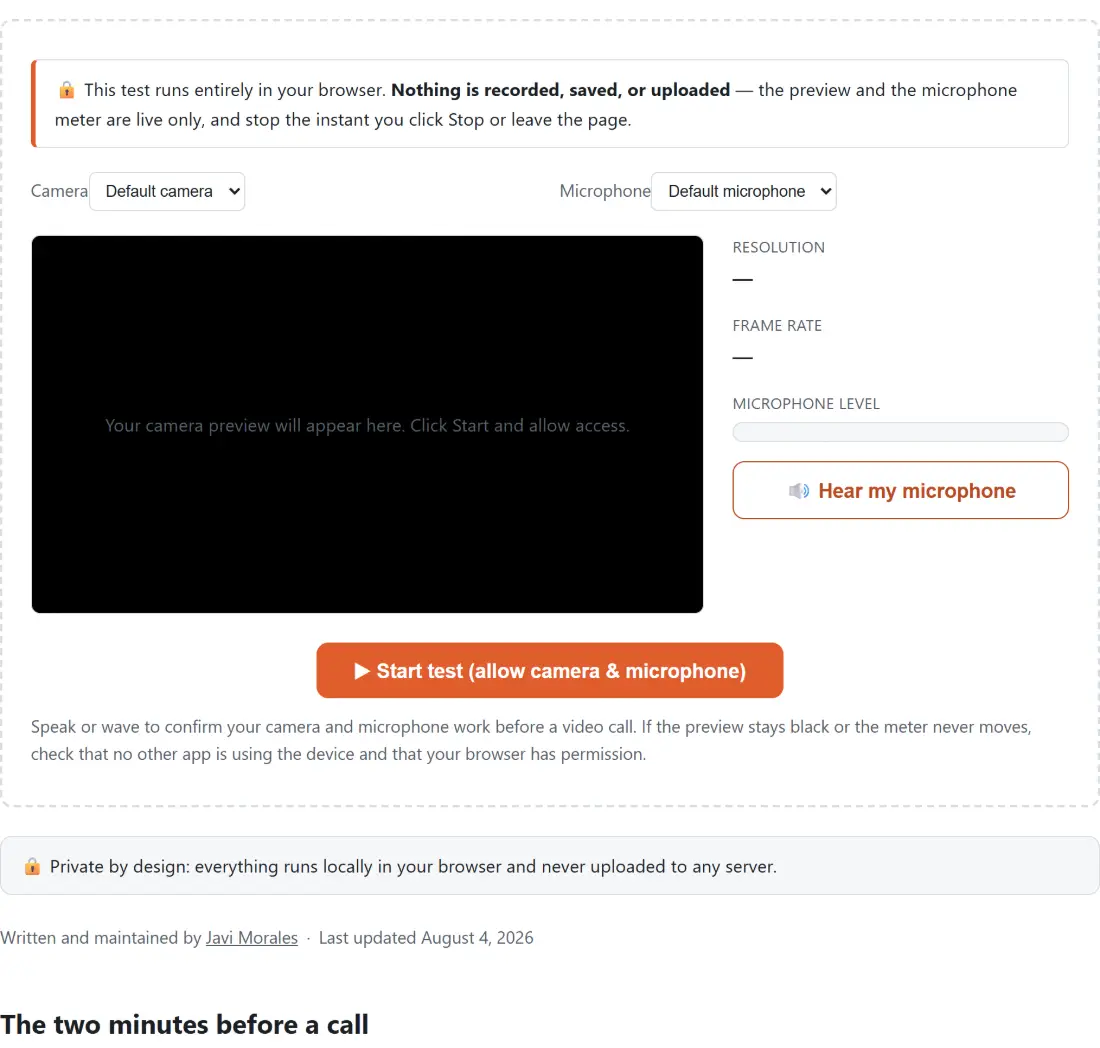
This page is the check to run first. It shows the camera preview, measures what the stream is actually delivering rather than what the hardware claims, meters the microphone, and lets you switch between devices to find the right one.
Running the test
- Click start and allow camera and microphone access.
- Look at the preview. Confirm the framing, the lighting, and that it is the camera you meant.
- Read the resolution and frame rate figures. Both are measured from the live stream.
- Speak and watch the level meter and its decibel reading move.
- With headphones on, use the hear my microphone control to listen to yourself.
- Use the pickers to switch camera or microphone if you have more than one.
- Stop the test to release both devices.
Measured, not claimed
The two readouts are the reason this is more useful than a preview window.
The resolution is read from the stream the camera is currently producing, and cameras change it. Poor light makes many webcams drop resolution to keep the frame rate up. Another application already holding the device can force a smaller size. The browser negotiates too. A camera sold as 1080p routinely delivers less, and the readout tells you what you are actually sending, with the consumer quality name attached where one applies.
The frame rate is counted rather than reported. Frames are tallied over a window and divided by elapsed time, which is the only honest way to measure it, because a camera’s advertised maximum tells you nothing about what it manages in your room. A figure well below 30 is the explanation for looking jerky on calls, and it is almost always a lighting problem rather than a hardware one.
Hearing yourself is the most useful check
A level meter tells you a microphone is producing signal. It cannot tell you that the signal is unpleasant.
Monitoring your own microphone through headphones is the check that reveals everything a meter hides. Room echo from hard surfaces. A fan or air conditioner you had stopped noticing. A microphone picking up your keyboard through the desk. Handling noise on a cable. All of them are immediately obvious the moment you hear them and completely invisible on a bar that simply moves when you speak.
The headphone requirement is not a suggestion. Monitoring through speakers creates a loop between them and the microphone, which howls. That is why the warning appears alongside the control rather than being buried somewhere.
The device pickers and the permission dance
Before permission is granted, a browser deliberately withholds device names, since a list of your exact hardware is a fingerprinting signal. The pickers therefore start with generic entries and fill in real names once you have allowed access.
That is also why the flow is start first, choose second. Once running, selecting a different camera or microphone restarts the stream on the new device, so finding the right one among several is a matter of switching and looking rather than guessing from a list.
Related checks
For the output side rather than the input side, Speaker Test drives each channel independently and confirms you will be able to hear anyone. To keep a recording rather than just check the device, Voice Recorder writes an MP3 or WAV, and Screen Recorder captures the screen.
For a frequency breakdown of what the microphone is picking up, Audio Spectrum Analyzer shows the live spectrum, and Noise Meter measures the room level over time. To take an actual photo rather than test the camera, Take a Photo with Webcam does that. The rest are on the testers hub.