The alpha channel JPEG does not have
A PNG can store four numbers for every pixel: red, green, blue and alpha. Alpha is the transparency channel, and it is the single reason PNG became the default export format for logos, icons, UI assets, stickers and anything else designed to sit on top of something else. JPEG stores three numbers and stops there. There is no slot in the file format for “this pixel is forty percent see-through” and no encoder setting that invents one.
Every PNG-to-JPG conversion therefore has to answer a question the PNG itself never had to answer: what is behind the picture? This tool answers it out loud instead of quietly. The image engine fills the whole canvas with the colour you choose, then draws your PNG over the top of it. A fully transparent pixel becomes that colour outright, and a half-transparent pixel becomes a real blend of your artwork and that colour.
That is worth spelling out because the alternative is worse. Drawing a PNG onto a fresh, empty canvas and asking for JPEG leaves the transparent pixels composited against black, which is how a great many converters produce logos with unexpected dark halos. Choosing the fill colour deliberately is the whole point of the second option on this page.
Picking white or black for the flattened areas
There are two values, White (recommended) and Black, and they map to plain #ffffff and #000000 in the code. White is right for almost everything: documents, printed pages, marketplace listings, résumés, forms and any layout with a light background. Black is there for the cases where the JPG is destined for a dark interface or a dark slide, where a white rectangle behind a logo would be far more obvious than a black one.
The catch is that neither choice is reversible, and neither one is contextual. The colour is baked into every transparent pixel of the output, so a logo flattened onto white will keep that white rectangle forever, no matter what page you later place it on. If you genuinely need the picture to adapt to different backgrounds, the JPG is the wrong format and the PNG you already have is the right one.
Running a PNG batch through the converter
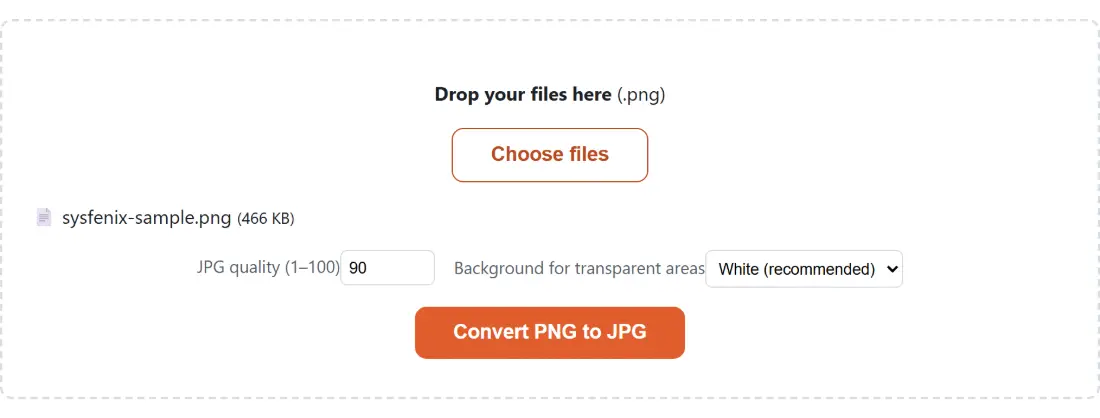
- Drop your PNG files onto the box above, or click Choose files. Files added across several drops accumulate, and a file matching one already in the list on both name and size is skipped.
- Set JPG quality (1–100). It starts at 90, which the module hands to the encoder as a quality of 0.9.
- Choose the Background for transparent areas value that matches wherever the JPG is going to end up.
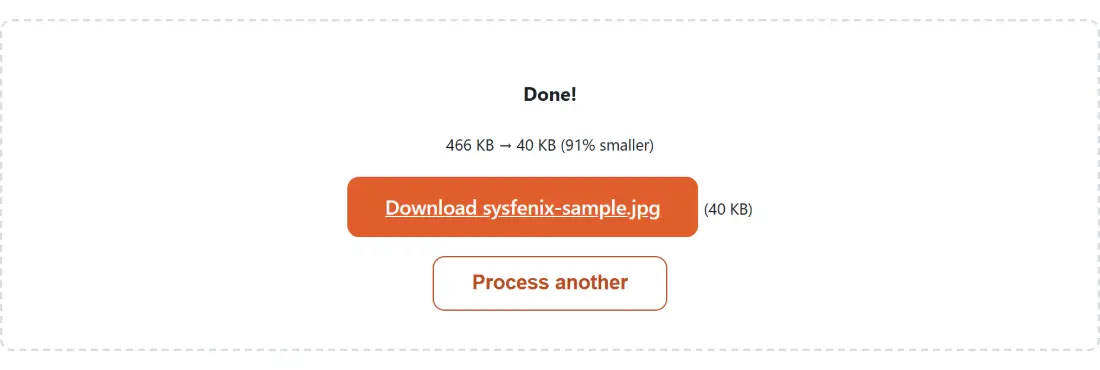
- Click Convert PNG to JPG. The progress bar advances one step per finished file, so a batch of twenty moves in twenty jumps.
- Take the download link that appears under each result, then click Process another when you want to clear everything and start a fresh batch.
Screenshots of text are PNG’s home turf, not JPEG’s
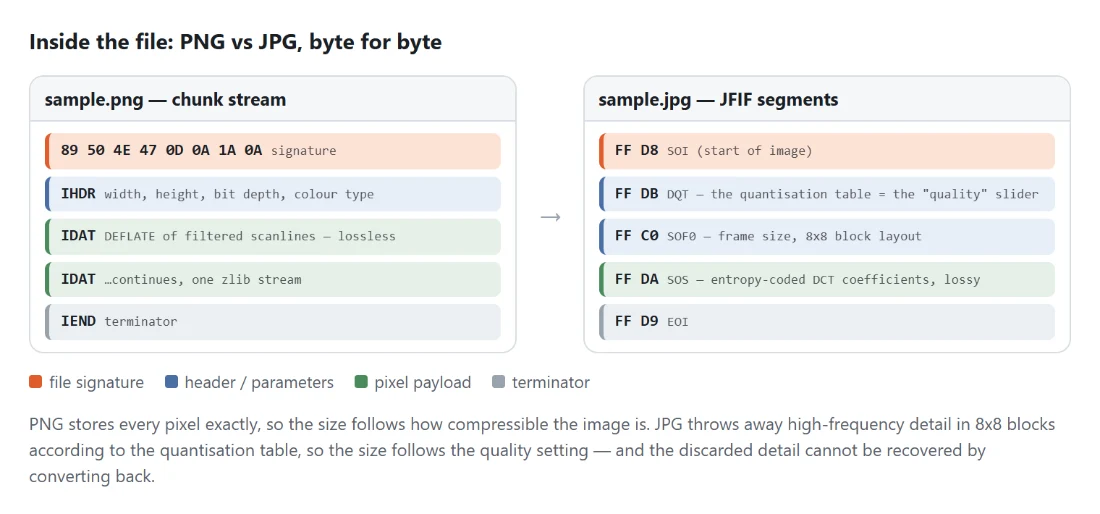
JPEG compression was designed around photographs: smooth gradients, gentle noise, no hard geometry. It works by transforming small blocks of pixels into frequency coefficients and then rounding the ones your eye is least likely to miss. Photographs survive that beautifully. Sharp black-on-white edges do not, which is why screenshots of code, spreadsheets, charts, invoices and user interfaces pick up faint ringing and smeared halos around the lettering even at quality settings that look flawless on a portrait.
So the honest advice is to match the format to the content. Photographs, product shots and scanned artwork are ideal JPEG material and shrink dramatically. A crisp screenshot of text is not, and if that screenshot is the thing being shared rather than a decorative element, it is usually better to keep the PNG and shrink it losslessly with Optimize PNG instead of converting the format at all.
Where the quality number between 1 and 100 lands
The field accepts anything from 1 to 100, clamps out-of-range entries, and then divides by one hundred to get the value the browser’s JPEG encoder actually wants. Clearing the box is safe: an empty field, or one holding something that is not a number at all, is read as “no value given” and the conversion falls back to the 90 the page started with rather than to the bottom of the scale. A number you actually type is still clamped, so a stray 0 or 250 lands on 1 or 100. Ninety is a deliberately conservative default: on ordinary photographic content the difference from the source is hard to see at normal viewing distance, while the file drops substantially because PNG’s lossless compression is a poor fit for photographic detail in the first place.
Values in the mid seventies and low eighties are the usual sweet spot when a form is enforcing a size cap. Below roughly sixty, blocking starts to show in flat areas such as skies and skin, and it shows first around any edge in the picture. There is no single correct number, and because the conversion runs on your own machine you can simply try two values on one image and compare before committing a whole folder.
Keeping the PNG master after you export the JPG
Treat the JPG as an export, not as a replacement. Converting the other way with JPG to PNG will give you a valid PNG, but it will be a lossless copy of the already-degraded JPEG rather than a recovered original, and the transparency you flattened is gone for good. Keeping the source PNG costs you disk space and nothing else.
The rest of the raster converters, including the WebP and AVIF routes that usually beat JPEG on size, are on the image tools hub, and the image converter and editing guide walks through which format suits which job.