Re-compressing something JPEG already compressed
This is not the same job as converting a PNG. A PNG is an exact record of its source, so a lossy conversion has a clean original to work from. A JPEG is already an approximation. The camera or the export dialogue that wrote it discarded frequency information it judged invisible and, in almost every case, stored the colour channels at half the resolution of the brightness channel.
The WebP encoder never sees any of that. What it receives is the decoded result: a plain grid of pixels in which the losses are indistinguishable from the picture. It then runs its own, unrelated lossy compression over that grid. Two independent codecs have now approximated the same photograph, and the second one had no idea what the first had done.
In practice the outcome is still usually good, because WebP is a genuinely more efficient codec and a normal-quality JPEG still contains plenty of real detail. But the ceiling is set by the JPEG, not by WebP, and no setting on this page can raise it.
Where the WebP quality number should sit
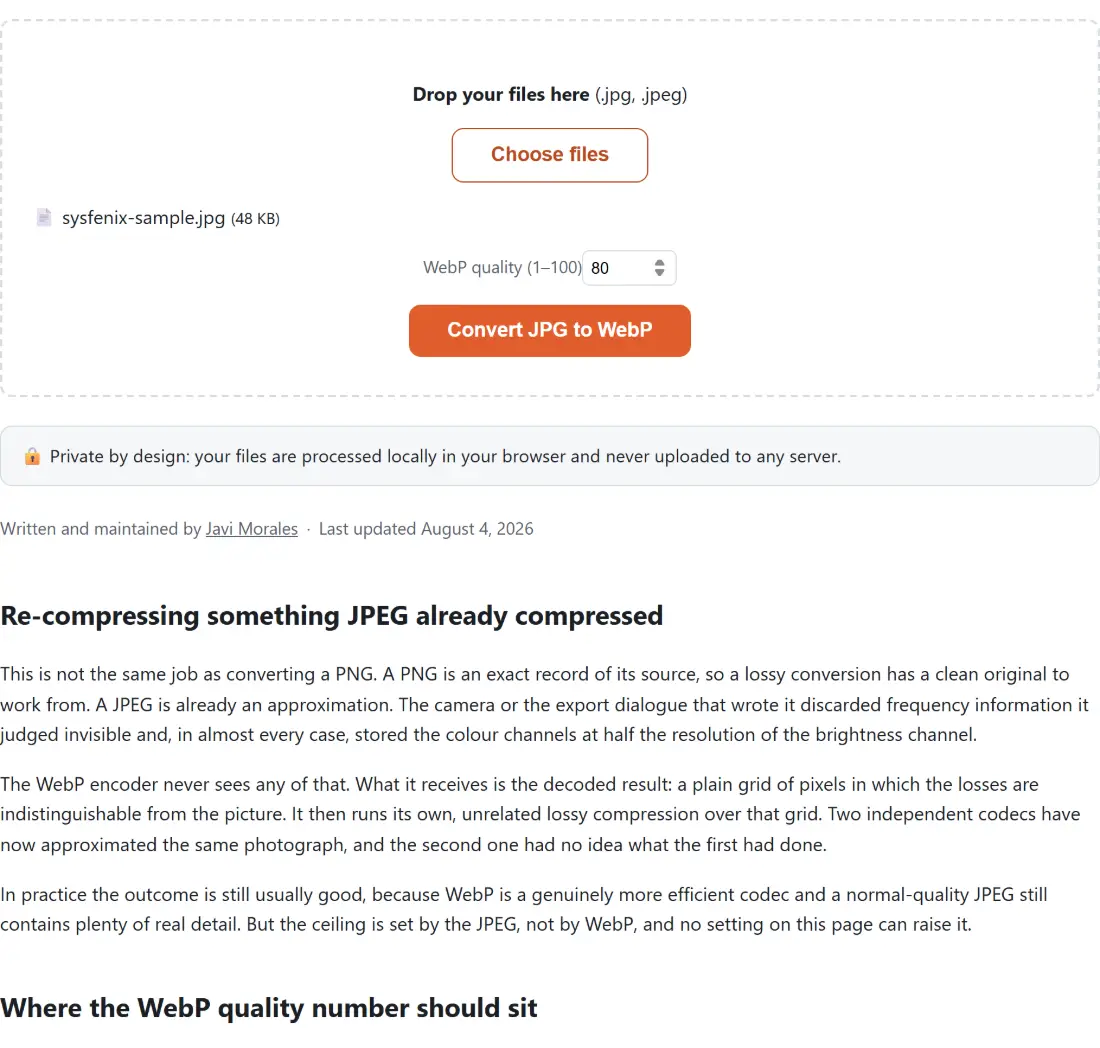
The WebP quality (1–100) field starts at 80, is clamped into the 1 to 100 range, and is divided by a hundred before it reaches the browser’s encoder. Clearing it is the same as resetting it: an empty field, or one holding text that is not a number, counts as no value given and the conversion runs at 80. That default is a good starting point for photographs that were exported at a normal quality themselves.
The instinct to crank it to 95 or 100 is worth resisting. Above a certain point the encoder is no longer preserving photographic detail, because there is not much left to preserve; it is preserving the JPEG’s own artefacts in high fidelity, which is an expensive thing to spend bytes on. Conversely, if the source JPEG was heavily compressed to begin with, a lower value often looks no worse and saves considerably more.
Because everything runs on your own machine, comparing is quick. Convert one representative photograph at two settings, open both at full size, and pick. That takes less time than a single upload to a server-based converter would.
Artefacts the encoder cannot tell from detail
It is worth understanding why the advice above works the way it does. A lossy encoder decides where to spend bits by looking for structure: edges, texture, contrast. JPEG artefacts look exactly like structure. The faint grid of block boundaries in a smooth sky, the ringing that halos every sharp line, the mottling in an area that was originally flat, all of it reads to WebP as content worth keeping.
That is the mechanism behind generation loss, and it is why chaining conversions is a bad habit. A JPEG converted to WebP and then back with WebP to JPG is three generations of lossy compression deep, each one faithfully recording the previous one’s mistakes. One conversion from your original is fine; a round trip through several formats is not.
The JPG stays the master copy
Keep the source files. The WebP is a distribution format, produced for a specific purpose at a specific size and quality, and it should be regarded as disposable output rather than as the new original. When the site is redesigned, when a photo needs to be printed, when a crop has to come out of the full-resolution frame, you want to start from the JPEG rather than from a further-compressed derivative.
If you also need the image at different dimensions, do that first. Resize Image changes the pixel dimensions, and converting the resized copy means the encoder is optimising the pixels that will actually appear on screen rather than detail nobody will ever see.
Serving WebP on a live site
The reason most people run this conversion is page weight, and the case for it is straightforward. Images dominate the transfer size of a typical page, WebP compresses photographs more efficiently than a format from 1992, and Lighthouse and PageSpeed Insights explicitly flag JPEGs under their next-generation image formats recommendation.
Browser support stopped being an argument some time ago; every current desktop and mobile browser decodes WebP without a fallback. The remaining friction is outside the browser, in email clients, older office software and upload forms that still expect a JPEG, which is exactly why the reverse converters and the rest of the format tools sit together on the image tools hub. If your assets are PNG exports rather than photographs, PNG to WebP is the equivalent route for those.
Converting your JPG library
- Drop your
.jpgand.jpegfiles onto the box above, or click Choose files. Extra drops add to the same batch, and a file already listed under the same name and size is not added twice. - Set WebP quality (1–100) if the default of 80 is not what you want for this set of images.
- Click Convert JPG to WebP. The progress bar moves once per finished file, so a large batch advances in visible steps.
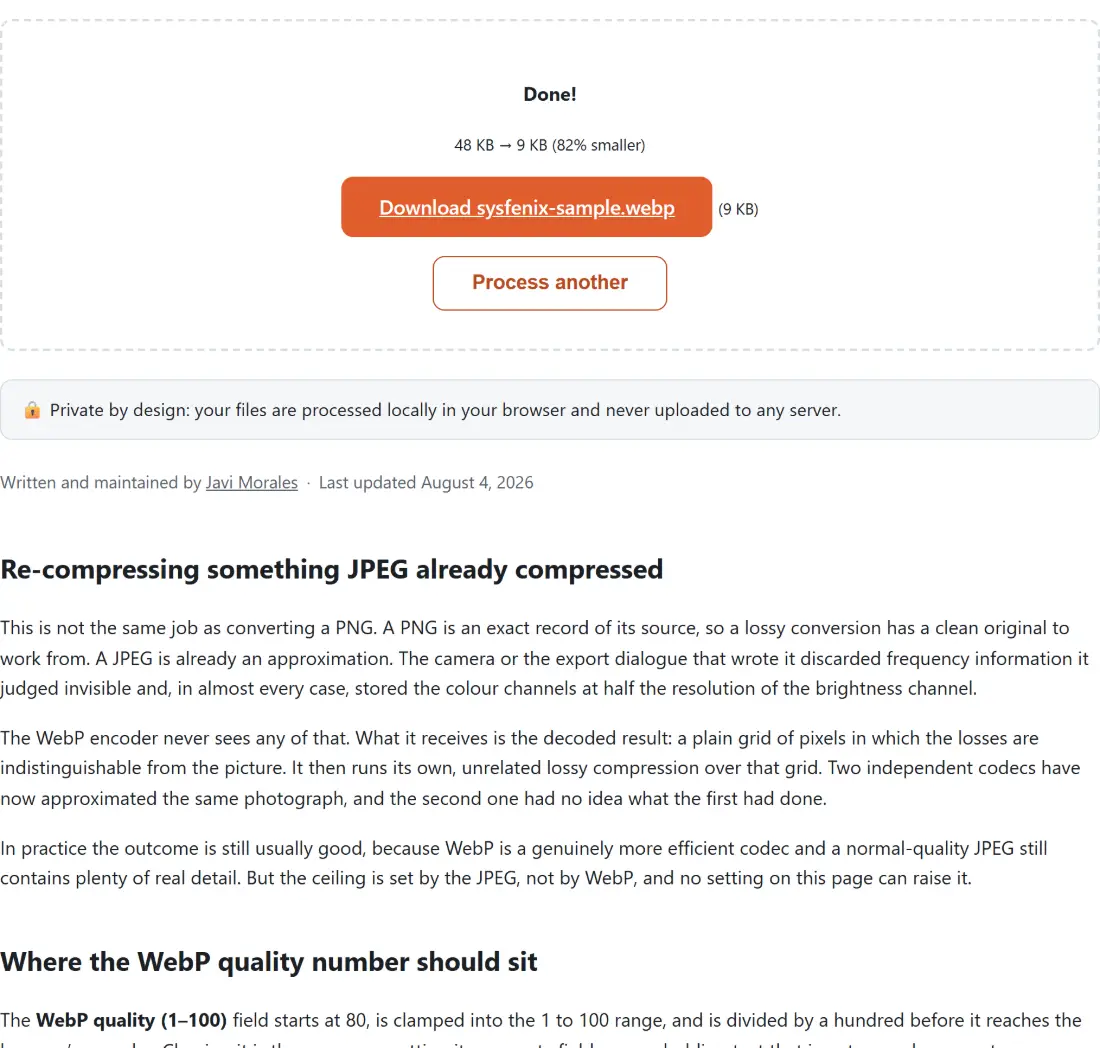
- Download each WebP from the link beside it, then use Process another to clear the tool before loading the next folder.