WebP transparency meets a format that has none
WebP was built to replace both of the formats it competes with, so it carries a full alpha channel like PNG while compressing photographs like JPEG. That combination is why product cut-outs, logos and stickers on modern sites are so often served as .webp. JPEG has no alpha channel whatsoever, so the moment you convert, every transparent pixel has to be assigned a real colour.
This tool assigns white. The engine fills the canvas with #ffffff before drawing your image on top, so fully transparent regions become white and partly transparent ones become a blend of your artwork with white. It is a deliberate flatten, not an accident of the drawing order, and it is what prevents the dark halos you get from converters that draw onto an empty canvas and let the transparent pixels composite against black.
If that white rectangle is unacceptable, JPEG is the wrong target. WebP to PNG keeps the alpha channel intact and is the correct route for anything that has to sit on a coloured background later.
White is the fill colour here, and it is not adjustable
There is no background option on this page, only the quality selector. That is a scoping decision rather than an oversight: the overwhelming majority of WebP files that people convert to JPG are photographs saved from web pages, which have no transparency at all, and for the minority that do, white is the colour that suits documents, marketplaces, job portals and printed output.
The workaround for a dark layout is a two-step route. Convert the WebP to PNG so the transparency survives, then run that PNG through PNG to JPG, which does let you pick black as the fill.
High, Balanced and Small in actual encoder terms
The three presets are not vague labels; each one is a specific number handed to the browser’s JPEG encoder. High (largest file) is 0.95, Balanced (recommended) is 0.85, and Small (smaller file) is 0.7. If the value somehow arrives unrecognised, the module falls back to 0.85, so the default is also the safety net.
Balanced is the right starting point for viewing, emailing and uploading. High is worth the extra bytes when the picture is going to be printed, cropped hard or edited further, because each of those magnifies compression damage that was invisible at full size. Small exists for the specific situation where an upload form enforces a strict cap and the image simply has to fit; the loss is real and it will show first around lettering and other sharp edges.
Converting saved WebP images to JPG
- Drop your
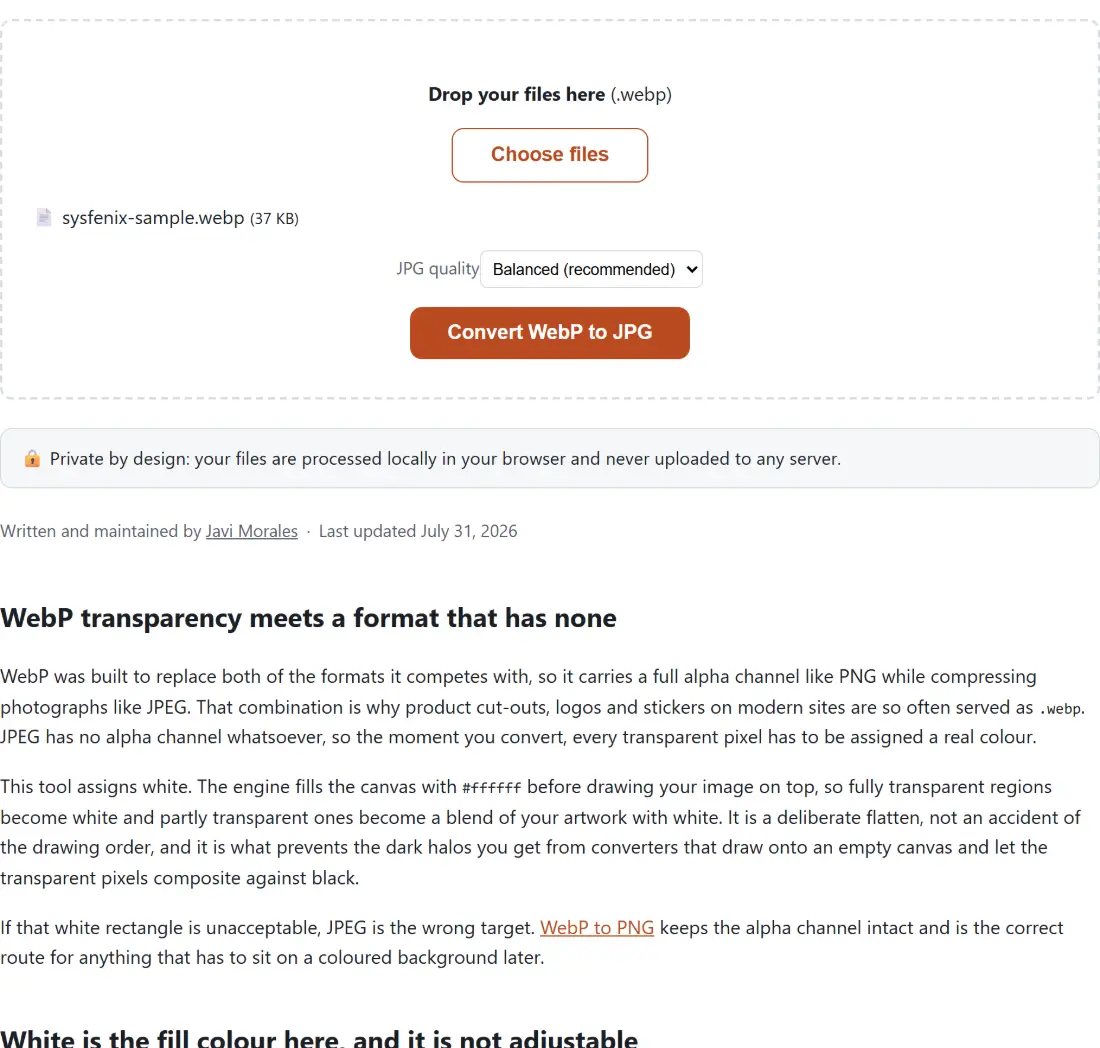
.webpfiles onto the box above, or click Choose files. Several drops accumulate into one batch, and a file already present under the same name and size is not added twice. - Pick a JPG quality preset. Leaving it on Balanced (recommended) is right unless you already know the picture is heading for print or a strict size cap.
- Click Convert WebP to JPG. The progress bar steps forward once per finished image rather than smoothly, because each file is converted whole.
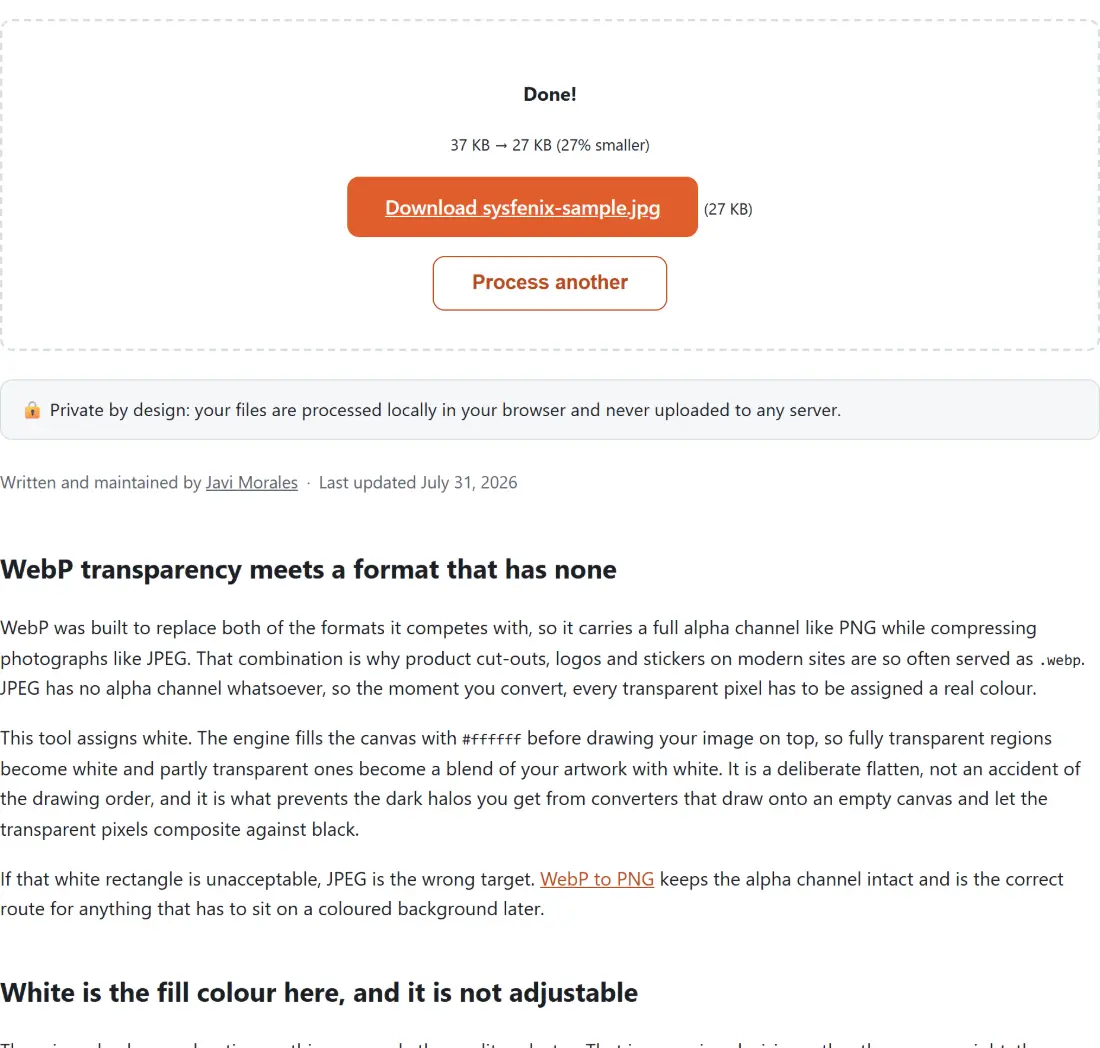
- Download each JPG from its own link, then use Process another to clear the tool before loading the next set.
Two lossy formats in a row
Almost every WebP image on the public web uses WebP’s lossy mode, which means the file you saved is already a compressed approximation of whatever the photographer or designer produced. Converting it to JPEG runs a second, unrelated lossy codec over that approximation.
The practical effect is usually small and the theoretical effect is unavoidable. The JPEG encoder has no way of telling which edges belong to the scene and which are artefacts left behind by the WebP encoder, so it spends bits preserving both. Nothing here can recover the original detail, and a converter that claims otherwise is claiming something impossible. Choosing High (largest file) keeps the second round of damage as light as it can reasonably be.
Software that still refuses a .webp file
The reason this conversion exists is that WebP won the web and lost everywhere else. Older Photoshop releases will not open it without a plugin, Windows Photo Viewer predates it entirely, and plenty of corporate document systems, print and photo-lab services, embroidery software, e-signature portals, school platforms and government upload forms reject the extension outright with an unhelpful message about unsupported file types.
JPEG has none of those problems. It has been the universal photographic interchange format for three decades, and there is essentially no image-capable device or service that refuses it. Converting does not make the picture better; it makes it usable, which is normally the entire objective. The rest of the format converters, including the routes back into WebP and AVIF, are listed on the image tools hub.
Choosing between the JPG and the PNG route
Use JPG when the image is photographic, has no transparency, and needs to be small or widely accepted. Use PNG when the image has a transparent background you need to keep, is mostly flat colour or text, or is going to be edited repeatedly. If the converted JPG is still heavier than an upload form will allow, Compress Image can take it further without another format change.