What a denoiser can see, and what it cannot
Noise reduction works on a statistical assumption: that unwanted sound is steady and wanted sound is not. Hiss from a cheap preamp, the tone of an air conditioner, the hum of mains electricity, the general roar of a room, all of these hold roughly the same shape across the whole recording. A voice does not.
So the filter builds a picture of the steady component in each frequency band and subtracts it, leaving what varies behind. That works remarkably well on hiss and hum, and it does nothing at all about a door slamming, a chair creaking or someone talking in the next room, because none of those are steady.
Understanding that boundary is the difference between a satisfied user and a frustrated one. If your problem is a constant background tone, this will help a great deal. If your problem is intermittent, no amount of turning the strength up will fix it, and turning it up will damage what is left.
Cleaning up an interview recording
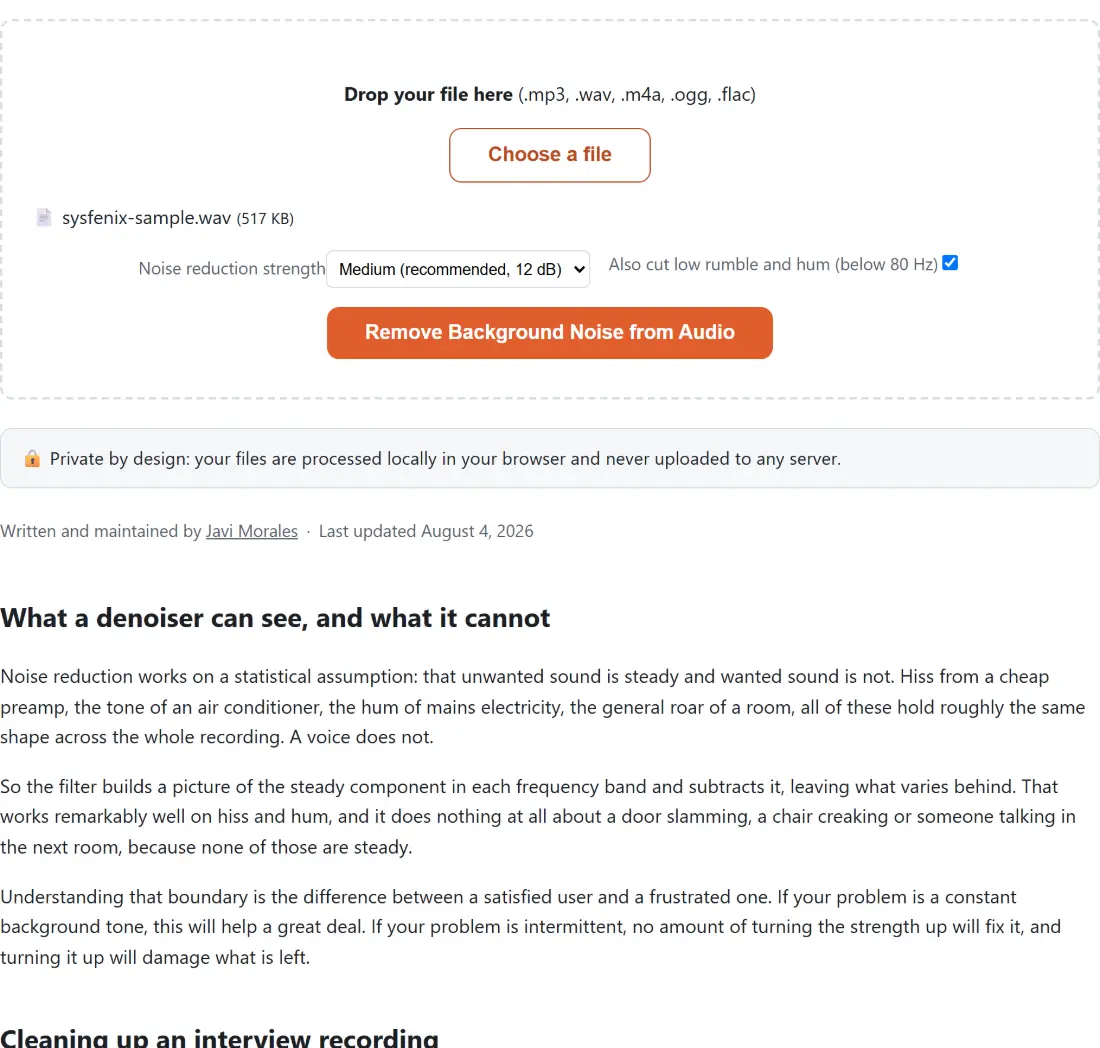
- Drop your file on the box or use Choose a file. MP3, WAV, M4A, OGG and FLAC are accepted, one at a time.
- Set Noise reduction strength. Medium (recommended, 12 dB) is where to start.
- Leave Also cut low rumble and hum (below 80 Hz) ticked for speech. Untick it for music with real bass.
- Click Remove Background Noise from Audio. The progress bar tracks the encode.
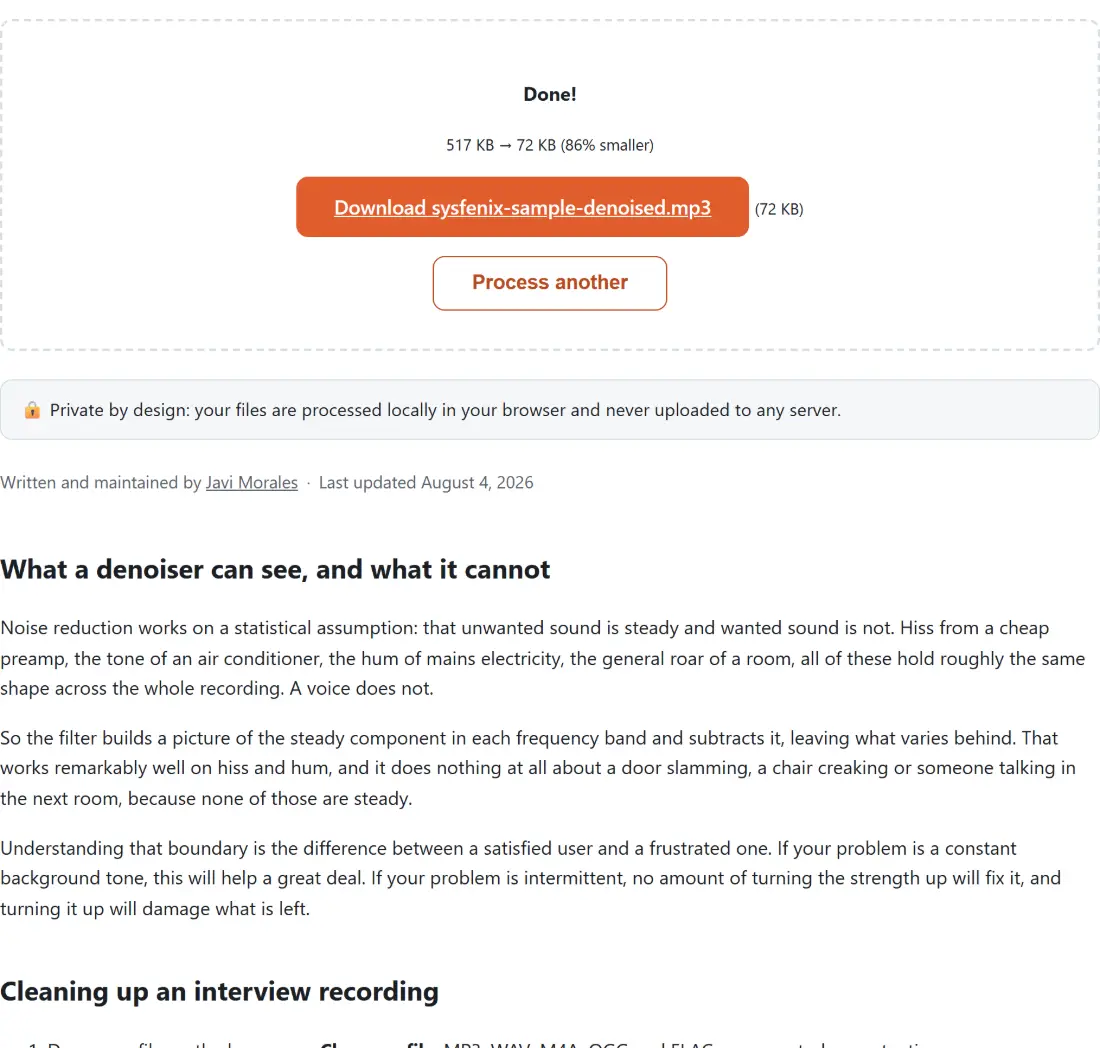
- Download the result, which is named after your file with a denoised suffix and an mp3 extension.
- Listen on headphones before you commit to it. Denoising artifacts hide well on laptop speakers.
- Process another clears the box.
If medium leaves too much noise, try strong before reaching for anything else, but compare the two directly rather than assuming more is better.
The three strengths, in decibels
The strength selector is not a vague slider. Each option maps to a specific amount of noise reduction expressed in decibels, which is how far the filter pushes the detected noise floor down.
Light is 6 dB. That is a gentle lift, enough to take the edge off a faint hiss without touching the character of the voice. It is the safe choice for material you plan to master properly later.
Medium is 12 dB, and it is the underlying filter’s own default for good reason. On a typical laptop or phone recording it makes a clearly audible difference and almost never damages speech.
Strong is 24 dB. On a genuinely noisy recording it can be the difference between usable and unusable. It also introduces the classic aggressive-denoising sound: a faint watery warble in the quiet gaps, sometimes described as musical noise, caused by isolated frequency bins surviving the subtraction. Use it when the alternative is discarding the recording.
Why the rumble cut is on by default
Below 80 Hz, a spoken voice carries almost nothing. A typical male speaking voice bottoms out a little above that line and a female voice considerably higher.
What does live down there is everything you did not want: traffic passing outside, the thrum of an air conditioner, the low thump of a hand brushing the microphone or the desk, and the fundamental of mains hum at 50 Hz in Europe or 60 Hz in North America. Cutting the band costs speech nothing and removes a surprising amount of muddiness.
It runs first, before the denoiser, so the denoiser is not asked to model energy that is being discarded a moment later.
The one case to untick it is music. A bass guitar’s low E is around 41 Hz and a kick drum’s weight sits below 80 Hz, so the cut would hollow out the track.
Where denoising sits in a workflow
Denoise before you level, not after. Normalize Audio will bring the result to a consistent loudness, and doing that first would simply amplify the noise you are about to remove. The same argument applies to Boost MP3 Volume.
If the recording has long dead patches, Remove Silence from Audio will tighten it up afterwards. For a transcript, Transcribe Audio works better on a cleaned file than a noisy one, so run this first. And if the problem is that you need the vocal separated from a backing track rather than cleaned, that is a different job entirely and Vocal Remover is the tool for it. The rest is on the audio tools hub.