Loudness targets in LUFS, and what a peak meter misses
Peak normalization asks a simple question: what is the single loudest sample in this file, and how much headroom is left above it? Answer that and you can raise the whole file until the loudest sample sits just under full scale. The trouble is that one stray thump, a chair scraping, a plosive on a consonant, sets the ceiling for the entire recording. A quiet interview with one loud noise in it comes out of a peak normalizer still quiet.
Loudness measured in LUFS asks a different question: how loud does this sound to a listener across its whole duration, with quiet passages gated out of the average? That is what streaming services and broadcasters standardised on, and it is what this page targets. Match two episodes recorded in different rooms to the same LUFS figure and they sit at the same apparent volume back to back, even though their peaks are nowhere near each other.
The three targets on offer exist because the audience differs. Podcast and voice-over work clusters around minus sixteen. Music streaming services normalize on playback to roughly minus fourteen. Broadcast delivery specifications in Europe ask for minus twenty three.
Measure first, then apply one gain: what the two passes do
The first pass runs the loudness filter with its JSON print format and sends the output to a null muxer, which means no audio file is produced at all. The point of that run is the log: the filter reports your file’s actual integrated loudness, its true peak, its loudness range and its threshold, plus the offset it would need. Those numbers are parsed back out of the log text.
The second pass runs the same filter again, this time with all of those measured values handed to it explicitly and a request for a linear correction, followed by the MP3 encoder. Because the filter is told what it is dealing with, it can apply one calculated gain across the file rather than working it out as it goes. That is the documented reason to prefer two passes, and it is why this page always tries them in that order.
If the measurement block cannot be parsed, the code falls back to a single pass at your chosen target. You still get a normalized file; it is simply less precise. Nothing about that fallback is hidden, and it is the one branch where the promise of measured accuracy does not hold.
Normalizing an episode to a target
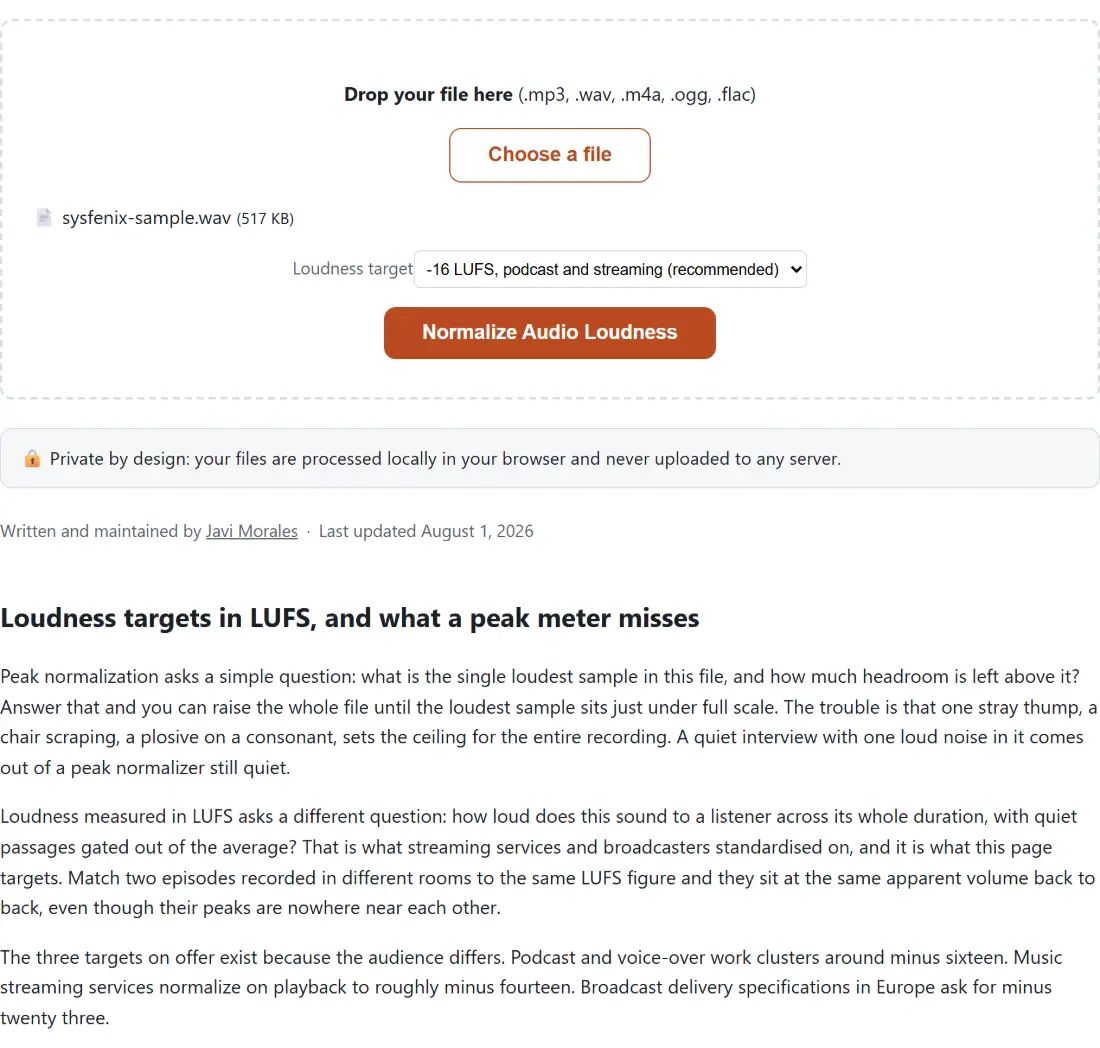
- Drop the recording onto the box above or click Choose a file. MP3, WAV, M4A, OGG and FLAC are accepted, and anything else is refused before processing starts.
- Leave Loudness target on -16 LUFS, podcast and streaming (recommended) unless you have a reason not to. The other two entries are -14 LUFS, Spotify and YouTube style and -23 LUFS, EBU R128 broadcast standard.
- Click Normalize Audio Loudness. The bar covers the measurement pass from zero to the halfway mark and the encode from there to the end, so a pause at fifty percent is the handover between the two.
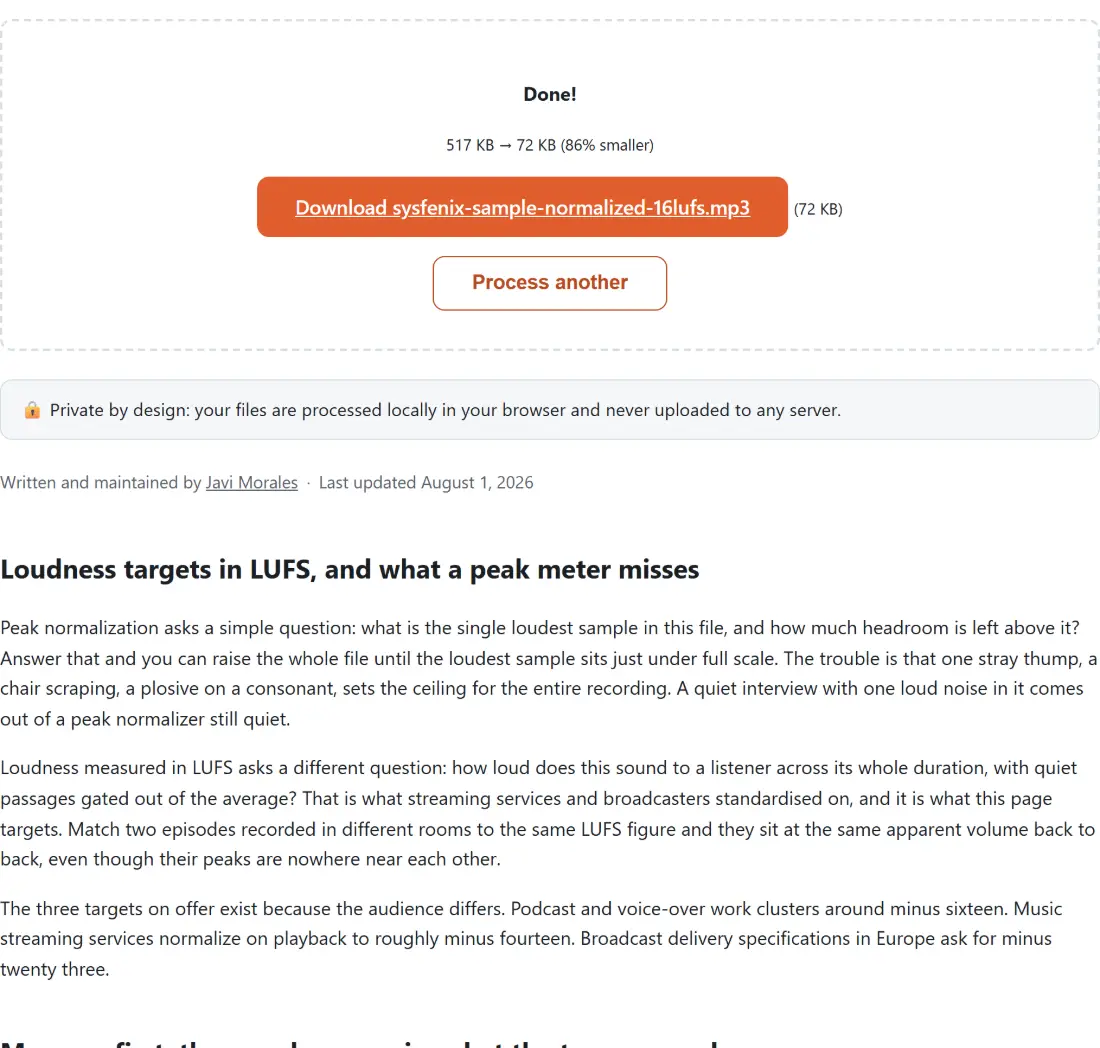
- Download the result. It is named after your file with the target appended, so
interview.wavcomes back asinterview-normalized-16lufs.mp3.
Fixed at a safe ceiling, with the range target left alone
Two settings the loudness filter accepts are deliberately not exposed here. The true peak ceiling is pinned at 1.5 dB below full scale, which leaves room for the inter-sample peaks that a lossy encoder can introduce even when the samples themselves never reach zero. The loudness range target is left at the filter’s own default of 11 LU rather than being second-guessed.
Both could have been select boxes. Adding them would have turned a tool whose job is “make this hit that target” into a thin wrapper over filter parameters, which is a different product for a different person. If you need to drive those two independently you are doing mastering, and a browser tab is the wrong place for it.
Everything comes back as a 192 kbps MP3
The second pass always ends in the same encoder at the same bitrate, whatever went in. An MP3 in gives an MP3 out, which is unremarkable. A WAV or a FLAC in also gives an MP3 out, and that is a lossy step you should make on purpose rather than by accident. Normalize a copy, keep your master, and treat the output as a delivery file. If you only wanted the format change without the loudness work, Convert WAV to MP3 does that on its own with a bitrate you pick, and our guide on choosing a bitrate for voice versus music covers what the number actually buys you.
What a loudness pass will not repair
Normalization changes level. It does not change what is on the recording. Clipping already baked into the source stays clipped, room noise moves up or down with the voice by the same amount, and a hum sitting under the whole take is still there afterwards at a new level. Reach for Remove Background Noise from Audio before this step rather than after, so the measurement sees the cleaned signal, and use Remove Silence from Audio if the problem is dead air rather than level. Both accept the same five formats this page does.
It is also worth knowing what this page is not. The Boost MP3 Volume tool applies one flat change you choose, defaulting to fifty percent louder, and it only takes MP3 files; it never looks at how loud the file already was. Its video counterpart, the Video Volume Booster, carries the same preset list for MP4, MOV, M4V and WEBM clips, plus an optional limiter after the gain. Those are the right tools for “make it louder by this much”. This one is for “make it match this standard”. A voice memo captured with the Voice Recorder is a good candidate for a pass through here before it joins anything else, and the rest of the audio tools are on the hub.