Two settings that decide everything
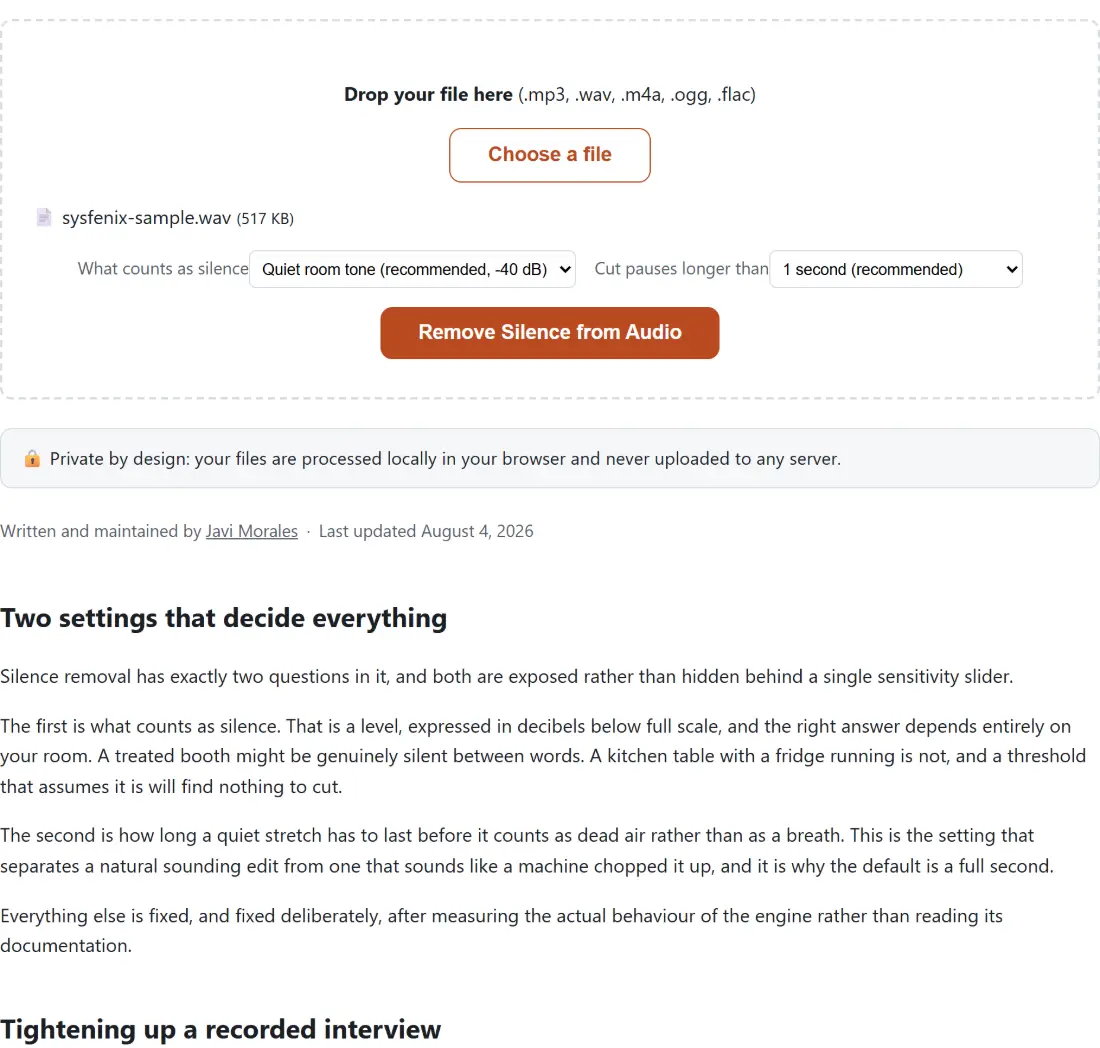
Silence removal has exactly two questions in it, and both are exposed rather than hidden behind a single sensitivity slider.
The first is what counts as silence. That is a level, expressed in decibels below full scale, and the right answer depends entirely on your room. A treated booth might be genuinely silent between words. A kitchen table with a fridge running is not, and a threshold that assumes it is will find nothing to cut.
The second is how long a quiet stretch has to last before it counts as dead air rather than as a breath. This is the setting that separates a natural sounding edit from one that sounds like a machine chopped it up, and it is why the default is a full second.
Everything else is fixed, and fixed deliberately, after measuring the actual behaviour of the engine rather than reading its documentation.
Tightening up a recorded interview
- Drop your file on the box or use Choose a file. MP3, WAV, M4A, OGG and FLAC are accepted.
- Set What counts as silence. Start on Quiet room tone (recommended, -40 dB).
- Set Cut pauses longer than. 1 second (recommended) is the safe default.
- Click Remove Silence from Audio.
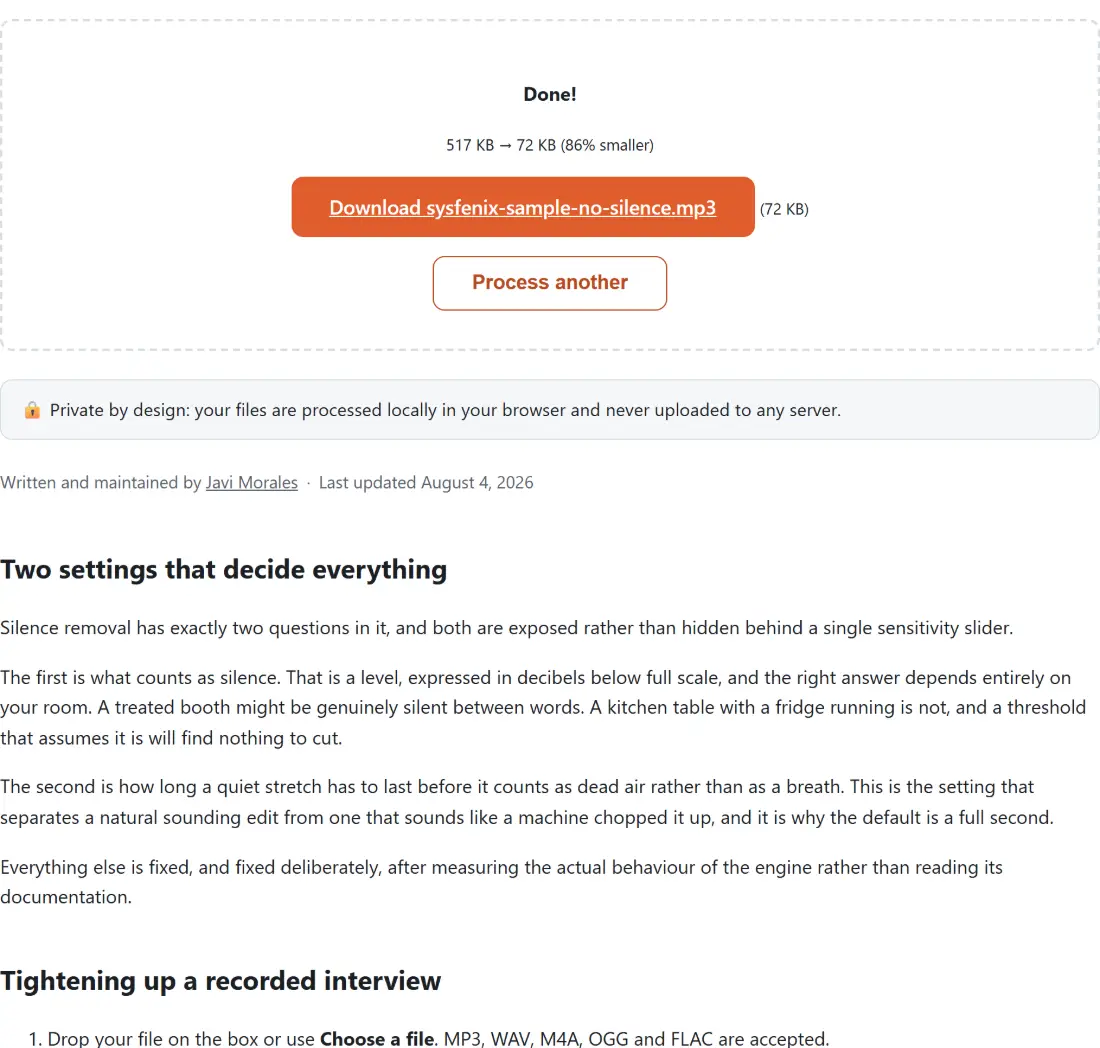
- Download the result, named after your file with a no-silence suffix and an mp3 extension.
- Listen to a passage where you know there was a pause. If the speech now sounds clipped, raise the minimum gap; if nothing was cut at all, loosen the threshold.
- Process another clears the box.
The two settings interact, so change one at a time. Loosening the threshold and shortening the gap together will take a conversational recording apart.
Why the middle of the file is the hard part
The underlying filter’s default behaviour is to trim silence at the beginning and end of a file and leave everything between alone. That is useful for topping and tailing a clip and useless for tightening up a twenty minute interview.
Getting it to work throughout requires telling it to restart its search after every gap it removes, which turns a one shot edge trim into a pass over the whole recording. That single setting is the difference between this tool and a trimmer.
The leading edge needs its own handling too. The filter’s start side only begins counting once it has seen at least one quiet sample, so a recording that opens at full volume on its very first sample never satisfies it, and it keeps discarding audio until the first real pause. Measured on this engine, a file that began abruptly with a second of tone lost that entire second. The fix is a tenth of a second of digital silence spliced onto the front before the filter sees the stream, which gives the start side the quiet sample it is waiting for. That injected silence costs nothing, because it is silence at the start of a file and gets trimmed away along with whatever leading silence you already had.
Numbers that were measured, not assumed
The engine here is built from a specific FFmpeg release, and this particular filter was rewritten afterwards. Recipes copied from current documentation genuinely do not transfer: the same command that collapses a three second gap almost entirely on this build leaves well over a second of it on a modern one.
So every parameter was checked by running the actual engine over synthetic files of known layout. That is how the leading silence problem was found, and it is how one appealing option was ruled out. Leaving a fraction of a second of each removed pause behind sounds like a way to keep the edit natural. On this build, setting it also disables the path that flushes short pauses back into the stream, so the short pauses you wanted to preserve vanish and reappear as trailing silence at the end of the file. Keeping it at zero is what makes the minimum gap promise true.
What it will not do
It will not remove a pause that is not quiet. If somebody says nothing while a fan runs at a level above your threshold, that stretch is not silence as far as the filter is concerned.
It will not shorten a pause. Gaps are removed entirely or left entirely; there is no partial trim.
And it will not decide what is interesting. Removing every gap above the threshold can leave a recording feeling rushed, because pauses carry meaning in speech. Pick the two second option if you only want genuine dead air gone.
The order to run things in
Denoise first with Remove Background Noise from Audio. Lowering the noise floor lets a stricter threshold see the gaps, which is often the difference between this tool cutting everything and cutting nothing.
Level afterwards with Normalize Audio, so the loudness is set on the finished edit. If the file also needs shortening at the ends, Cut MP3 does the plain trim. For a transcript of the tightened result, Transcribe Audio is the next step, and Audio Joiner reassembles several cleaned segments. The rest is on the audio tools hub.