The one-page layout, and the two things it decides for you
Every certificate comes out as a single landscape A4 page, 842 by 595 points, which is the orientation a framed award has used since long before anyone printed one from a browser. The vertical stack is fixed: logo band at the top, the certificate title, a line of italic text reading “This certificate is proudly presented to”, the recipient’s name in large type, then the optional description, then a footer with two ruled columns for the date and the signature.
Typography is deliberately not configurable. The title sets in Times Bold at 28 points in the border design’s accent colour, the recipient’s name in Times Bold Italic at 34 points, the description in Helvetica at 12 points, and the footer in Helvetica Bold at 12 points with a 10 point line for the signer’s job title. Those pairings are the ones that look like a certificate rather than a memo, and exposing font pickers is the fastest way to let someone build something that does not.
Two behaviours are worth knowing before you type. In the PDF, the title and the recipient’s name are each held to one line and truncated with an ellipsis if they exceed the 682 point content width, so a name that runs to five words is cut rather than shrunk or wrapped. The PNG export does no truncation at all, so an over-long name there simply overflows the border on both sides; that is one more reason to keep the name field to a name. The description is the only field that wraps, at 16 points per line, so put anything long there (“for outstanding contribution to the 2026 summer reading programme”) and keep the name field to a name.
What each border design actually draws
The three designs are not colour swaps of the same frame:
- Classic draws a navy double border, a 3 point outer rectangle with a 1 point inner rectangle 12 points inside it, and uses the same navy for the title.
- Modern drops to a single near-black rectangle and adds a solid 6 point blue bar along its top edge, with the title in that same blue. It is the one that does not look like a school certificate, which makes it the better pick for an internal recognition award.
- Elegant uses a gold double border and adds four filled 16 point squares centred on the outer corners, plus a gold title.
A logo, if you upload one, is centred just under the top border and scaled to fit inside 130 by 50 points with its aspect ratio kept, so a wide wordmark and a square crest both land sensibly. A signature image is scaled to fit about 70 percent of its footer column and no more than 42 points tall, and it sits directly above the rule so the printed result reads as a signature over a signature line. Leave it empty and the line stays clear for an ink signature after printing. If you have no image file, Signature Generator will draw one from your mouse or a typed script font and hand you a transparent PNG.
Filling in the form
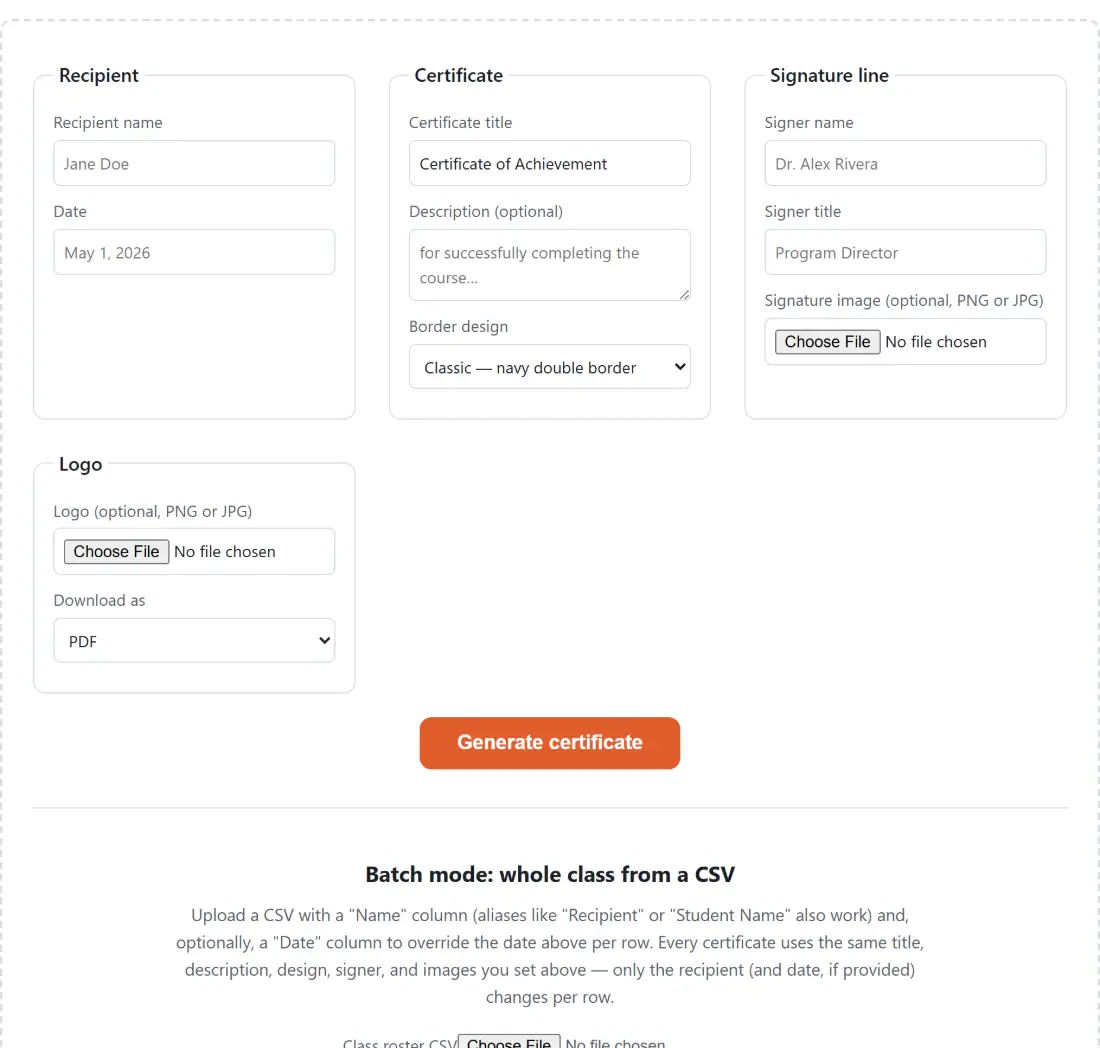
- Enter the Recipient name and Date. The date is a free text field on purpose, so “May 1, 2026”, “01/05/2026” and “Spring term 2026” are all acceptable.
- Set the Certificate title, which defaults to “Certificate of Achievement”, and an optional Description.
- Pick a Border design.
- Fill in Signer name and Signer title, and optionally upload a Signature image. With no signer name the footer prints “Authorized Signature”.
- Optionally upload a Logo, choose PDF or PNG under Download as, and click Generate certificate.
Batch mode: one template, one roster, one ZIP
Below the single-certificate form there is a CSV upload that reuses everything above as a shared template and varies only the recipient. The roster is read by the same parser that powers our CSV Viewer, which means quoted fields and embedded commas behave correctly, so “Doe, Jane” in a single cell does not silently become two people.
Upload the file and the count of recipients found appears immediately, before you generate anything, which is the moment to notice that thirty-one names became twenty-nine because two rows had an empty name cell. Generating then builds one PDF per row with a live percentage, and bundles them with our own ZIP writer into a file named after the timestamp, for example certificates-2026-07-30_14-30-05.zip. Each entry inside is named after its recipient, so certificate-Jane-Doe.pdf drops straight into an email or a print queue.
Where this earns its keep is the class of thirty: one design decision, one signature image, one description, and thirty documents that are genuinely identical apart from the name. The alternative, mail-merging a slide deck, tends to reflow the layout on the one name that is longer than the rest.
PDF or PNG, and why they are not pixel-identical
The PDF is built with pdf-lib, drawing real vector text and embedded standard fonts, which is what you want for anything that will be printed or archived. The PNG takes the same layout numbers and draws them onto a canvas at twice scale, giving a 1684 by 1191 pixel image that stays sharp in a slide, a web page or a Notion doc.
They are close but not the same file rendered twice. The PDF embeds Helvetica and Times; the canvas asks the browser for Georgia with Times New Roman as a fallback and Arial for the body text, and measures line breaks with canvas metrics rather than pdf-lib’s. So a long description can break one word differently between the two. Pick the format you actually need and generate that one, rather than proofing in PNG and printing the PDF.
The trade also runs the other way, which is the answer to the non-Latin name problem: canvas will happily render any script your operating system has a font for, while the PDF’s standard fonts cannot encode outside Latin-1.
What a generated certificate is not
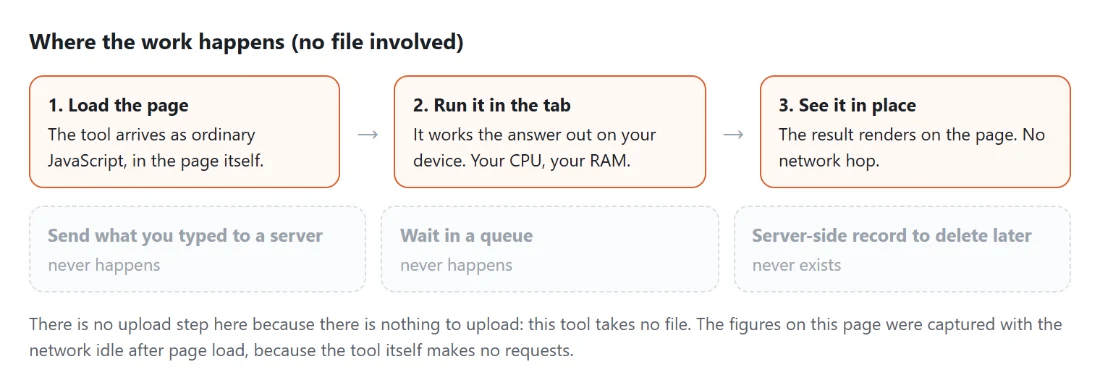
It is a document, not a credential. Nothing here checks that the recipient did the thing, and there is no serial number, QR code or verification page, so it carries exactly the authority of the organisation whose name and logo you put on it. If you need something auditable, you need a register somewhere that this tool deliberately does not have, because keeping one would mean keeping your roster on a server. Everything above is assembled in the tab you are reading this in, which is also why a class list you upload for batch mode is never transmitted anywhere. For the neighbouring paperwork jobs, Invoice Generator and Label Maker follow the same pattern.