Where a 20 KB or 100 KB upload rule comes from
Byte limits on photo uploads are usually a relic. A government visa portal, a university admissions form or an examination board’s application system was specified when storage and bandwidth were expensive, the rule went into a document, and it has been copied forward ever since. Nobody maintaining that form today can tell you why the number is 20 KB rather than 200 KB, but the validator still rejects anything above it, often with an unhelpful message and a lost session.
The frustrating part is that a quality number is the wrong instrument for the job. You set a number, export, check the file size, find it is 118 KB, set a lower number, export again. This tool inverts the loop: you state the ceiling, and it finds the setting.
Highest quality first, then a binary search
The search starts by encoding at quality 100 at the original pixel dimensions. If that already fits, it stops immediately and gives you that file, which is what stops a generous target from needlessly damaging a small image.
When quality 100 is too big, the tool binary-searches the range from 1 to 99 for the highest quality that still lands at or under the target. It tries the midpoint, and if that fits it searches upward for something better, and if it does not it searches downward. The loop is capped at ten iterations, which is comfortably more than the seven or so a binary search over a hundred values actually needs, so the cap exists as a guard rather than as a limit you will hit. Every encode is cached by its exact settings, so the winning attempt is already in memory when the search ends and never has to be redone.
This relies on one assumption that holds for every real JPEG encoder: raising the quality never produces a smaller file for the same image. That monotonic behaviour is what makes a binary search valid here instead of a brute-force sweep through all one hundred values.
What happens when quality alone cannot get there
A 12-megapixel photo asked to fit in 20 KB will not make it on quality alone. Quality 1 on an image that large still carries far too many blocks to describe, and the result would be an unusable smear even if it did fit.
So when the quality search exhausts itself without fitting, the tool shrinks the image itself: both dimensions drop to 85% of the previous round, and the whole quality search runs again at that smaller size. It keeps going, 85% at a time, until something fits or it reaches 10% of the original dimensions. Each new size is produced once by a lossless resize and reused across every quality attempt at that size.
That ordering is deliberate. Losing resolution is usually a better trade than keeping resolution and destroying it, especially for the ID photos and scanned forms this tool exists for, where the destination wanted a modest headshot rather than a DSLR frame in the first place.
JPEG output, even when you hand it a PNG
Whatever you put in, a JPG comes out, named after your original with -compressed.jpg on the end. This is not laziness: the search needs a format with a continuous quality dial, and PNG has none at all. A PNG encoder given a quality value ignores it, which makes a byte target structurally unreachable. WebP does have a dial, but JPEG is the format that portals and legacy forms accept without argument.
The consequence to know about is transparency. JPEG has no alpha channel, so a transparent PNG or WebP is flattened onto solid white before encoding. If that is wrong for your image, Optimize PNG shrinks a PNG without touching a pixel, and Resize Image cuts dimensions while keeping the format.
Driving the target-size compressor
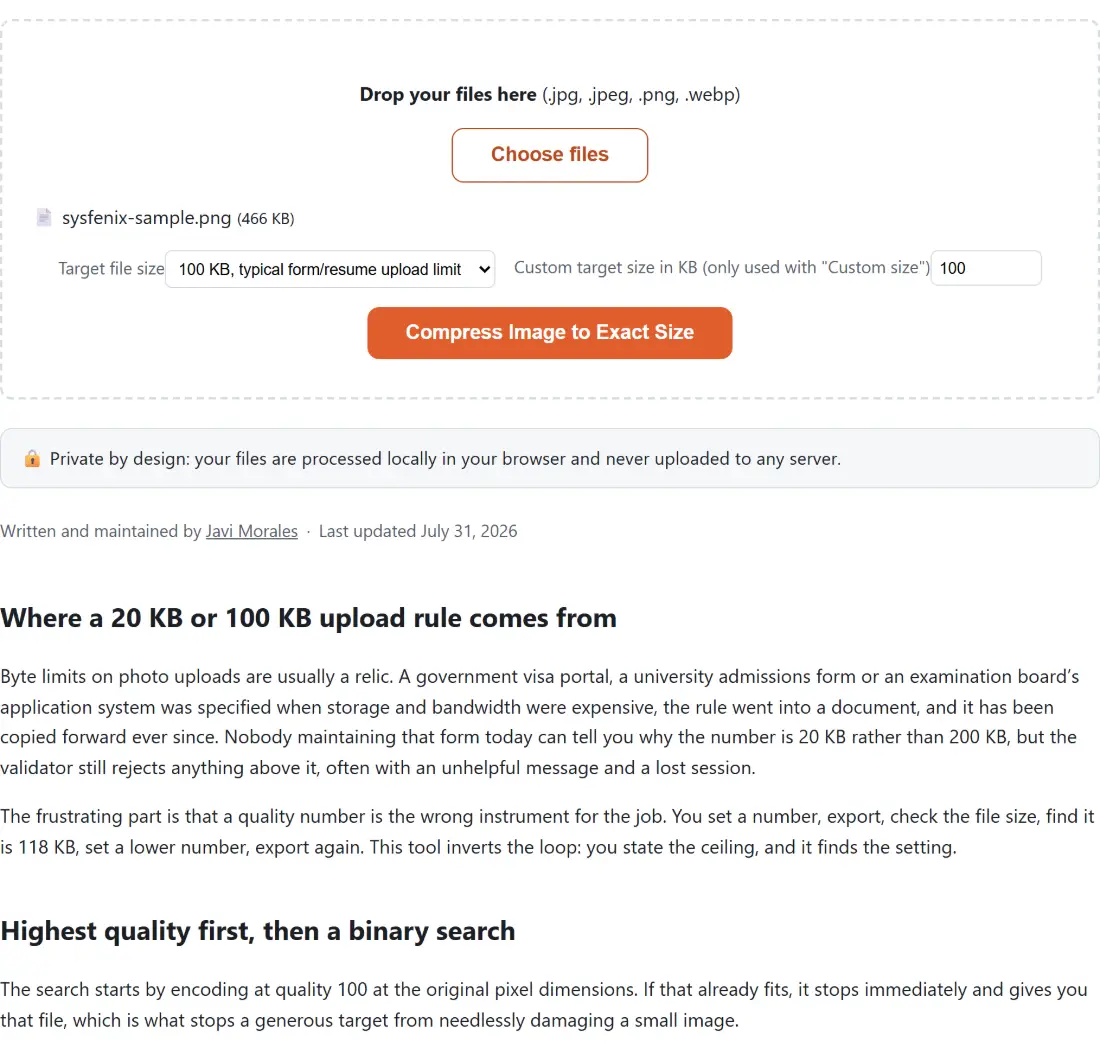
- Drop your JPG, PNG or WebP files into the box above, or use Choose files.
- Choose a Target file size. The presets cover the limits that come up most often, or pick Custom size (set KB below).
- If you chose the custom option, type your figure into Custom target size in KB (only used with “Custom size”). Anything from 1 KB to 10240 KB is accepted.
- Click Compress Image to Exact Size. The progress bar advances once per finished file, not once per encoding attempt, so it can sit still for a while on a big photo.
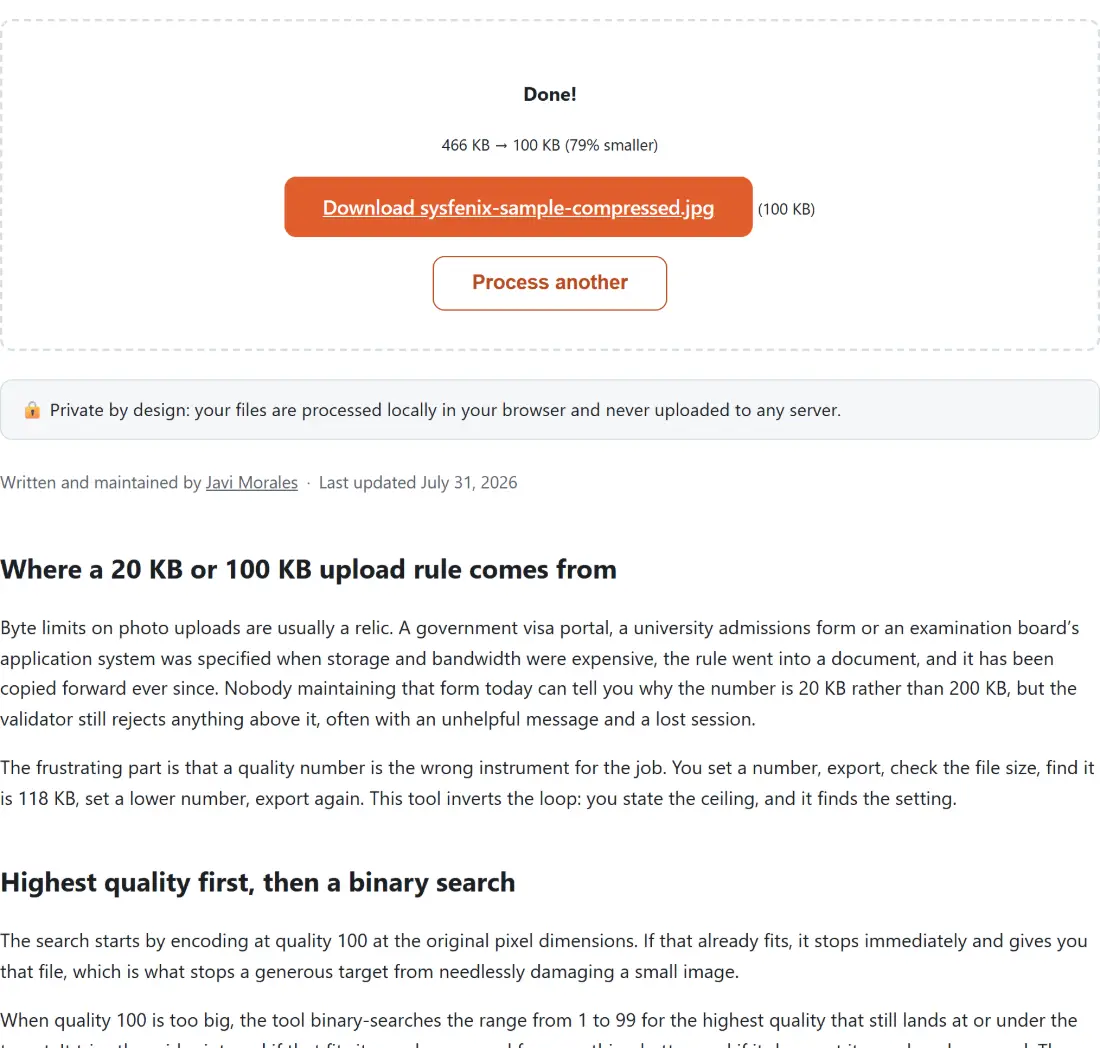
- Download the result and check what it weighs. The shell reports a before and after figure for the batch as a whole, and prints a size beside each individual download link, so a run of several photos needs the per-file figure rather than the combined one. Both are rounded to the nearest kilobyte below 1 MB, which means something displayed as 100 KB can still be a few hundred bytes over a strict 100 KB cap. Read the exact byte count in your file manager when the limit is unforgiving.
When the target is genuinely out of reach
If the floor is reached without ever fitting, you still get a file: the smallest one the search produced anywhere along the way. Nothing errors and nothing is hidden, but the size shown next to that download will be above your target, so read it before uploading rather than assuming success.
The usual fix is to crop before compressing. A photo with a lot of irrelevant background spends most of its bytes on detail nobody asked for, and trimming to a centred square or 16:9 frame with Crop Image removes a good part of that cost. For ID portraits specifically, the Passport Photo Maker produces the framing these portals expect before you compress at all.
Target size or quality setting
Use this page when the number you have been given is in kilobytes. Use Compress Images when the number you care about is a quality setting and you simply want the file smaller, since that tool preserves the input format, supports downscaling, and hands back your original bytes rather than a larger re-encode whenever no downscale was applied. Both live on the image tools hub.