A screenshot has pixels, a PDF page has points
PNG is the format your operating system reaches for when you press the screenshot key, and the format most charting and diagramming tools offer as their default export. It is lossless, so text and hairlines stay crisp, and it carries an alpha channel, so a cut-out logo keeps its transparent edges. What it does not carry is any notion of a page.
A PDF page is measured in points, at 72 to the inch, and it has a fixed physical size. That difference is the whole job this tool does: it has to decide how many inches wide a picture that only knows about pixels should be. The Page size and Orientation selects are how you answer that, and the answer is what makes a folder of loose captures behave like a document, opening in the same order and printing at the same size on everyone’s machine.
Each image is embedded with pdf-lib, which keeps the PNG’s own alpha channel as a soft mask rather than flattening it, then drawn onto a page that was created for it.
Fit to image maps one pixel to one point
The three Page size values are not variations on a theme. A4 and US Letter create a standard page (595.28 by 841.89 points for A4, 612 by 792 for Letter) and place your image on it. Fit to image creates a page whose dimensions are the image’s pixel dimensions, used directly as points.
That last one is worth reading twice, because it means a 1920 pixel wide screenshot produces a page 1920 points wide, which is a little over 26 inches. The document looks perfect on screen, where nobody is thinking in inches, and comes out of a printer either scaled down to fit or spread across several sheets. Choose Fit to image when the PDF is a container for exact pixel dimensions and will be viewed rather than printed. Choose A4 or US Letter whenever paper is anywhere in the file’s future.
On a standard page, the image is scaled by the smaller of the two ratios and then centred. The axis that runs out first is filled edge to edge with no margin at all, and the even margins fall on the other pair of sides: a wide screenshot on a portrait page touches the left and right edges and gets equal bands of empty page above and below it. That scaling has no upper bound, so a small image is enlarged rather than left at its natural size.
Page order, and the name the download gets
Files accumulate in the list as you add them, across as many drops as you like, with duplicates filtered out by name and size. They become pages in exactly that order, top to bottom, and there is no way to rearrange them here. Adding them in batches is the practical way to control sequence: drop the first screenshot, then the second, rather than selecting twenty at once and hoping the file picker sorts them the way you expect.
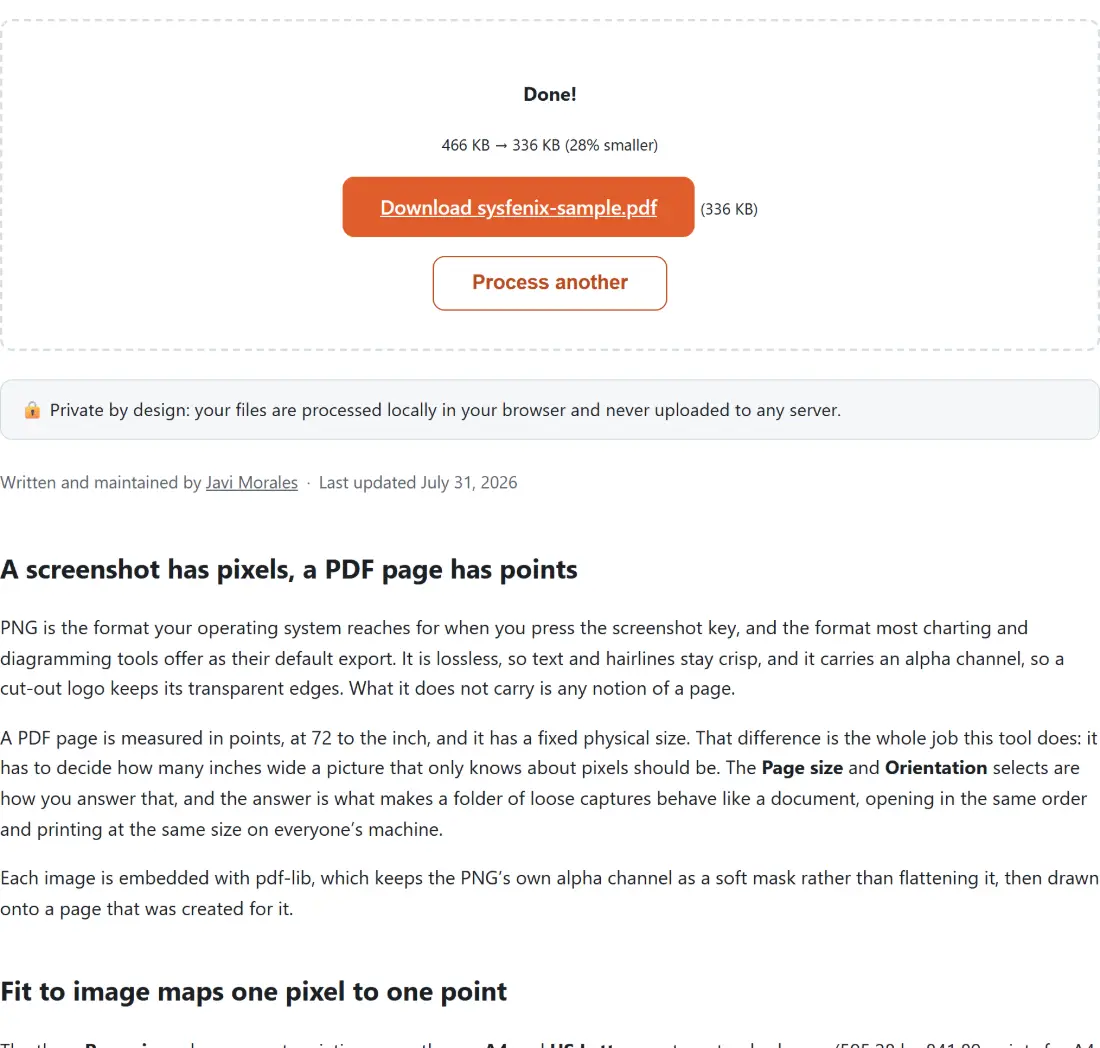
The output name follows a simple rule with one surprise in it. A single PNG keeps its base name and gains a .pdf extension. Two or more images produce a file called combined.pdf, every time, because there is no sensible way to name a document after several sources. Rename it after downloading, or convert one image at a time if the names matter to you.
If the order comes out wrong you do not have to start again: Reorder PDF Pages moves pages inside the finished document, and Merge PDF joins the result to whatever else the ticket or the report needs.
Assembling the PDF
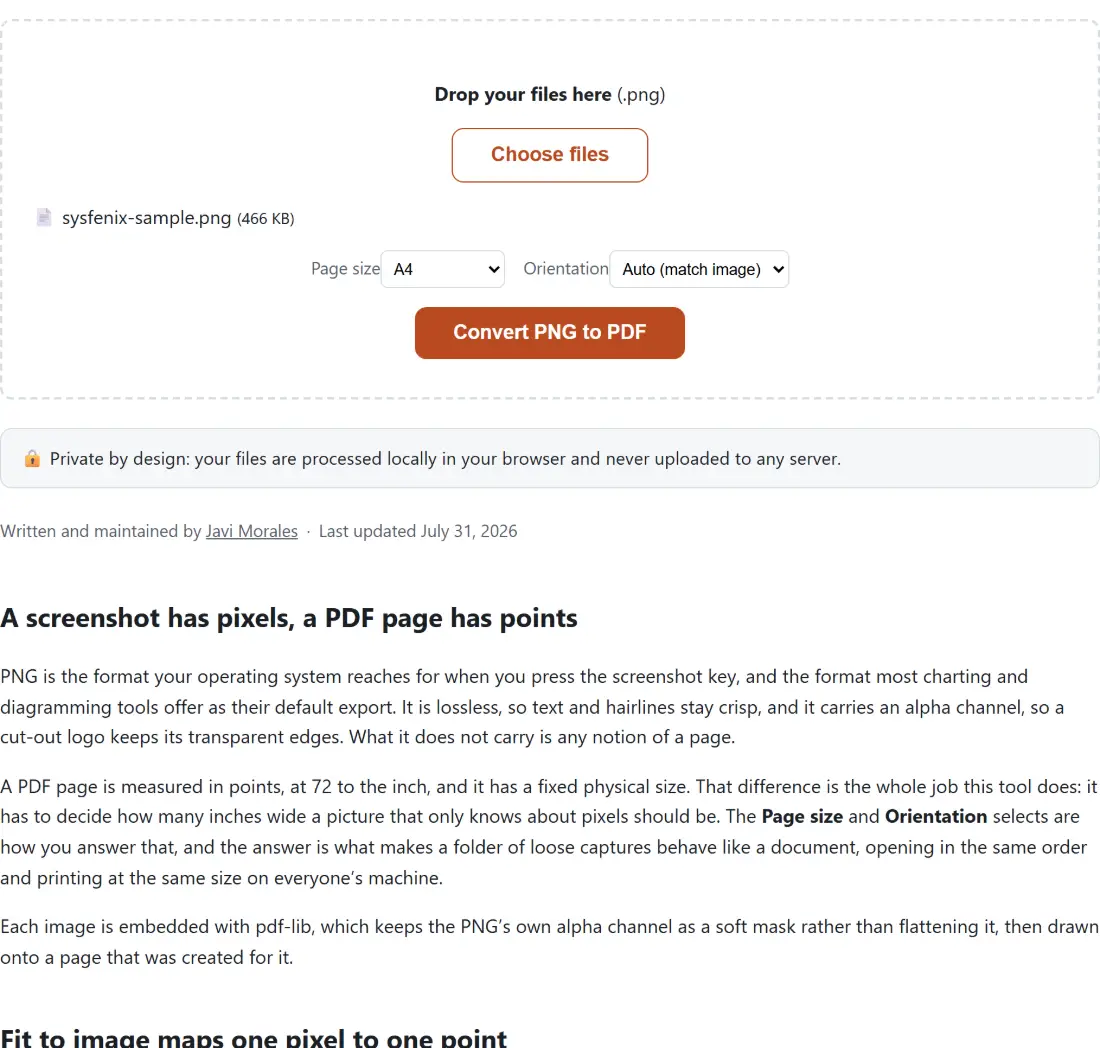
- Drop your PNG files into the box above, or click Choose files. Add them in the order you want them to appear.
- Pick a Page size: A4 or US Letter for anything that might be printed, Fit to image for pixel-exact pages with no borders.
- Pick an Orientation. Auto (match image) gives each page the shape of its own image, so a wide screenshot lands on a landscape page and a tall one on a portrait page.
- Click Convert PNG to PDF. The bar advances once per image.
- Save the file from the download link, then rename it if you added more than one image.
Transparency, upscaling and other things worth checking
Three details catch people out. The first is that fitting scales upward, so mixing a full-screen capture with a small cropped detail on A4 pages will blow the small one up to the same width; use Fit to image, or crop consistently before you start.
The second is transparency. It survives the conversion, but a PDF page has no background of its own, so the practical effect is that transparent areas read as white on screen and as bare paper in print. An image designed to sit on a coloured background will look wrong in a way it did not in your image editor.
The third is scope. This tool accepts .png only, and anything else is refused with a message naming the accepted extensions. Photographs belong in JPG to PDF, and a .webp export needs a trip through WebP to PNG first. All of it runs in the tab, which is worth something when the screenshots are of an internal dashboard or a customer’s account: the images are read from your device’s memory and the PDF is built there, with no request carrying any of it. Further reading: the best PDF tools, compared.