Alpha edges that survive the round trip
The reason to send a WebP to PNG rather than JPG is almost always transparency. WebP carries a full alpha channel, PNG carries a full alpha channel, and this tool takes the direct route between them: the file is decoded to pixels and those pixels are written straight back out as PNG, with no background colour introduced anywhere in the process.
That matters more than it sounds. Transparency is rarely a simple on or off property. The edge of a cut-out product photo, the anti-aliased curve of a logo, the fade at the bottom of a drop shadow and the soft glow around an icon are all stored as partial alpha values, somewhere between fully visible and fully absent. A conversion that flattens onto white will turn every one of those into a fixed blend with white, which looks fine on a white page and immediately wrong anywhere else. Nothing here flattens, so those in-between values arrive in the PNG unchanged.
The engine used for this page does have a flattening variant, and the JPG converters call it because JPEG genuinely cannot represent alpha. This page deliberately does not, because doing so would destroy something the target format is perfectly capable of holding.
Turning a saved WebP into PNG
- Drop your
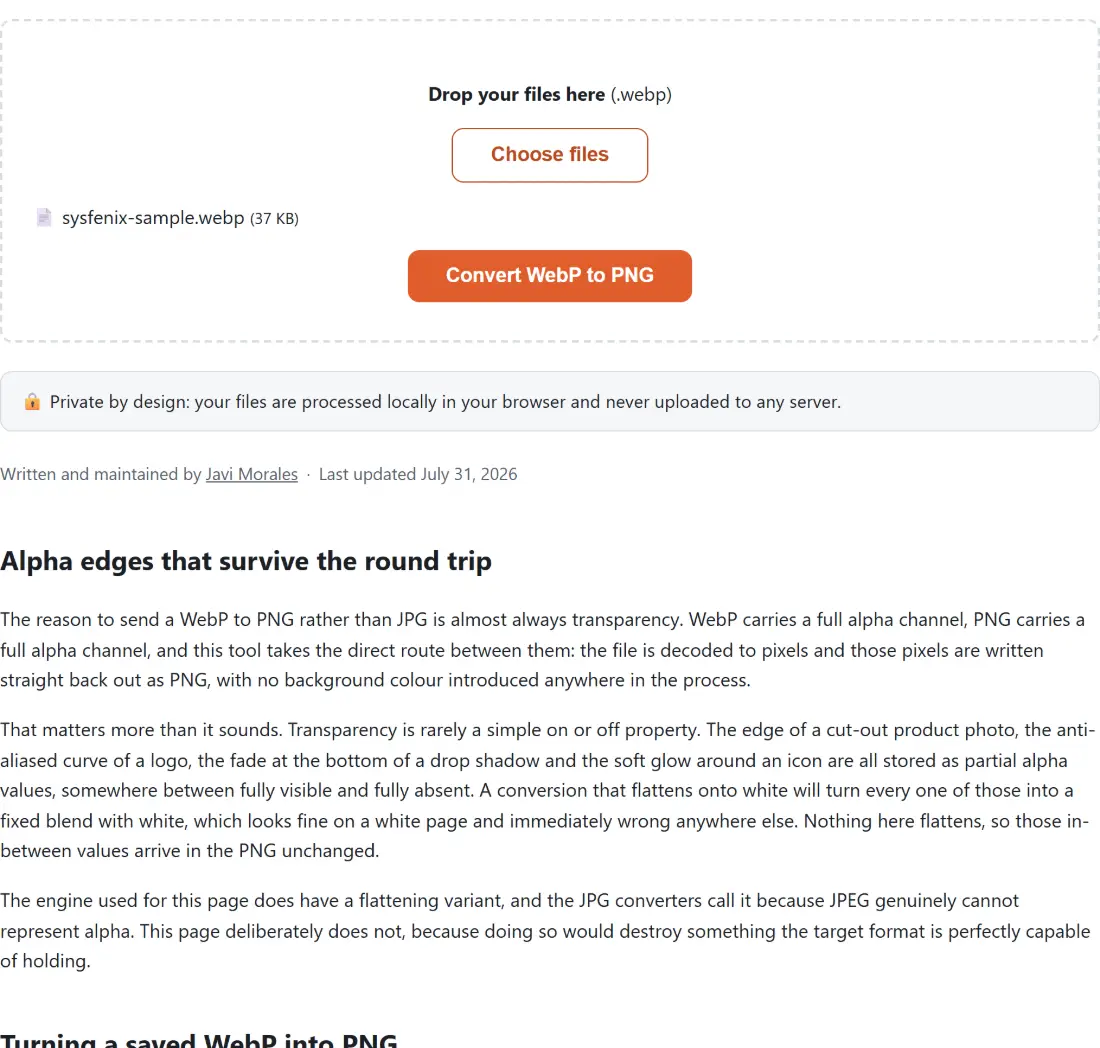
.webpfiles onto the box above, or click Choose files to pick them. Files added in separate drops build up into one batch, and a file already in the list under the same name and size is ignored. - Click Convert WebP to PNG. There is nothing to configure first, and the progress bar advances one notch per completed file.
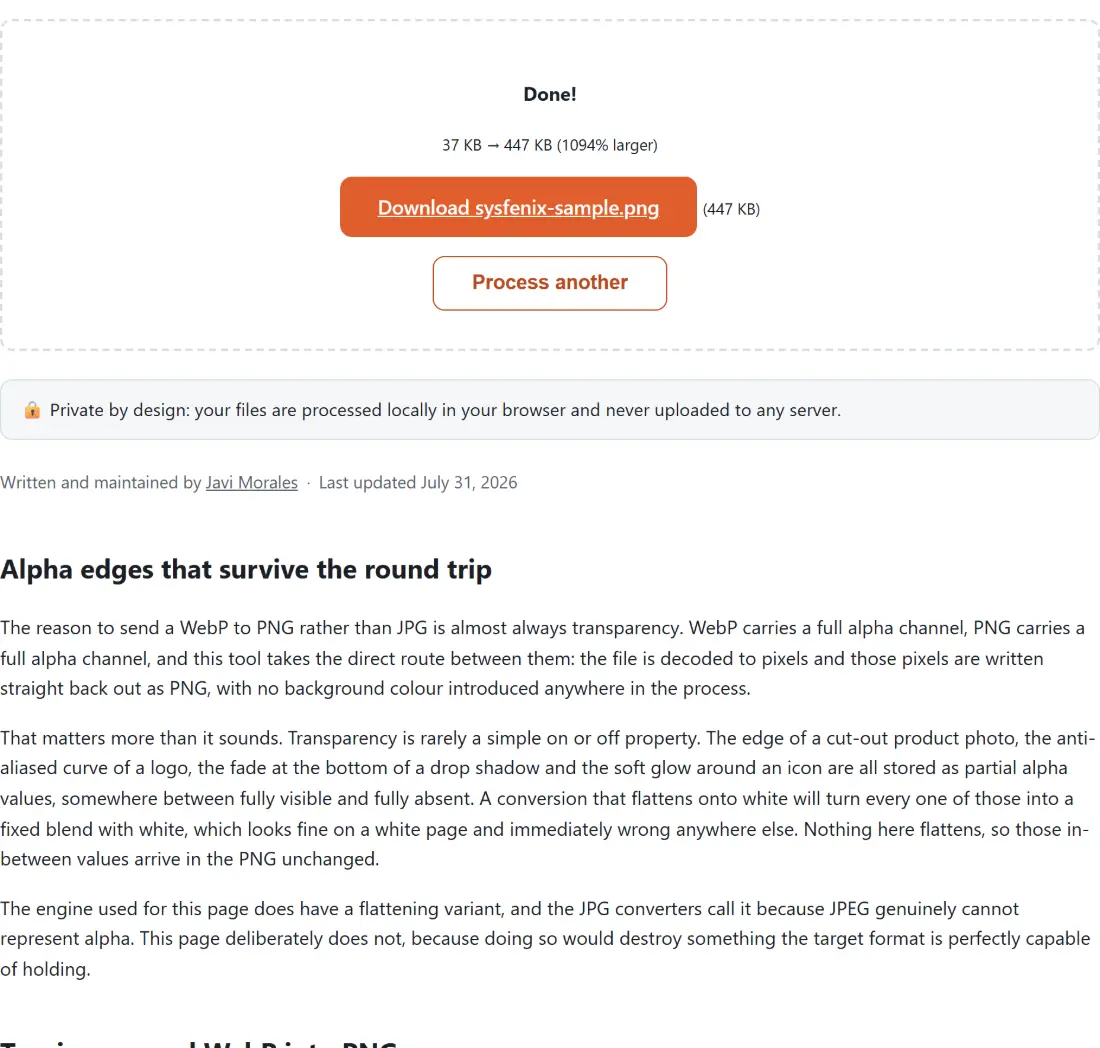
- Download each PNG from its own link. Clicking Process another clears the file list and the results together, so download anything you want before you use it.
Animated WebP files come through as one frame
WebP has an animation mode, and it is used heavily for stickers, reaction images and short looping banners. The decode path here produces a single still bitmap for each file you give it, so an animated source contributes only its default frame and the remaining frames are simply not part of the output. You get a valid, correct PNG of one moment of the animation.
That is a real limitation rather than a bug, because PNG’s own animated variant is not what a still PNG encoder produces. It is worth being blunt about the obvious alternative: WebP to GIF will not recover the animation either. That page inspects the file for an animation chunk and refuses it, because the FFmpeg build it runs on cannot decode those frames. When the movement is the point, the honest answer is to keep the original .webp, which every current browser plays, and to re-export from whatever produced the animation if another format is required.
The PNG will be heavier than the WebP was
Expect growth, and often a lot of it. WebP’s lossy mode is a modern codec designed to throw away what you will not notice; PNG’s compression is required to reproduce every pixel exactly and can only look for patterns it can encode without error. On photographic content, where neighbouring pixels differ constantly because of sensor noise and fine texture, there is not much pattern to find.
Flat graphics do far better. A logo, an icon, a diagram or a screenshot of an interface is mostly large runs of identical colour, which is exactly the case PNG’s filtering and deflate stage was built for, so those files often grow only modestly. Photographs are where the multiplier gets uncomfortable.
If the size matters more than pixel-exactness, WebP to JPG is the better destination for photographic material, and Optimize PNG can bring a finished PNG down further without altering a pixel or changing its format again.
Picking this over the JPG converter
The decision comes down to two questions. Does the image have transparency you need to keep, and is it going to be edited again? A yes to either points at PNG. Cut-out product shots, logos heading into a slide deck, screenshots that will be annotated, and assets going into a design tool all belong here.
A no to both usually points at JPG. Holiday photos, scenery, portraits and anything destined for an upload form with a size cap will be smaller and just as acceptable as JPEG, and the loss involved is invisible at normal viewing sizes.
One honest caveat applies whichever you choose. The WebP you saved from a website was itself compressed by whoever published it, so neither route recovers the photographer’s original file. PNG guarantees that nothing further is lost from this point forward, which is a genuine and useful promise, but it is not the same as getting the master back. The full set of raster converters is on the image tools hub if you need a different pairing.