Six renders, eight files, one ZIP
A favicon used to be one file. You put favicon.ico at the root of your site, browsers requested it without being asked, and that was the entire specification. Then phones learned to pin websites to home screens, Chrome learned to install them as applications, and the single file became one entry on a checklist nobody publishes.
This tool renders your source image at six distinct pixel sizes: 16, 32, 48, 180, 192 and 512. Those six renders are then distributed across eight files. The 16, 32 and 48 px versions are packed into a single favicon.ico. The 16, 32, 180, 192 and 512 px versions are also written out as standalone PNGs under the filenames the ecosystem expects. A site.webmanifest and an HTML snippet complete the set, and everything is bundled into one ZIP named after your source file.
Forty-eight pixels is the odd one out: it exists only inside the .ico container and never as its own PNG, because Windows desktop icons read it from there and nothing on the web asks for it separately.
The square crop that happens before any resizing
Icons are square, and sources rarely are. The first thing that happens to your file is a centre crop to its largest square region, done at the image’s full native resolution before a single pixel is downscaled.
The order matters. Cropping first and then downscaling from that one sharp square means each of the six sizes is produced directly from the original detail. Resizing first and cropping afterwards, or chaining each size off the previous one, compounds the softening at every step, and at 16 pixels there is nothing left to lose.
The crop trims the longer edge equally from both ends, which is the same centred-square logic behind Crop Image’s own 1:1 option, and the downscaling runs through the same canvas resizer as Resize Image. Nothing is ever stretched to fit, so a portrait photo loses its top and bottom rather than becoming a squashed square. A wide logo lockup is the case to watch: the symbol usually survives, the wordmark beside it usually does not.
apple-touch-icon.png and the 180 px iOS rule
The three non-obvious files in the package all exist because a specific platform went its own way.
Safari on iOS looks for apple-touch-icon.png when somebody chooses “Add to Home Screen”. At 180 by 180 it covers current iPhone screen densities. Without that file, iOS does not fall back to your favicon; it screenshots the page and uses that, which looks nothing like an app icon and is the single most common reason a pinned site looks broken.
Android and Chrome read the manifest instead, and from it the 192 px icon for the launcher and the 512 px one for the splash screen and higher-density displays. The 16 and 32 px PNGs exist for browser tabs on high-DPI screens, where a modern browser will pick a crisp PNG over scaling the .ico.
site.webmanifest ships with placeholder branding
This is the one file in the ZIP you must edit. There is no text field on this page to type a site name into, so the manifest goes out with name set to “My Website”, short_name set to “My Site”, and both theme_color and background_color set to white. Display mode is standalone, and the icons array already references the 192 and 512 px PNGs by their exact filenames in the archive.
Open it in any text editor and change the two names and the two colours to match your brand before deploying. Leaving the placeholders means anyone who installs your site gets an app called “My Site” with a white splash screen, which is worse than shipping no manifest at all.
Where each favicon file goes on your server
Upload the .ico, all five PNGs and the manifest to the root of your site, the same folder as index.html. Then open favicon-html-snippet.html and paste its five lines into your page’s <head>:
<link rel="icon" type="image/x-icon" href="/favicon.ico">
<link rel="icon" type="image/png" sizes="32x32" href="/favicon-32x32.png">
<link rel="icon" type="image/png" sizes="16x16" href="/favicon-16x16.png">
<link rel="apple-touch-icon" sizes="180x180" href="/apple-touch-icon.png">
<link rel="manifest" href="/site.webmanifest">
Every path in the snippet and in the manifest starts at the domain root, which is the arrangement browsers assume. If your site is served from a subdirectory, edit the paths before deploying. This is a website icon set, so it does not cover a native mobile app; for Xcode’s AppIcon.appiconset and Android’s adaptive icons, use the App Icon Generator instead, and if all you want is the single classic icon file, PNG to ICO does that one job with a choice of sizes, from a PNG source only.
Building your favicon package
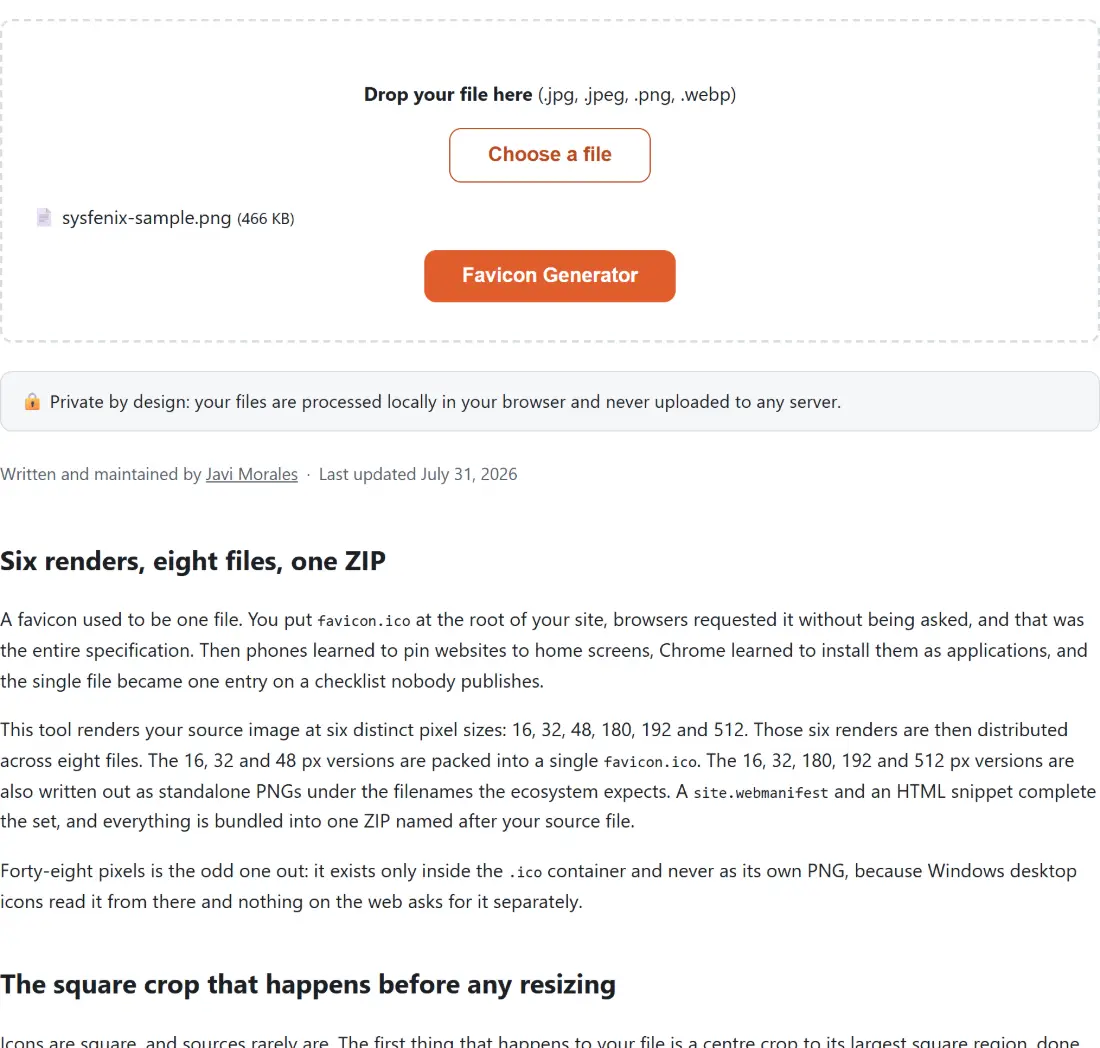
- Drop your logo into the box above, or click Choose a file. JPG, JPEG, PNG and WebP are accepted, and a square-ish mark of 512 px or larger gives the sharpest result at every size.
- Click Favicon Generator. The square crop runs first, then the six renders, then the ICO packing and the ZIP assembly.
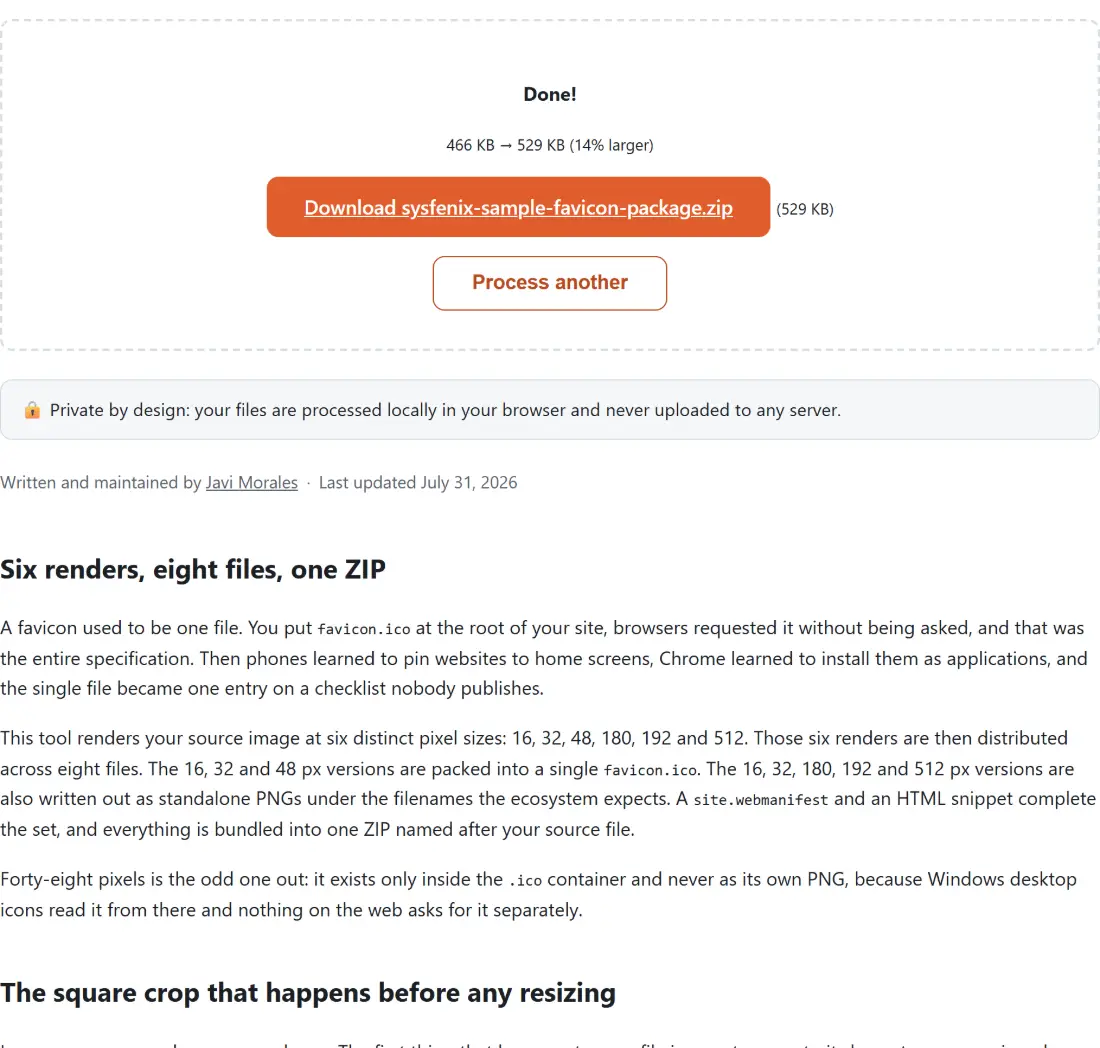
- Download the ZIP, which is named after your source file, and unpack it.
- Edit
site.webmanifestto replace the placeholder names and colours, then upload the files and paste the snippet into your<head>.
More design and asset tools are listed in the generators and design tools guide, and the wider set of converters lives on the image tools hub.